
A Gift From Me to You
It’s been a season of ups and downs, hasn’t it? These past few weeks have been all business-business-work-work-work, with little time for art, and not much for enjoying the holidays, either. But art and holidays are here nonetheless, and by hook or by crook, I’m going to wrest some festivity out of December.
So, for all you wonderful folks who follow this site (thank you so much!) and for all harried, distracted, stressed-out folks in need of a last-minute gift, I offer an easy, free tutorial for making notebooks from altered greeting cards. A little gift from me to express a lot of appreciation for you.
First some work-work news:
- I have posted a new Privacy Policy for Jen Fries Arts. The link is in the footer of each page and under the Home tab. Please take a moment to read it.
- I have added the leaf specimens and the autumn zines to the Artworks gallery under Cities, Botanicals, and Zines and Art Books.
- I am working on more leaf specimens as we glide into winter proper, so look for those before the new year.
And now, the tutorial.
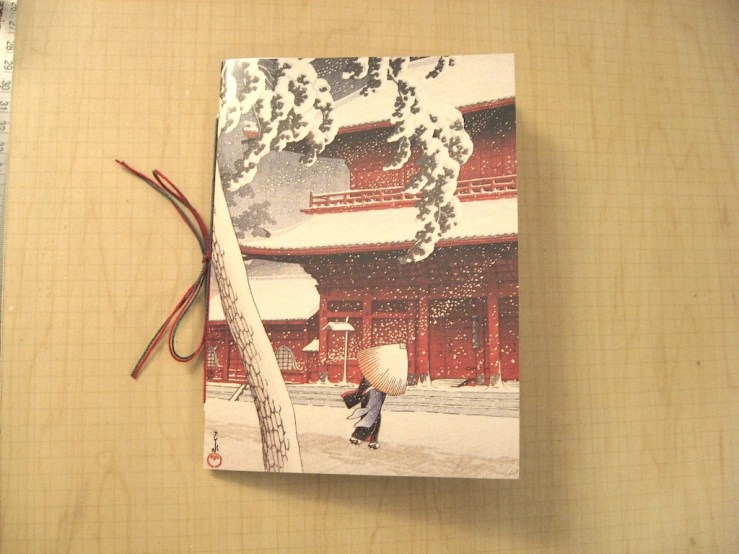
Altered Greeting Card Notebooks
Do you like greeting cards but wish they were more useful? Do you have treasured cards from friends and family and want to do more than keep them in a box somewhere? Let’s remake them into notebooks!
This project uses sharp tools and is best for teens and adults. Kids may participate with adult supervision.
You will need:
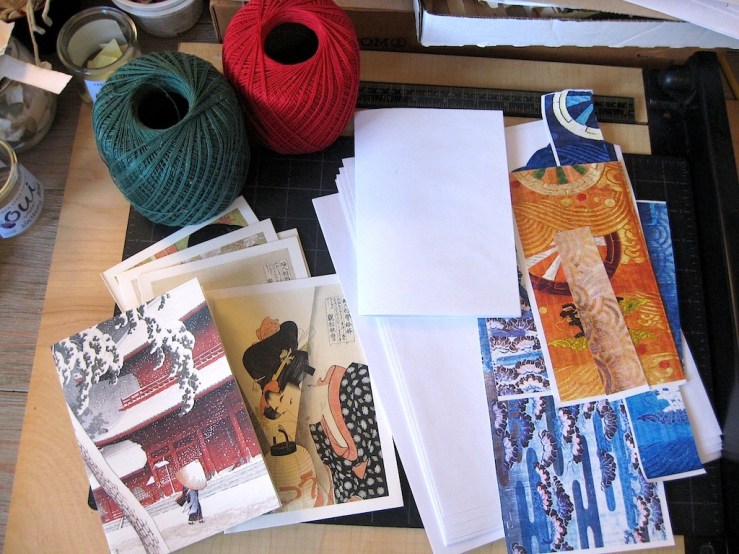
- Greeting cards, old or new
- Paper – writing or printer paper is best
- Ephemera, stickers, scrap paper, paint, stamps, ink, etc. (optional)
- String or embroidery cotton
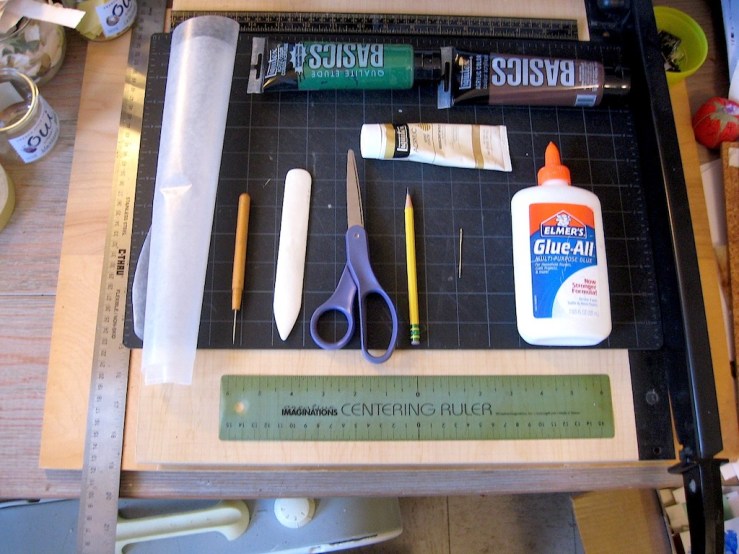
- Tapestry or embroidery needle – blunt point and big eye
- Scissors
- Book awl or other fine pokey tool
- Ruler
- Bone folder (optional)
- Pencil and eraser
- Paper clips
- Cutting blade or paper cutter
- Cutting mat or other surface safe for cutting and poking
- Paper glue
- Wax paper

Step 1: Design
A) Take a look at your cards. These will be the covers of your notebooks.
How big are they? If they have a printed message, do you want to keep it? Do you want to change the image, color, or feel of the cards? Do you want to do anything to the back of the cards?
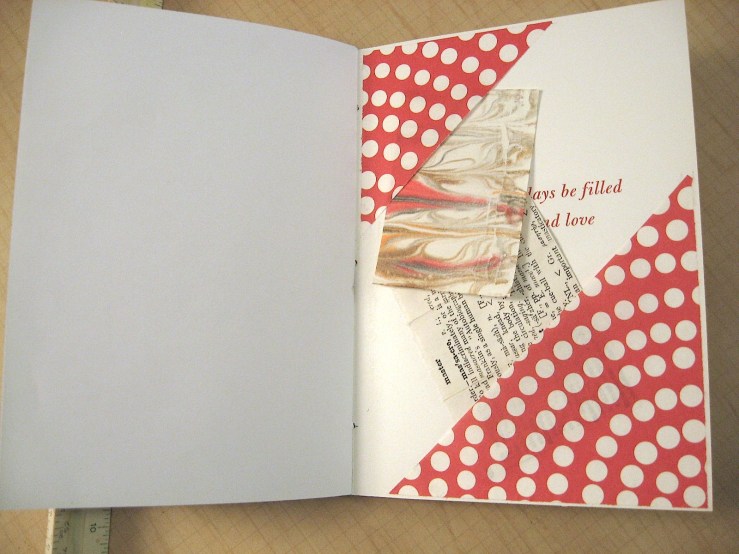
For this project, we’ll keep things simple and just add some color and pockets to the insides of the cards.
B) Experiment to see how many pages your cards can hold and still close comfortably. For this project we will use 5 folded sheets per card.
TIP: The number of pages will depend on how you plan to use your altered card notebook. Five sheets is comfortable for writing and drawing. If you plan to paste in family pictures or memorabilia, those will add thickness, so use fewer sheets.
Step 2: Embellish your cover
A) Apply your background paper or color. For this project, we are using acrylic paint. If you want to keep the printed message, cover it with a piece of paper to protect it. Lightly sponge or splatter the paint over the inside of the card. Work fast with small amounts of color. Keep your sponge or brush as dry as you can and still get color onto the card. Keep going until you like how it looks. Allow to dry.
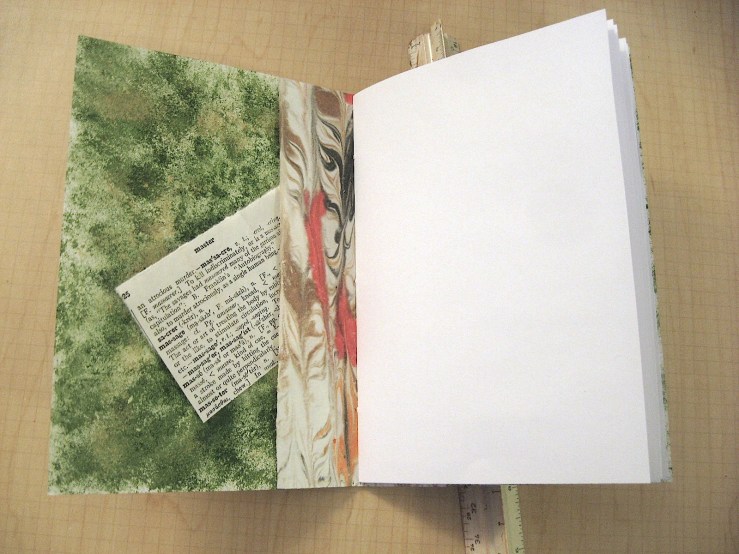
B) Cut paper for the inside pockets and fit them in where you want them to be. Glue in place. Do the same with any other ephemera you wish.
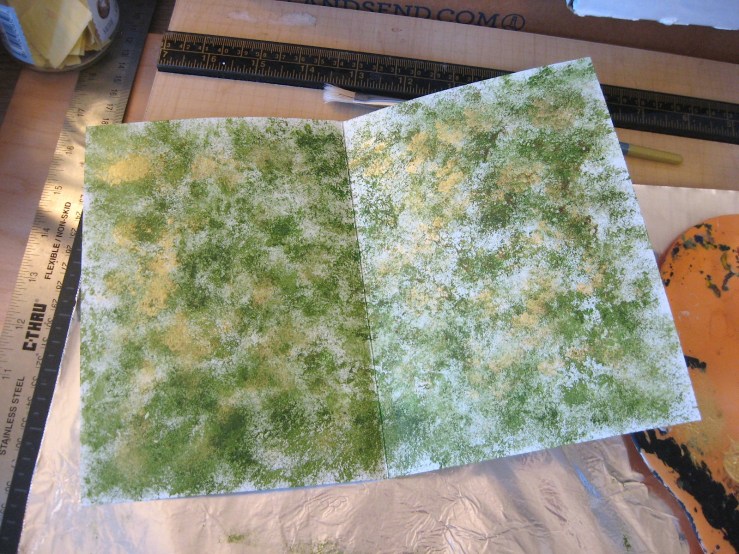
TIP: Use as little glue and paint as possible to avoid warping the card. They tend to be very warpy. If using paint or ink, it’s better to do several light, dry layers than one heavy, wet one.

C) Lay a sheet of wax paper inside the card, and let it dry closed under weight, such as under a few books. This should not take long. Prep your pages while you wait.

Step 3: Cut and fold your pages
A) Measure your card from the top edge to the bottom edge. That is the height of your pages.
B) Measure your card from the center fold to the outer edge of the face of the card. That will be the width of your pages.
C) Mark the height and width measurements in pencil on one sheet of paper. Stack five sheets, and trim them all together with your blade or paper cutter. Erase any remaining pencil marks
TIP: Greeting cards are often folded a little off center, so no matter how you measure your pages, it won’t be perfect. For now, measure just the front face of your card. Then double that measurement to get the full width of your page sheets. This will make sure the pages match the part that people will look at the most.
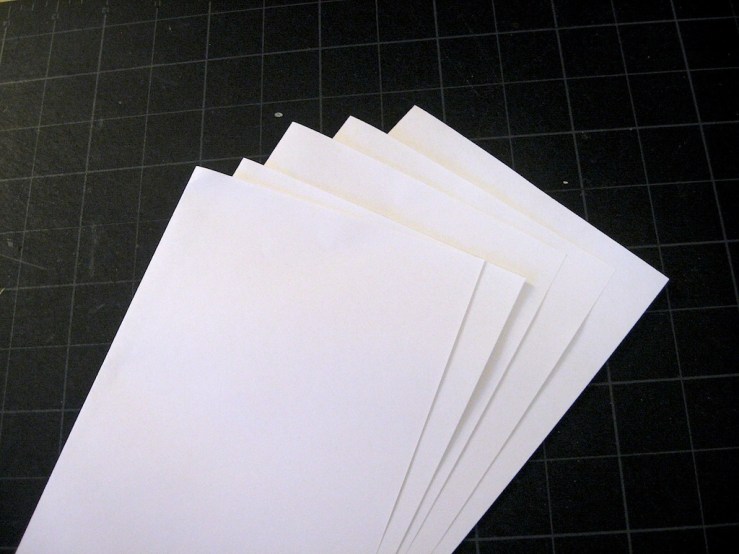
D) Fold each sheet of paper in half, using the bone folder to sharpen the creases if you like. Then nest the folded sheets together. This is your signature of pages. Snug the signature into the card and see if you want to trim the edges any more. Be careful – the more paper you try to cut through at once, the more likely you’ll get a mis-cut.
Step 4: Sewing your notebook
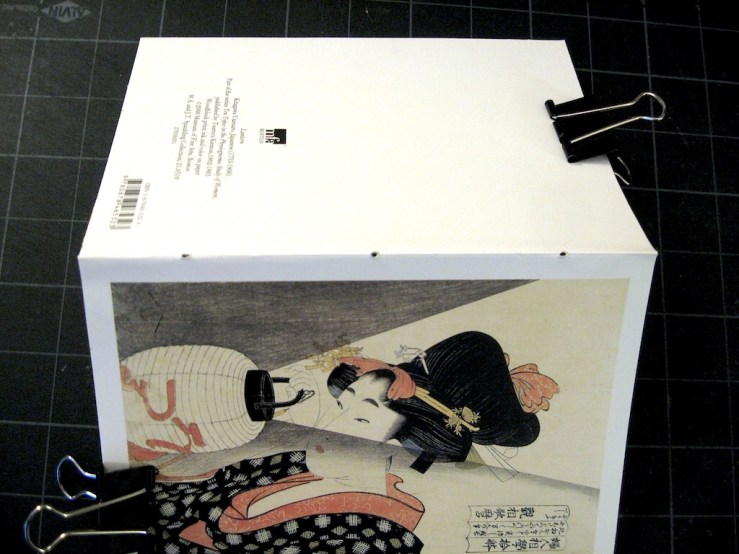
A) Nest the signature into the card as snugly as possible. Use clips to hold the pages and card together, if needed.
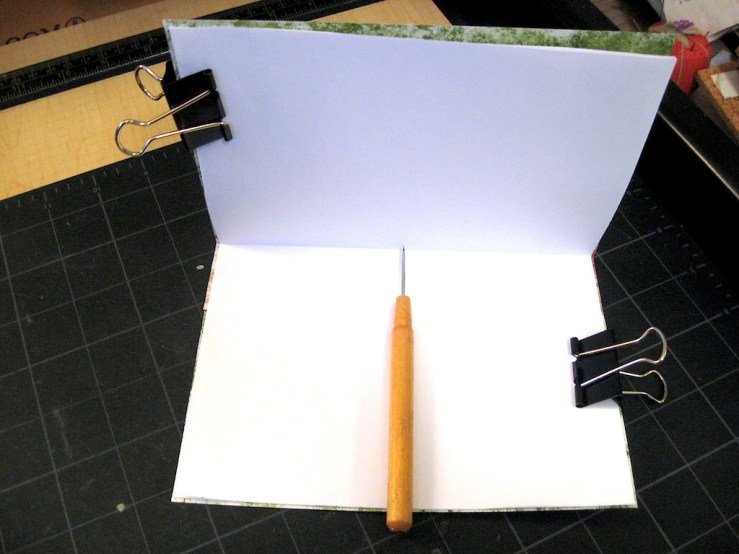
B) With your awl or pokey tool, punch three holes into the center fold line, making sure to go through all the layers. Place the holes at the center and a comfortable distance in from the top and bottom edges. You can measure, but it’s okay to eyeball it. Wiggle the awl in the holes to make sure they are all well open for ease of sewing.
TIP: Don’t flatten the notebook completely to make the sewing holes. Holding it slightly closed so you are piercing into the fold makes it easier to keep the holes right on the spine.
C) Cut about an arm’s length of string or thread to give you enough to work with. Thread your needle.
D) Sew the book as follows:
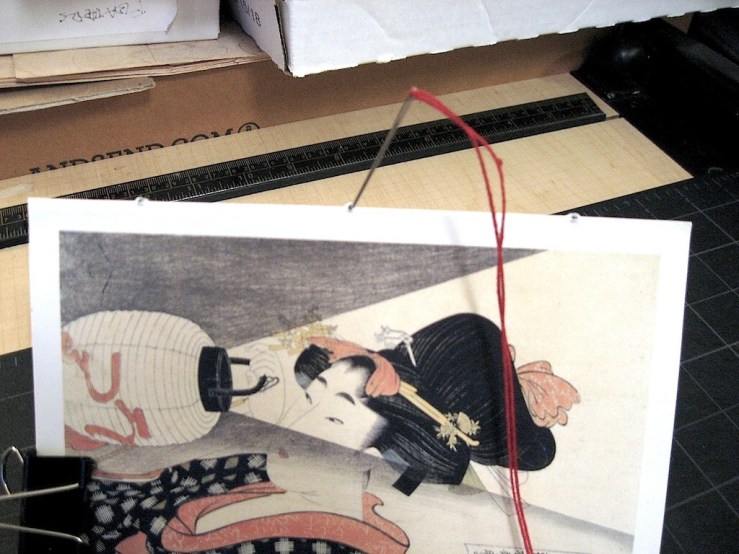
1) From the outside of the book, go in the center hole. Leave a good tail hanging.
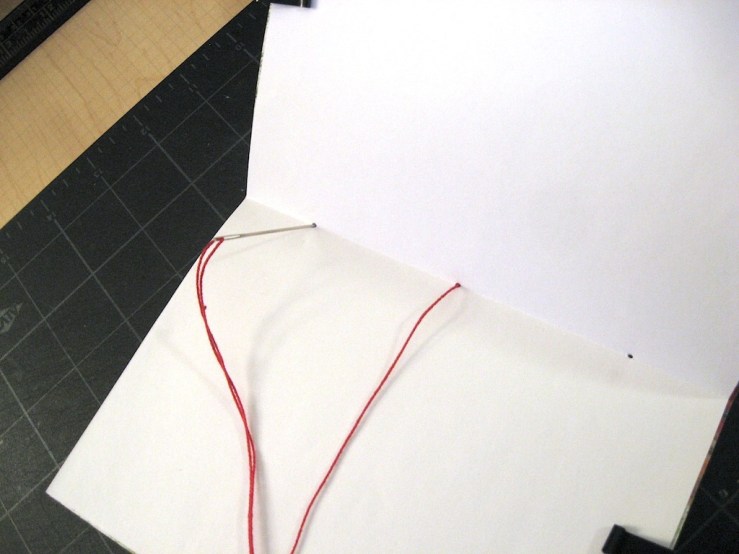
2) From the inside of the book, go out one of the edge holes.
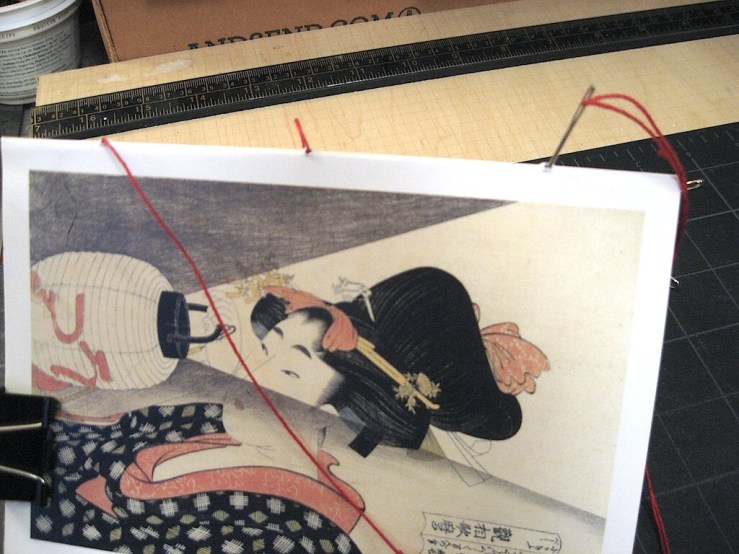
3) From the outside of the book, go in the other edge hole.
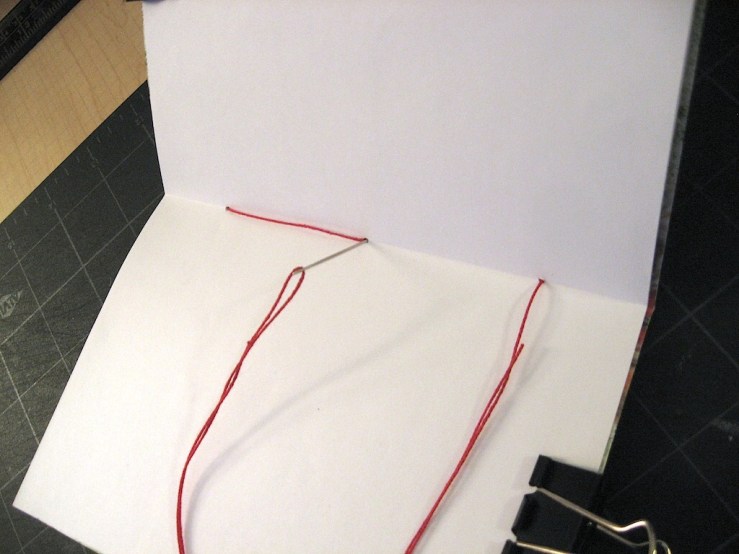
4) From the inside of the book, go out the center hole.
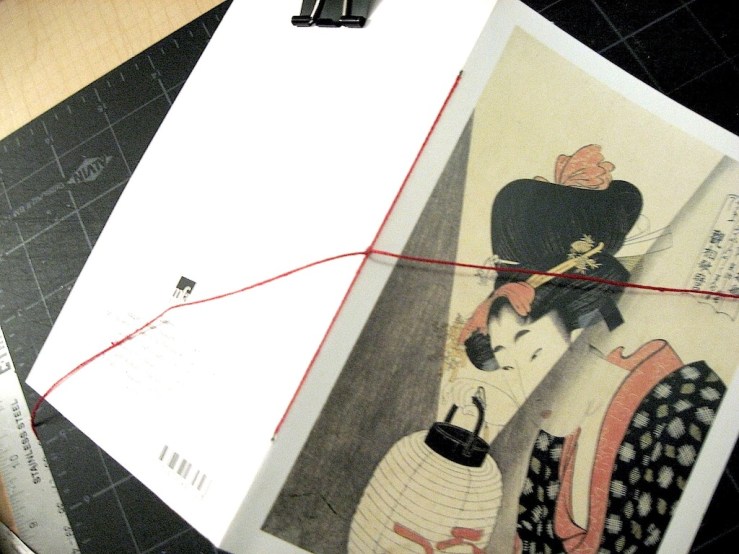
Looking at the outside of the book, you should have a long line of thread along the spine and two tails hanging loose from the center. Make sure the line of thread runs between the two tails.
5) Tie the tails in a knot or bow over the line of thread to anchor everything in place. Pull snugly but not too hard, or you might tear the paper. Trim the thread ends to desired length.
And you are done!
These little altered card notebooks make a wonderful gift for Christmas or any holiday or occasion. Make a little brag book for the grandparents, or a guide to dorm life for a new college student. Going on vacation? Make a travel journal with a card featuring your destination to collect special ephemera on your trip. Or take that special card you received from someone close and make it a journal of what they mean to you.
If you make some of these notebooks, I’d love to hear about it and see some pictures.
Happy Holidays!

Discover more from Jen Fries Arts
Subscribe to get the latest posts sent to your email.

Jen, this is terrific! Very clear instructions, and the photos look great. I think even I could make one following this. Great work!
LikeLike
Thanks!
LikeLike