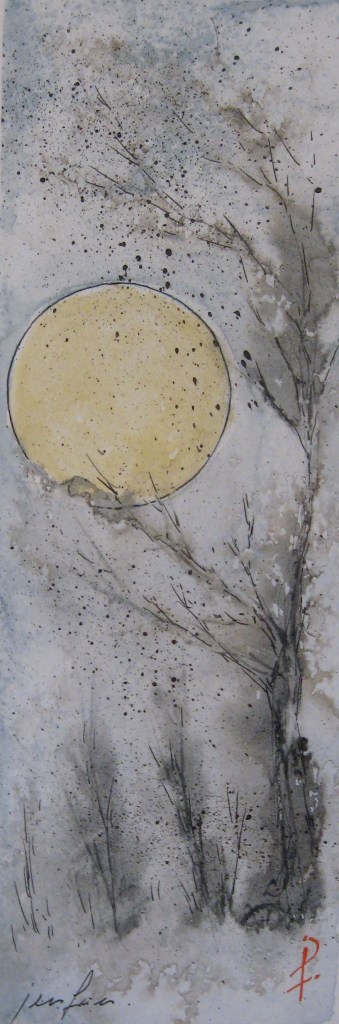
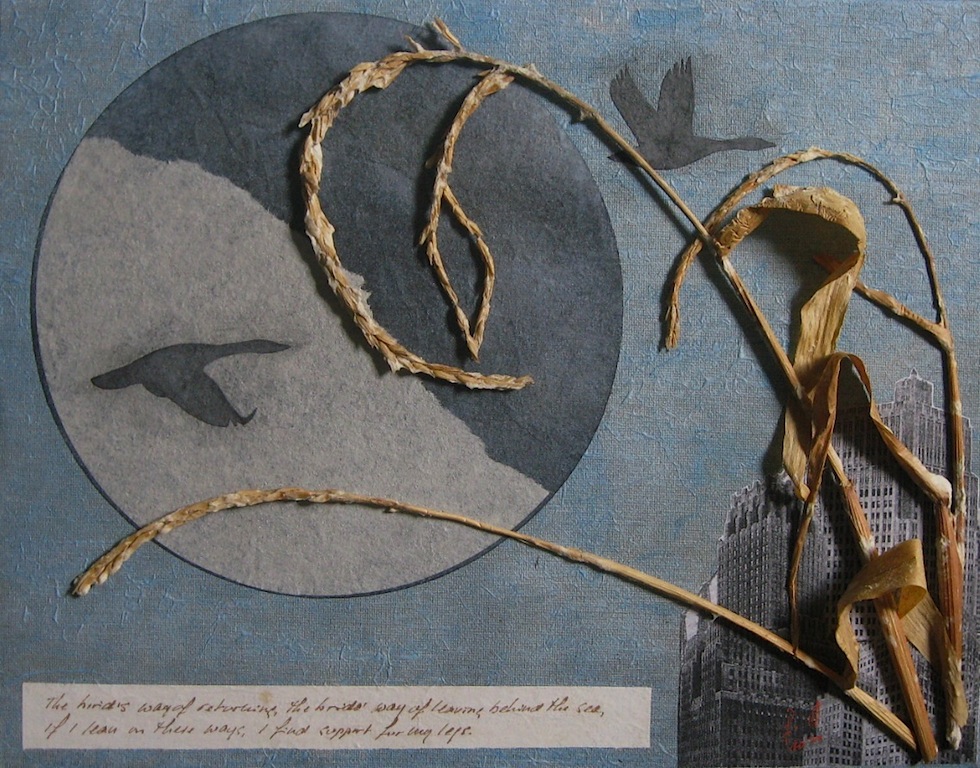
But if the trees fall, where will the birds sleep?
What will hold the flood? Embrace the Earth?
Draw the soul from my bones so that someday
someday
I might yet get a chance to pay my debts?
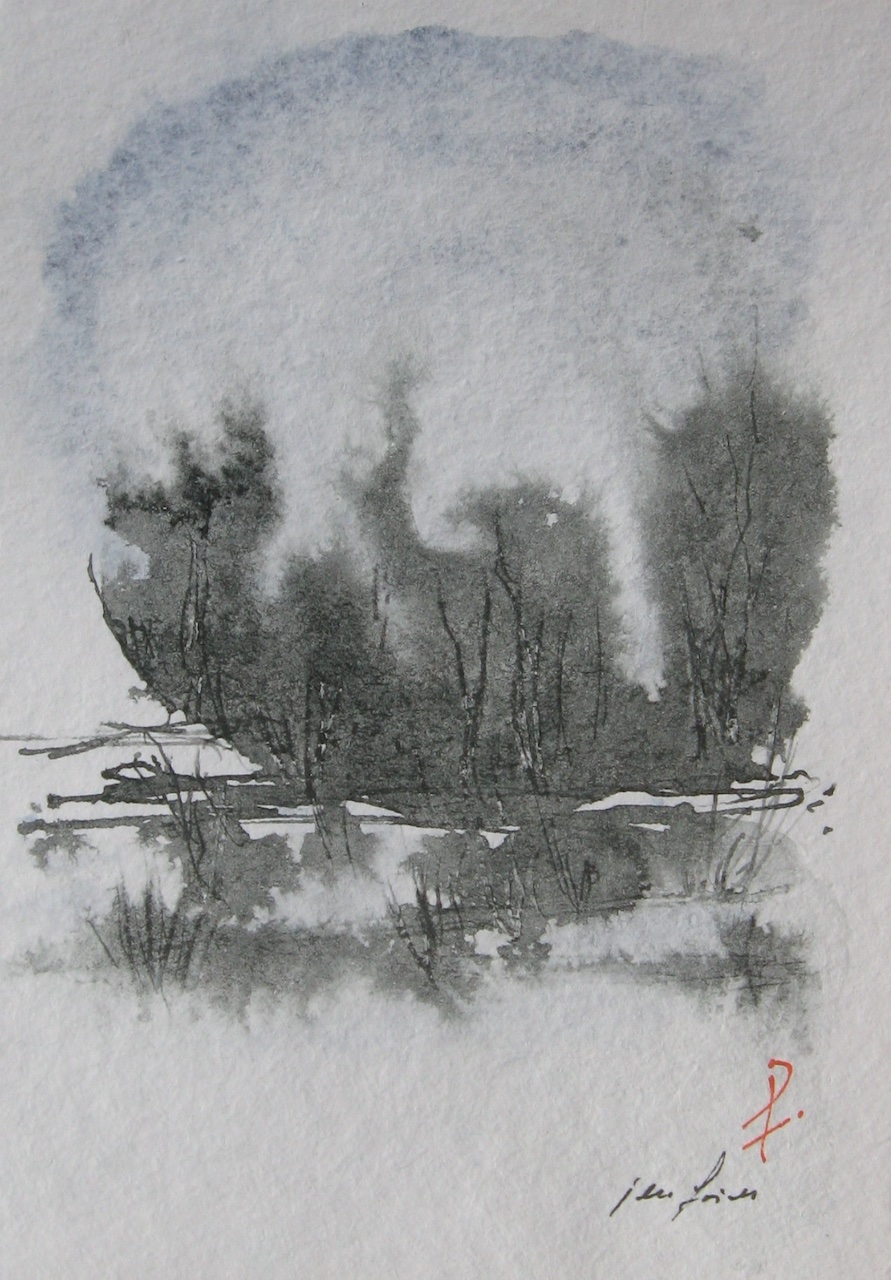
Be kind to the trees, Wind
For if they do not stand, I can’t walk
Written during a series of gusting storm fronts that swept through my city over several days. March came in like the proverbial lion this year. I wrote this while the wind howled, my house swayed, the dogwood branches clawed across my windows in the dark, and I just had one request.
Which was granted, after all.
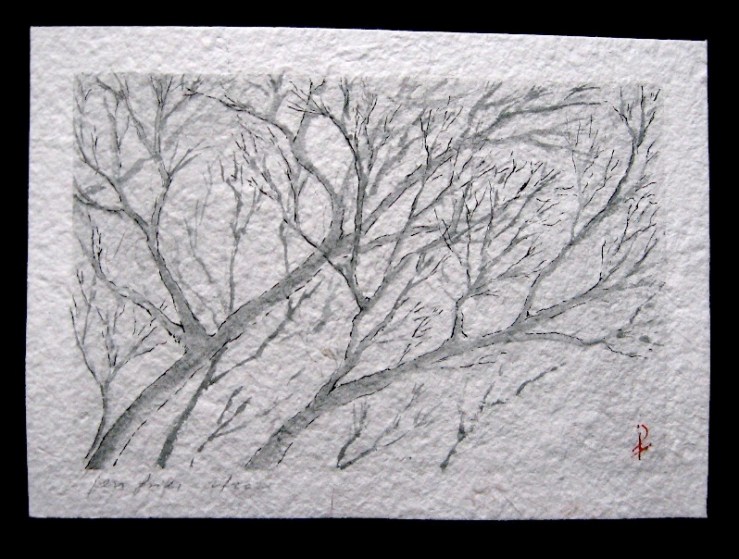
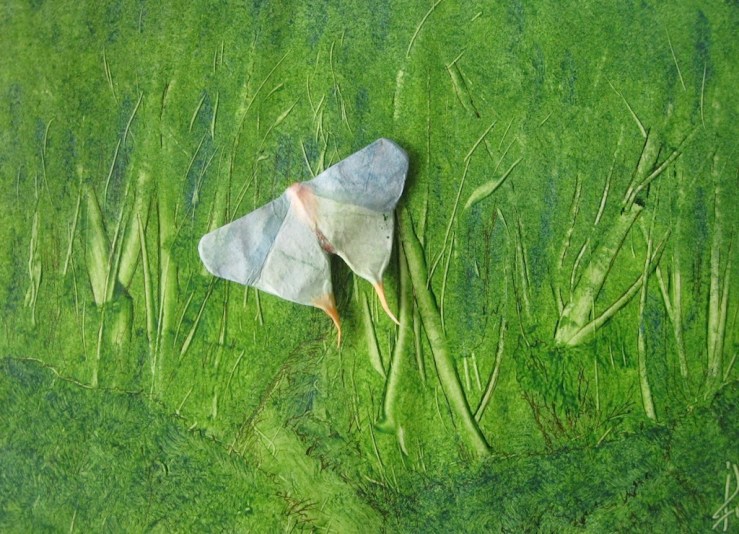
The illustration is a small painting in ink and watercolor.
Today begins the year of the Wood Snake according to the Chinese lunar calendar. In the Chinese zodiac, it seems snakes are associated with wisdom and calm, grounded dispositions, something I think we could all benefit from this year. Last night, I wrote this:
Snow is falling on my street Slow and light Bright against the night
The wind calmed down at last. I draw the blind across the glass and go to bed.
They say the wind will blow again tomorrow So tonight I sleep in blankets deep and the silence of the snow falling on my street.
Winter is a season of challenge and rest. It’s a time of stark beauty, quiet light, and endless space. In winter, we see right down to the fundamentals of things, and we make the most of what we’ve learned the rest of the year. Winter is the end of one chapter and the beginning of the next. Here are some paintings and collages, celebrating this season of contrasts. Happy Holidays!
And this time, I’m only a little late! Like many other people, I am just winging it wildly this holiday season, and it turns out I am a terrible business person. I should have had all this Yuletide stuff done months ago, so I could share it with you all before actual and literal Christmas Day.
But Christmas, Yule, and all the other winter holidays are really not about business, so rather than leading into the season with various “calls to action” and whatnot, I’m just offering you a gift from me to you.
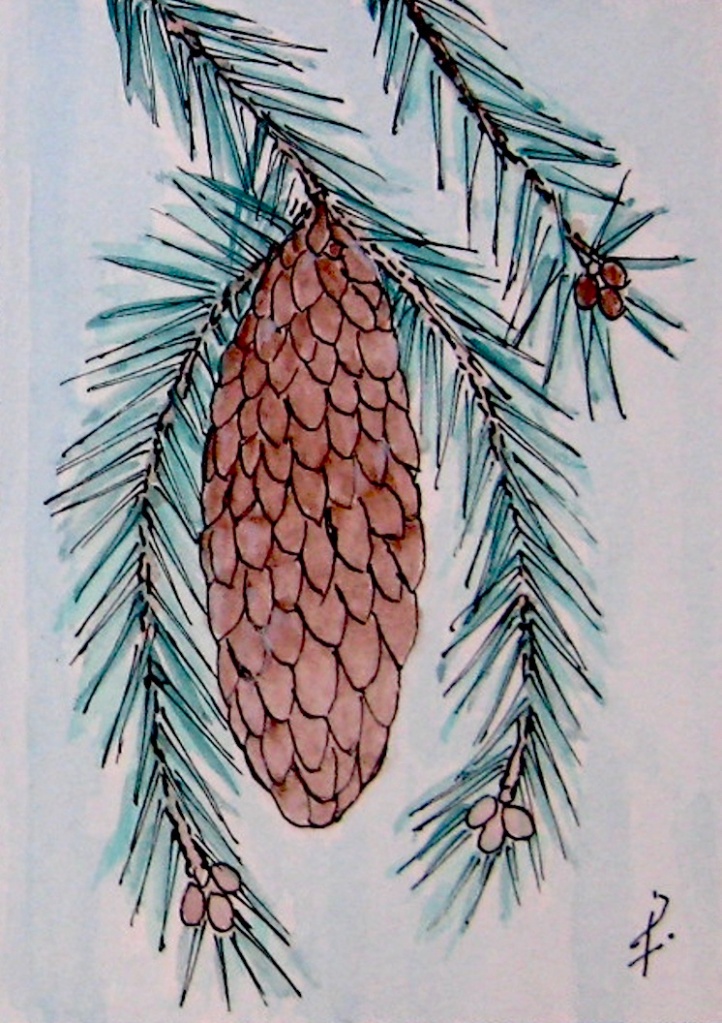
From today until December 31st, please feel free to download printable copies of the original line drawings for the four winter cards I painted yesterday. New art! Fresh out of the artist’s brain! All four images are in a single-page pdf file, accessible at the link below. Use them as-is or color them as you like. They are just rough drawings, suitable for tags, bookmarks, or cards. Personal use only, naturally.
Download the winter cards here.
By the way, do you realize we have four new year events running relatively close together this winter? The Winter Solstice on December 21st was the solar new year. January 1st is the calendar new year. The next Perihelion (Earth’s closest orbit point to the Sun) comes on January 4th and may be considered the astronomical new year (I decree). Finally, January 22nd is the lunar new year on the Chinese calendar – Year of the Water Rabbit.
I’m taking this as a sign that this mid-winter is an optimal time for fresh starts and attitude shifts. So maybe next year, I’ll have winter cards ready in time for you to use them. 😉
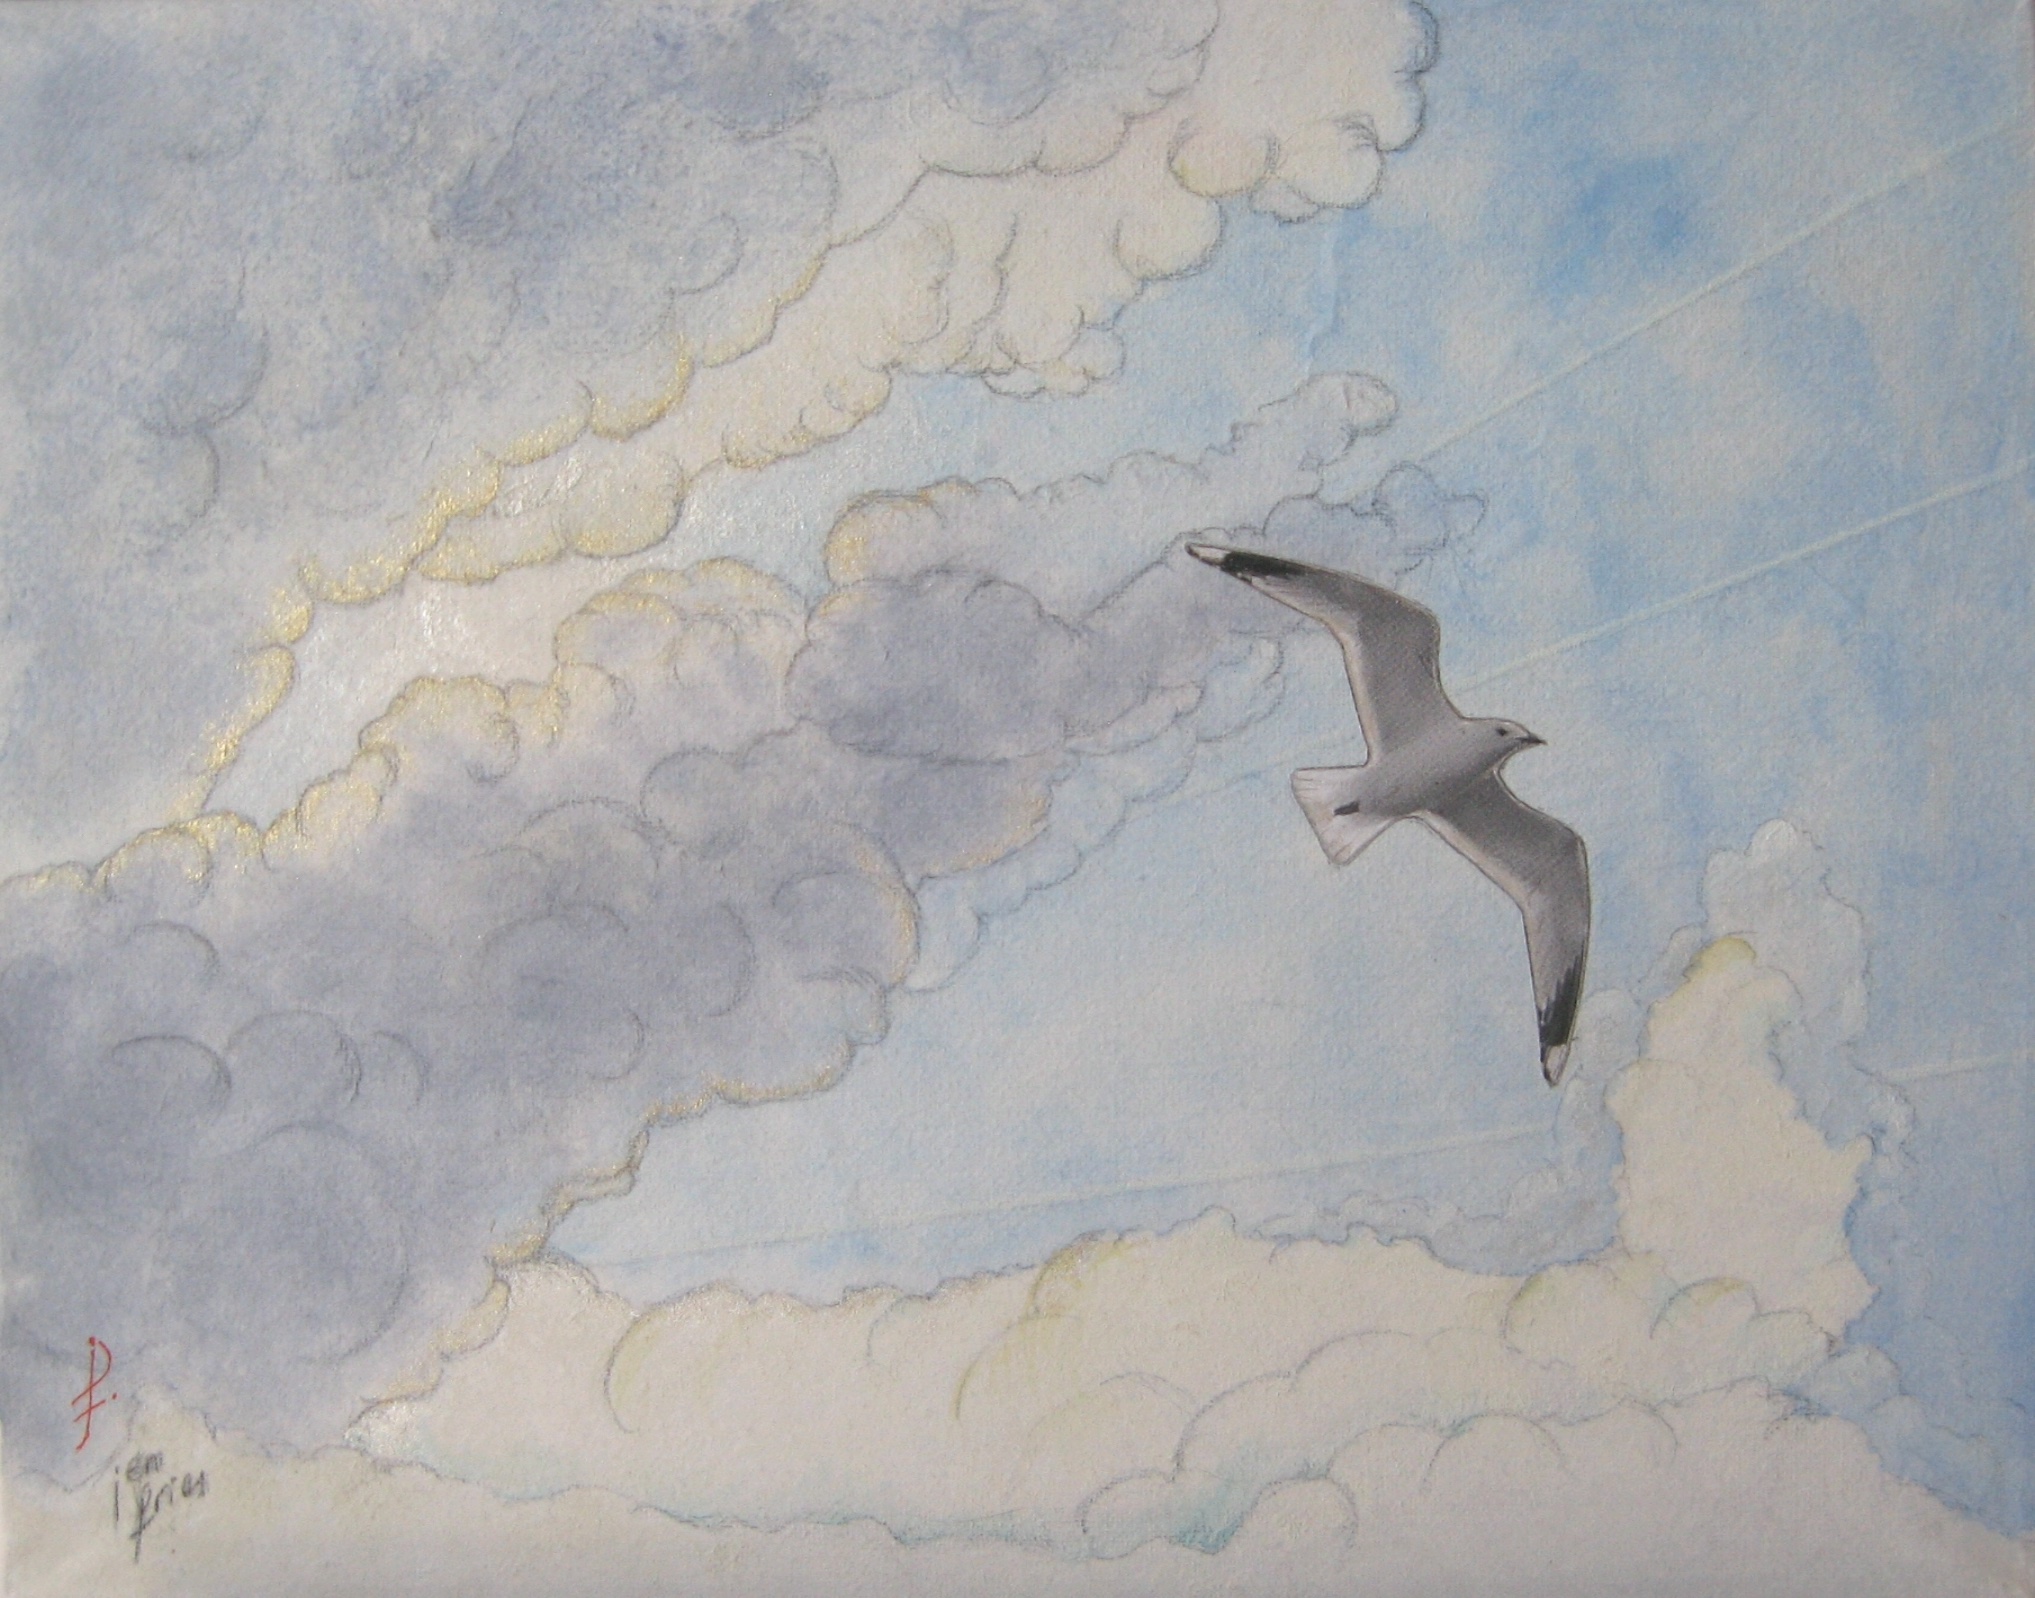
Meanwhile, please enjoy your holidays and multiple new years. Below are the final paintings of the cards, which should be available as prints and cards next winter. See? I’m not late, I’m early.
And the start of another next-winter project – a Partridge in a Pear Tree. I plan to do the whole Twelve Days, and will offer them next year as prints and perhaps even a book.
All of these small paintings are done in watercolor, pastel, and ink.
Wishing you all happy, merry, and joyous holidays.
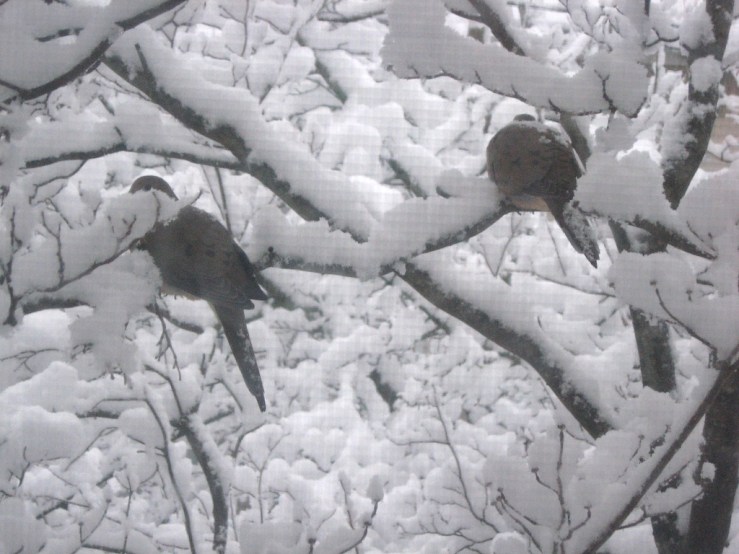
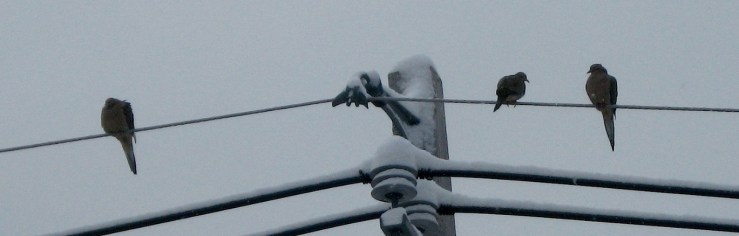
It’s been all snow, ice, mellow jazz in the background, warm soft clothes with big fluffy scarves, bird watching, art puttering, and spiced chai with cream since last I posted. In keeping with February in Massachusetts, my view has been largely inward – spring cleaning the junk inside my head as well as in my rooms, and avoiding the freezing damp. I hope you are all keeping well and warm, despite storms and craziness.
I’ve been working on a new-to-me water-media technique, using soft pastels like watercolor. I started doing this on small sketches sometime last year, and it was kind of a breakthrough for me. The graininess of pastel pigments gives the paintings a subtle, impressionistic texture compared to watercolor. There’s a dreamy effect that I’m falling in love with. Plus wet pastel adheres to the paper well, as long as you don’t lay it on too thick or in too many layers. No dust floating off.
For tiny drawings in my sketchbook, I just lift color off the stick with a wet brush, treating the sticks like pan watercolors. However, the pastels won’t flow as freely across a surface, so for larger paintings and washes I need to experiment a bit.
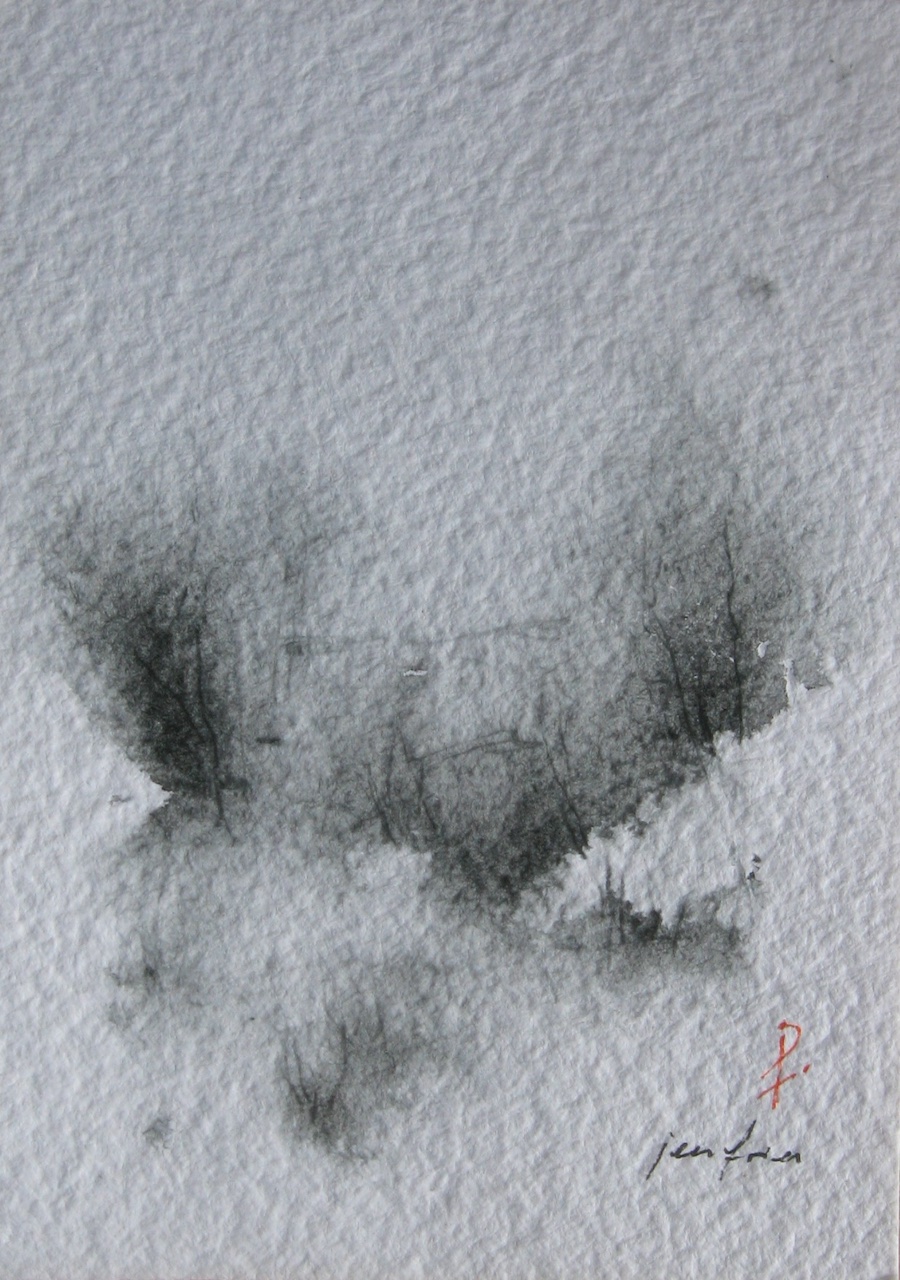
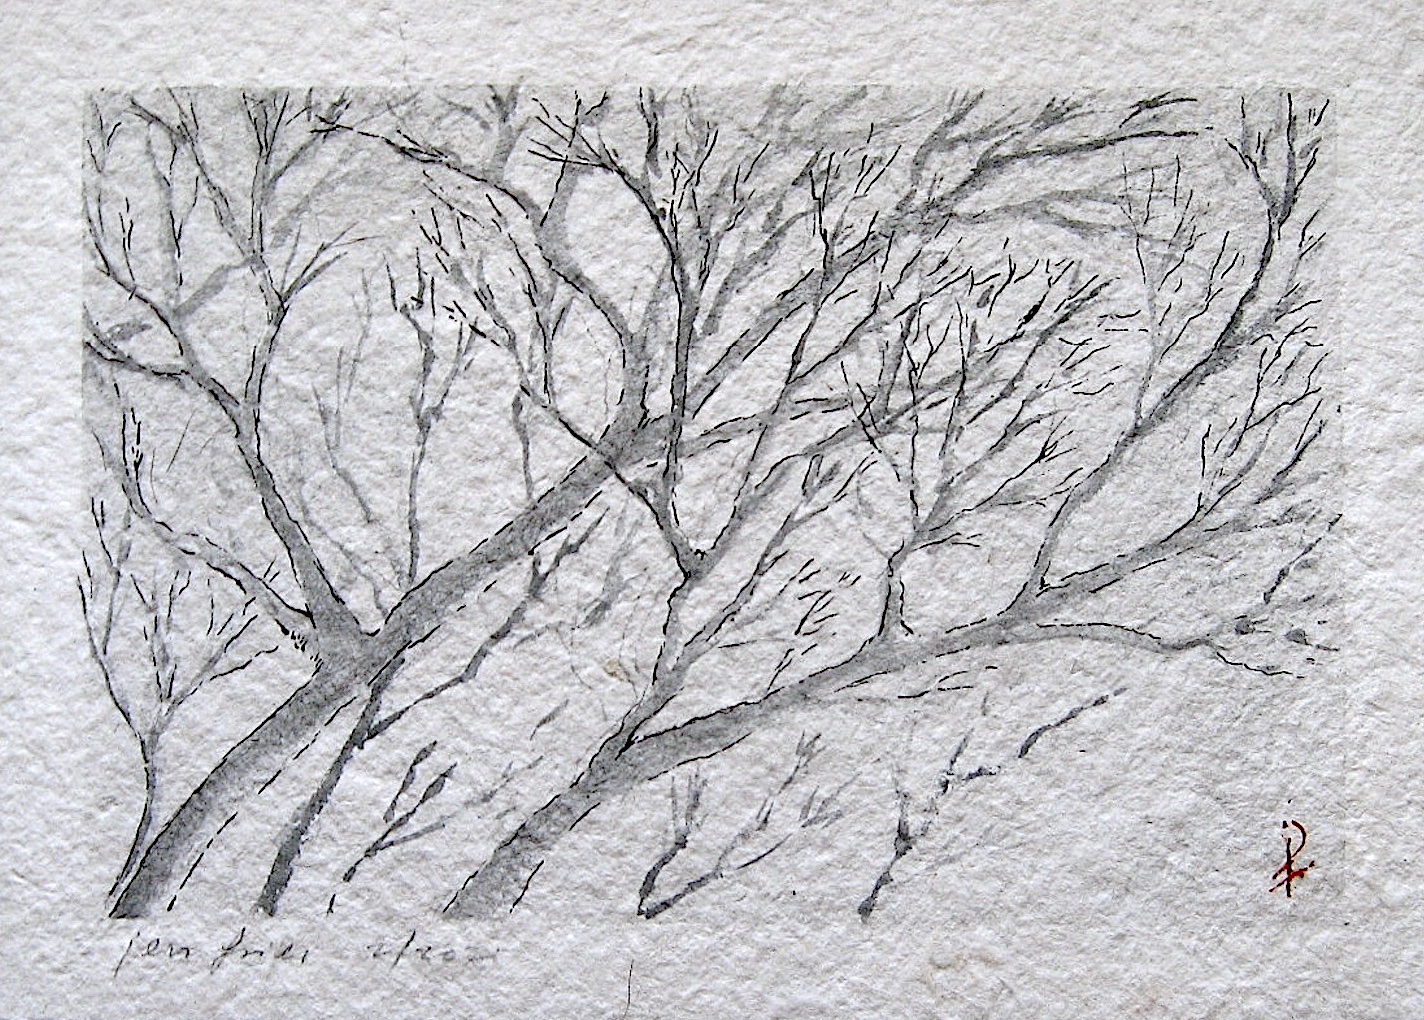
Some artists grind pastels to powder and mix them with additives and binders to make them into proper paints. I’m way too lazy for that. But then I thought a stick of color is rather like a stick of ink, isn’t it, so I turned to Chinese and Japanese brush painting, for which solid ink is ground with water on a stone to make liquid ink of the desired consistency. This monochrome study of branches was done by grinding a pastel stick in that manner.
Inspired by the dogwood outside my window
I am quite pleased with this method so far. It suits me. The grinding provides a meditative moment to get into the head space. I need to work on the mis-en-place arrangement of tools, play with colors, put together an equipment kit, and so forth. I’ll keep you posted on progress. Meanwhile, this small painting will be available in the shop shortly, along with other works that put me in mind of the season.
That’s all for now. Remember your masks and all that, and take care of yourselves.
January/February Photo Journal
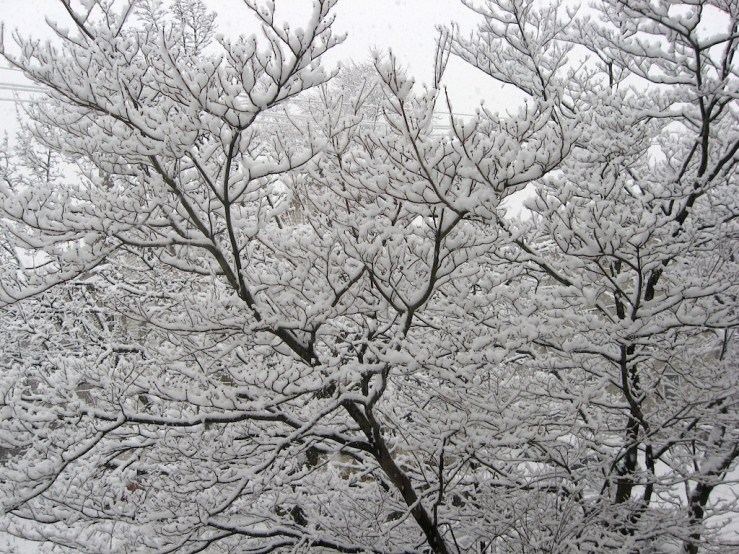
The dogwood
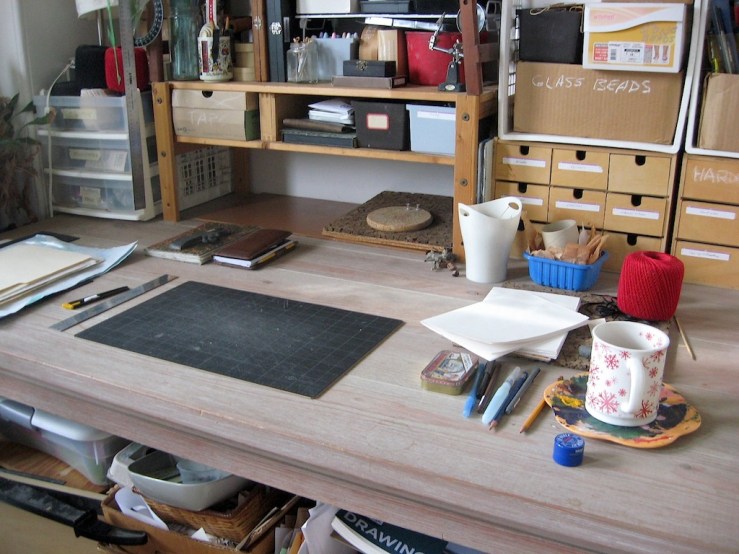
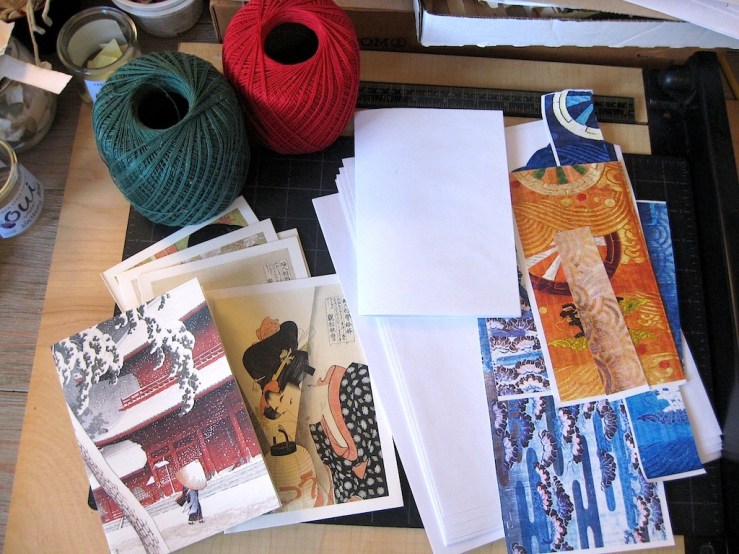
Getting ready, this time to make the new sketchbook
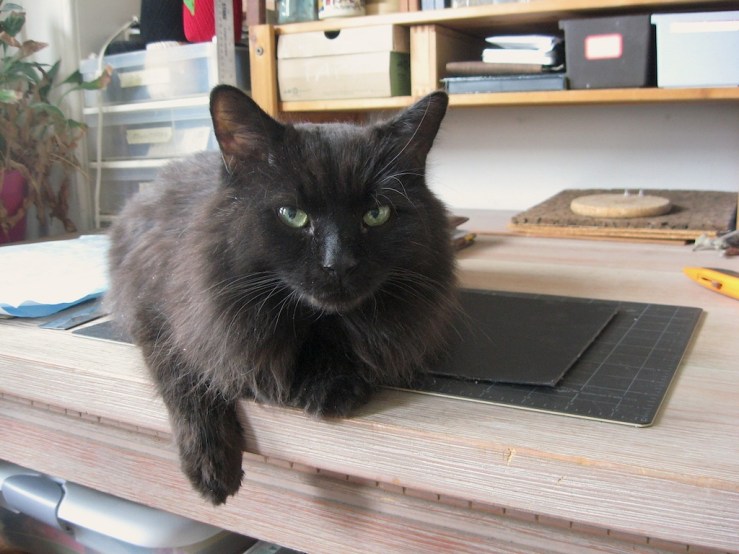
Staff meeting with Studio Assistant Scipio
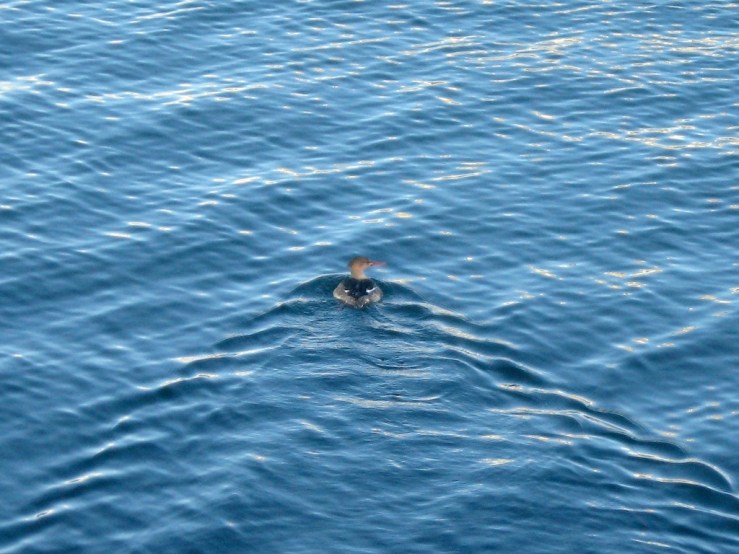
Meeting members of the wildlife division for lunch
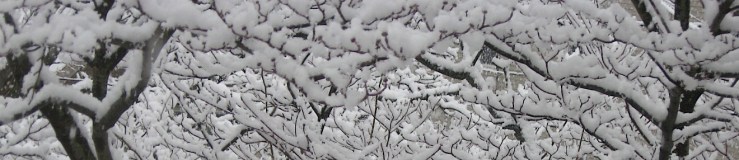
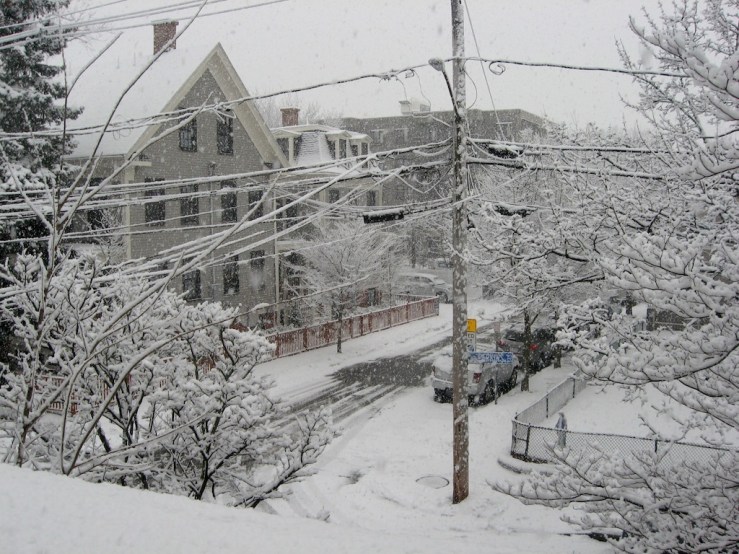
The view from the studio for the past several weeks
Hello, all. I’m back after one of my long, unannounced absences, and I’m afraid I return with sad news.
Our beloved cat, Leah, has died after more than a year battling cancer. The disease turned aggressive in late November, and she passed in early January, at home with us by her side. She was 17 years old. She’d had a rough as a captured feral cat in shelters before coming to our home some 13 years ago, but despite her post-traumatic phobias and neuroses, she was the sweetest, most caring and quietly affectionate creature you could imagine. Beautiful, small, delicate, she was our fairy princess, and few things could make us happier than to see her content and purring. We all miss her so much.
Immediately after our personal loss, of course, That Insurrection Thing happened. As you know, we are a rather political gang in the apartment attached to the studio, so it was a bit all-consuming to watch, in a state of grief, as a bunch of racists and fascists tried to overthrow the US government live on tv, and all the ripples that spread from that.
Also, covid-19.
Altogether, not a good time, and I hope you will understand that I haven’t done, said, or thought a single thing worth telling you about in over two months.
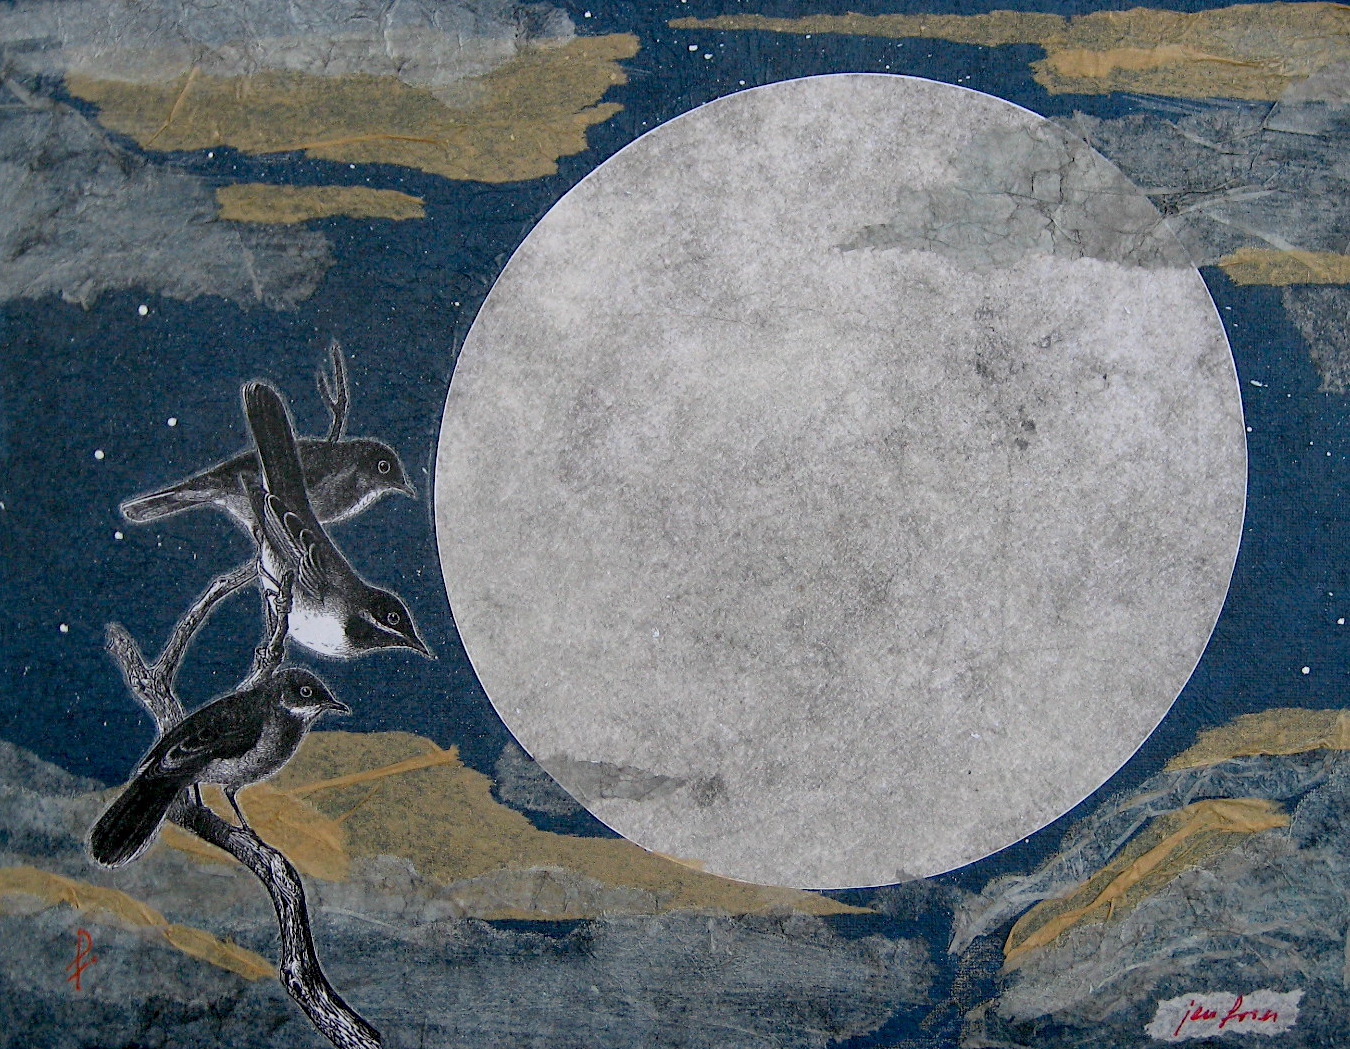
But tonight is the first full moon of 2021, and I am officially restarting the year as of now.
Am I all healed up and ready to rock? Nope. I am tired, and foggy, and sad, my plans are a jumbled mess, and my calendar is mostly blank. But the fascists failed, and the days are getting longer, and I do feel just a little more … possible than I did just two weeks ago. It’s a flimsy straw, but I’m grasping it. In the past two days, I’ve started a new sketchbook for the year. I’m planning my garden. I’m gradually, baby-step KonMari-ing this whole place (ye gods, I’ve got a lot of stuff), and sorting it all out is giving me a ton of new ideas. Somehow, I feel vaguely like I can start moving again.
Where does this thin trickle of unexpected energy come from? Maybe the moon. January’s Ice Moon is ushering in a wave of snow storms and a deep freeze here in scenic Somerville, and I do feel as if those gusts of wind are blowing away the last, clinging dregs of 2020. You know, psychologically.
So, belatedly, happy New Year. I hope you are all warm and keeping well and looking forward to better days. I make no warranties or representations for what 2021 will bring from my studio, or when, or how. I offer no schedules or projects on deck. No promises = no apologies, that’s my motto for the moment.
So let’s just go forth, as it were, and see what emerges, shall we?
Winter 2020/2021 Photo Journal
In Memoriam: Leah the Bedea, Our Princess, forever loved.
It’s been a season of ups and downs, hasn’t it? These past few weeks have been all business-business-work-work-work, with little time for art, and not much for enjoying the holidays, either. But art and holidays are here nonetheless, and by hook or by crook, I’m going to wrest some festivity out of December.
So, for all you wonderful folks who follow this site (thank you so much!) and for all harried, distracted, stressed-out folks in need of a last-minute gift, I offer an easy, free tutorial for making notebooks from altered greeting cards. A little gift from me to express a lot of appreciation for you.
First some work-work news:
I have posted a new Privacy Policy for Jen Fries Arts. The link is in the footer of each page and under the Home tab. Please take a moment to read it.
I have added the leaf specimens and the autumn zines to the Artworks gallery under Cities, Botanicals, and Zines and Art Books.
I am working on more leaf specimens as we glide into winter proper, so look for those before the new year.
And now, the tutorial.
Altered Greeting Card Notebooks
Do you like greeting cards but wish they were more useful? Do you have treasured cards from friends and family and want to do more than keep them in a box somewhere? Let’s remake them into notebooks!
This project uses sharp tools and is best for teens and adults. Kids may participate with adult supervision.
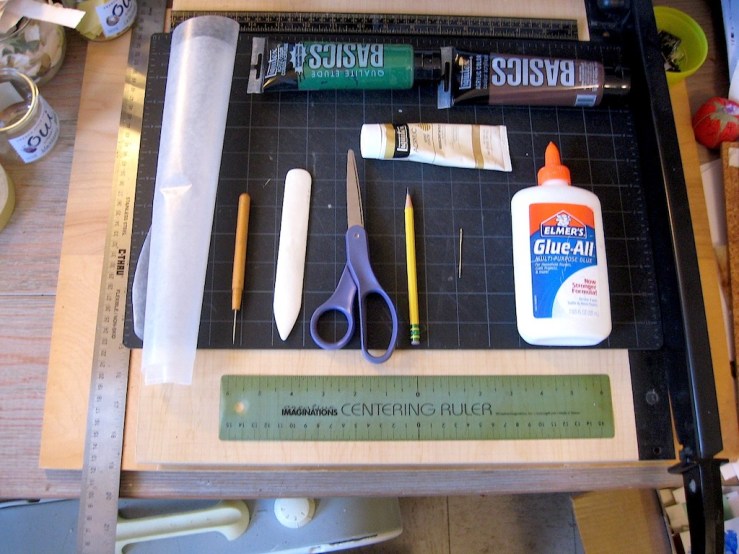
You will need:
Greeting cards, old or new
Paper – writing or printer paper is best
Ephemera, stickers, scrap paper, paint, stamps, ink, etc. (optional)
String or embroidery cotton
Tapestry or embroidery needle – blunt point and big eye
Scissors
Book awl or other fine pokey tool
Ruler
Bone folder (optional)
Pencil and eraser
Paper clips
Cutting blade or paper cutter
Cutting mat or other surface safe for cutting and poking
Paper glue
Wax paper
Step 1: Design
A) Take a look at your cards. These will be the covers of your notebooks.
How big are they? If they have a printed message, do you want to keep it? Do you want to change the image, color, or feel of the cards? Do you want to do anything to the back of the cards?
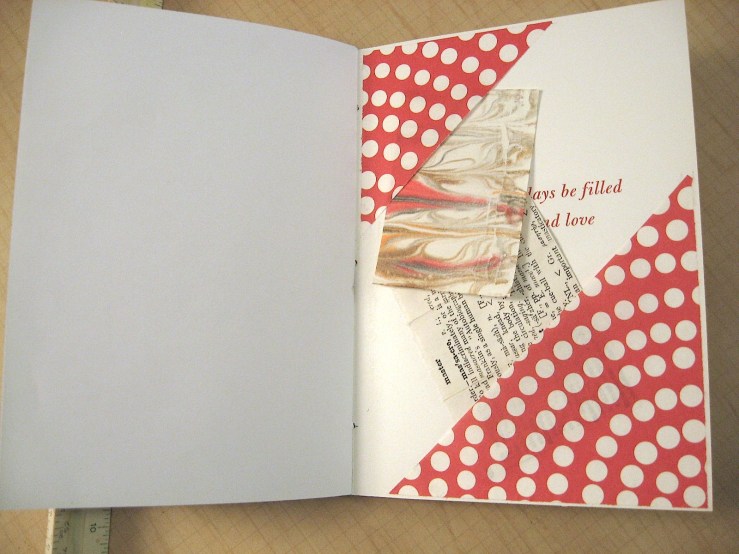
For this project, we’ll keep things simple and just add some color and pockets to the insides of the cards.
B) Experiment to see how many pages your cards can hold and still close comfortably. For this project we will use 5 folded sheets per card.
TIP: The number of pages will depend on how you plan to use your altered card notebook. Five sheets is comfortable for writing and drawing. If you plan to paste in family pictures or memorabilia, those will add thickness, so use fewer sheets.
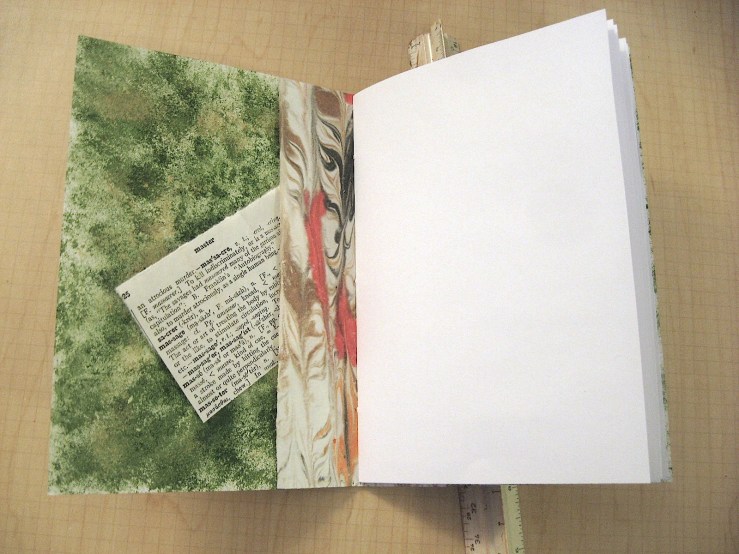
Add little pockets and tuck spots.
Step 2: Embellish your cover
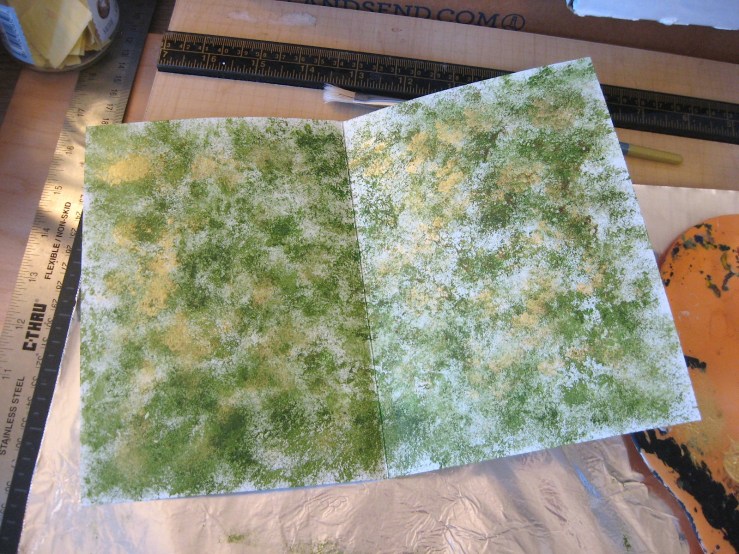
A) Apply your background paper or color. For this project, we are using acrylic paint. If you want to keep the printed message, cover it with a piece of paper to protect it. Lightly sponge or splatter the paint over the inside of the card. Work fast with small amounts of color. Keep your sponge or brush as dry as you can and still get color onto the card. Keep going until you like how it looks. Allow to dry.
B) Cut paper for the inside pockets and fit them in where you want them to be. Glue in place. Do the same with any other ephemera you wish.
Sponged acrylic paint. Use a light hand with paint and glue.
TIP: Use as little glue and paint as possible to avoid warping the card. They tend to be very warpy. If using paint or ink, it’s better to do several light, dry layers than one heavy, wet one.
C) Lay a sheet of wax paper inside the card, and let it dry closed under weight, such as under a few books. This should not take long. Prep your pages while you wait.
Use care with cutting tools.
Step 3: Cut and fold your pages
A) Measure your card from the top edge to the bottom edge. That is the height of your pages.
B) Measure your card from the center fold to the outer edge of the face of the card. That will be the width of your pages.
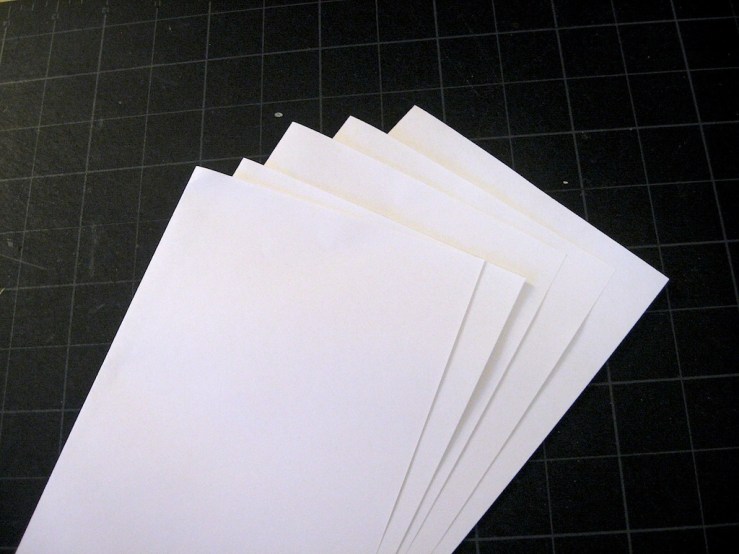
C) Mark the height and width measurements in pencil on one sheet of paper. Stack five sheets, and trim them all together with your blade or paper cutter. Erase any remaining pencil marks
TIP: Greeting cards are often folded a little off center, so no matter how you measure your pages, it won’t be perfect. For now, measure just the front face of your card. Then double that measurement to get the full width of your page sheets. This will make sure the pages match the part that people will look at the most.
Folded sheets nested together.
D) Fold each sheet of paper in half, using the bone folder to sharpen the creases if you like. Then nest the folded sheets together. This is your signature of pages. Snug the signature into the card and see if you want to trim the edges any more. Be careful – the more paper you try to cut through at once, the more likely you’ll get a mis-cut.
Step 4: Sewing your notebook
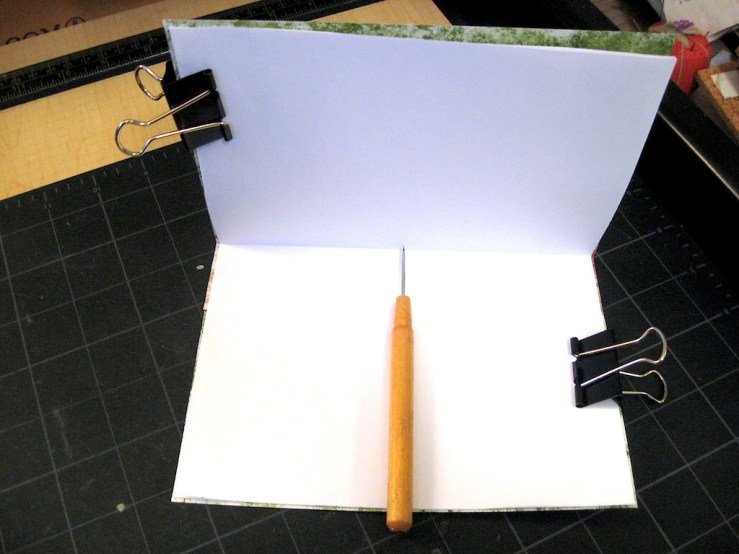
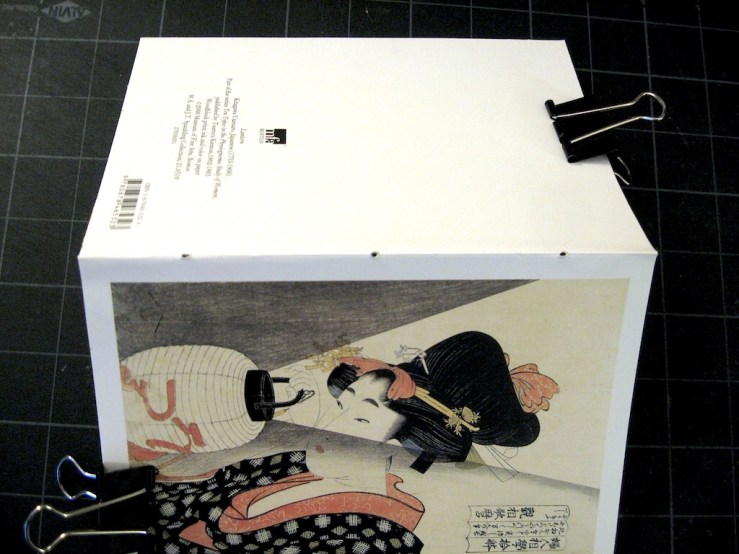
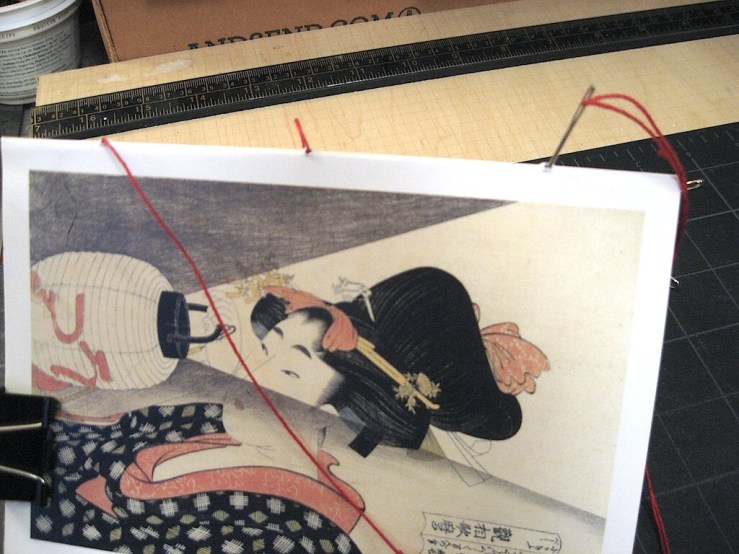
A) Nest the signature into the card as snugly as possible. Use clips to hold the pages and card together, if needed.
Clips hold the pages and cover together while sewing.
B) With your awl or pokey tool, punch three holes into the center fold line, making sure to go through all the layers. Place the holes at the center and a comfortable distance in from the top and bottom edges. You can measure, but it’s okay to eyeball it. Wiggle the awl in the holes to make sure they are all well open for ease of sewing.
It’s easier to pierce from the inside of the book than the outside.
TIP: Don’t flatten the notebook completely to make the sewing holes. Holding it slightly closed so you are piercing into the fold makes it easier to keep the holes right on the spine.
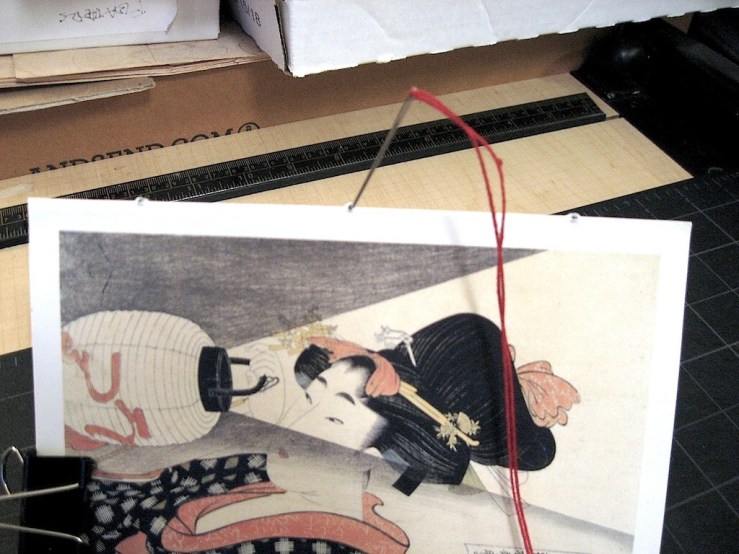
C) Cut about an arm’s length of string or thread to give you enough to work with. Thread your needle.
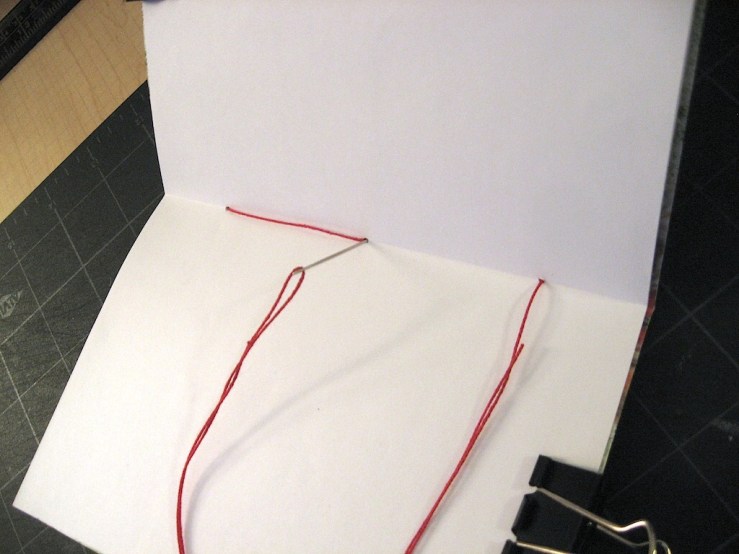
D) Sew the book as follows:
1) From the outside of the book, go in the center hole. Leave a good tail hanging.
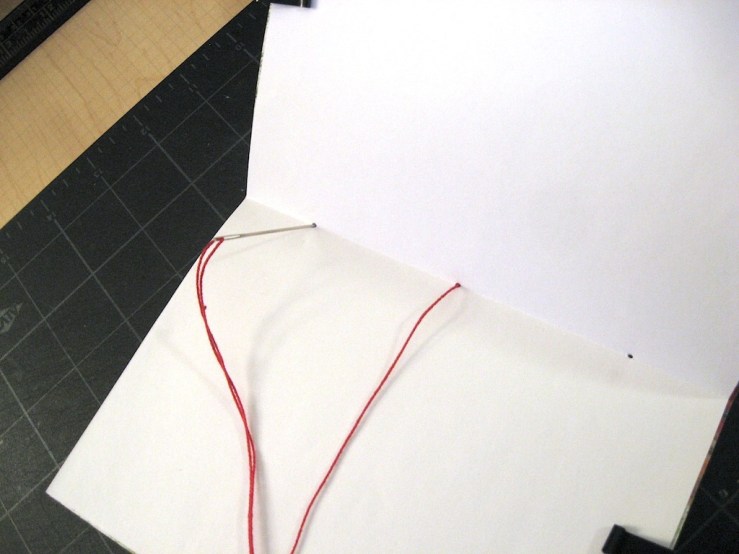
2) From the inside of the book, go out one of the edge holes.
3) From the outside of the book, go in the other edge hole.
4) From the inside of the book, go out the center hole.
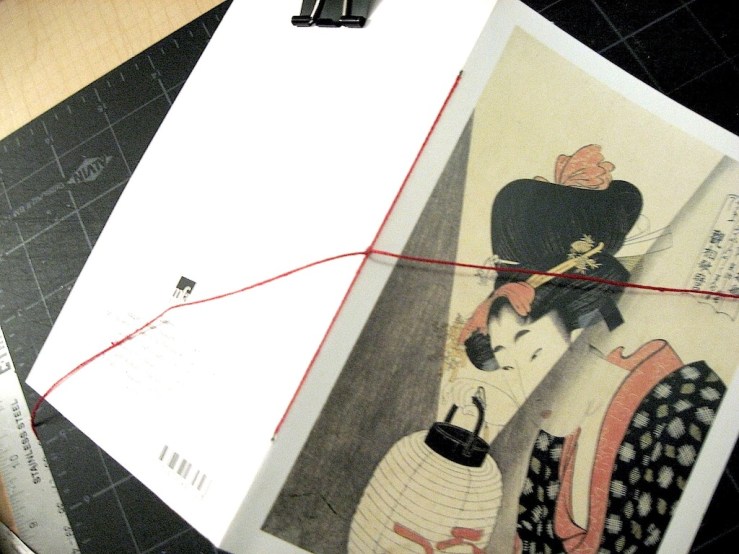
Looking at the outside of the book, you should have a long line of thread along the spine and two tails hanging loose from the center. Make sure the line of thread runs between the two tails.
5) Tie the tails in a knot or bow over the line of thread to anchor everything in place. Pull snugly but not too hard, or you might tear the paper. Trim the thread ends to desired length.
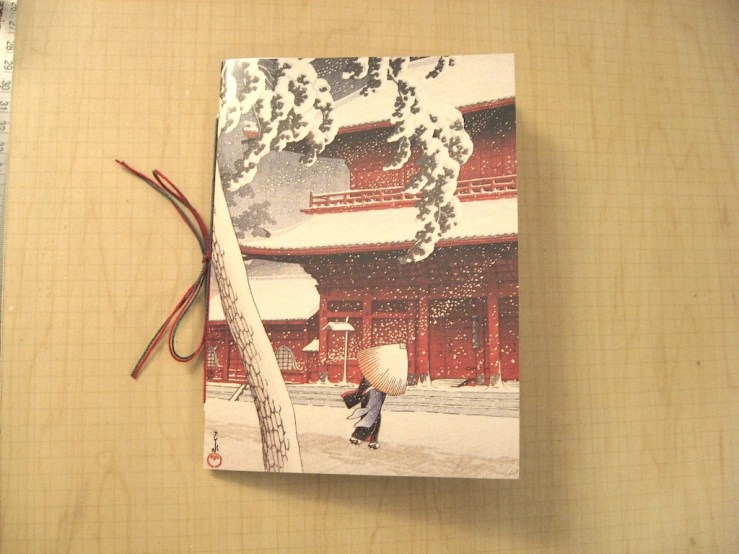
And you are done!
These little altered card notebooks make a wonderful gift for Christmas or any holiday or occasion. Make a little brag book for the grandparents, or a guide to dorm life for a new college student. Going on vacation? Make a travel journal with a card featuring your destination to collect special ephemera on your trip. Or take that special card you received from someone close and make it a journal of what they mean to you.
If you make some of these notebooks, I’d love to hear about it and see some pictures.
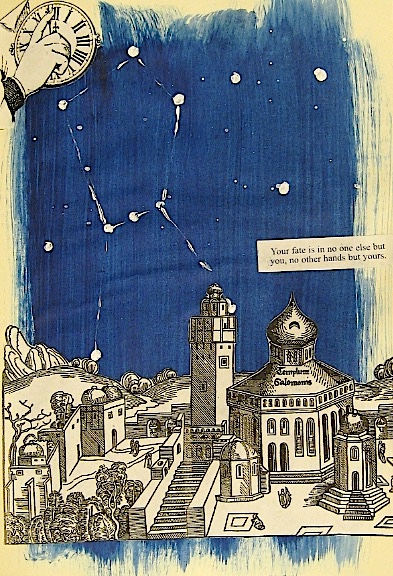
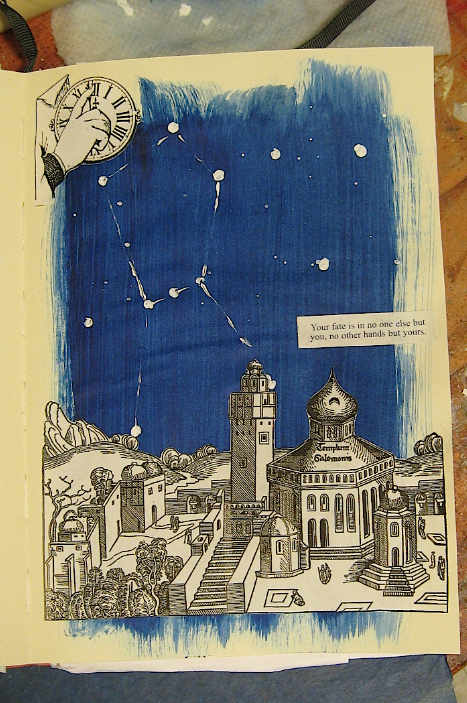
I heard somewhere once, many years ago, that at a certain latitude, if the sky is clear and you look due north at an unobstructed horizon, at the stroke of midnight on New Year’s night, you will see Sirius, Orion’s dog, at its apogee, with winter’s Orion setting to the west of it, and his mortal enemy, spring’s Scorpio rising to the east of it, and the two constellations will be equidistant above the Earth. So the story of Orion the Hunter, lover of Artemis, killed by the poisoned sting of Hera’s scorpion, marks the passage of winter and the new year.
I don’t know if this is true, but I think it should be, and already, the sun is setting a little later, haven’t you noticed?
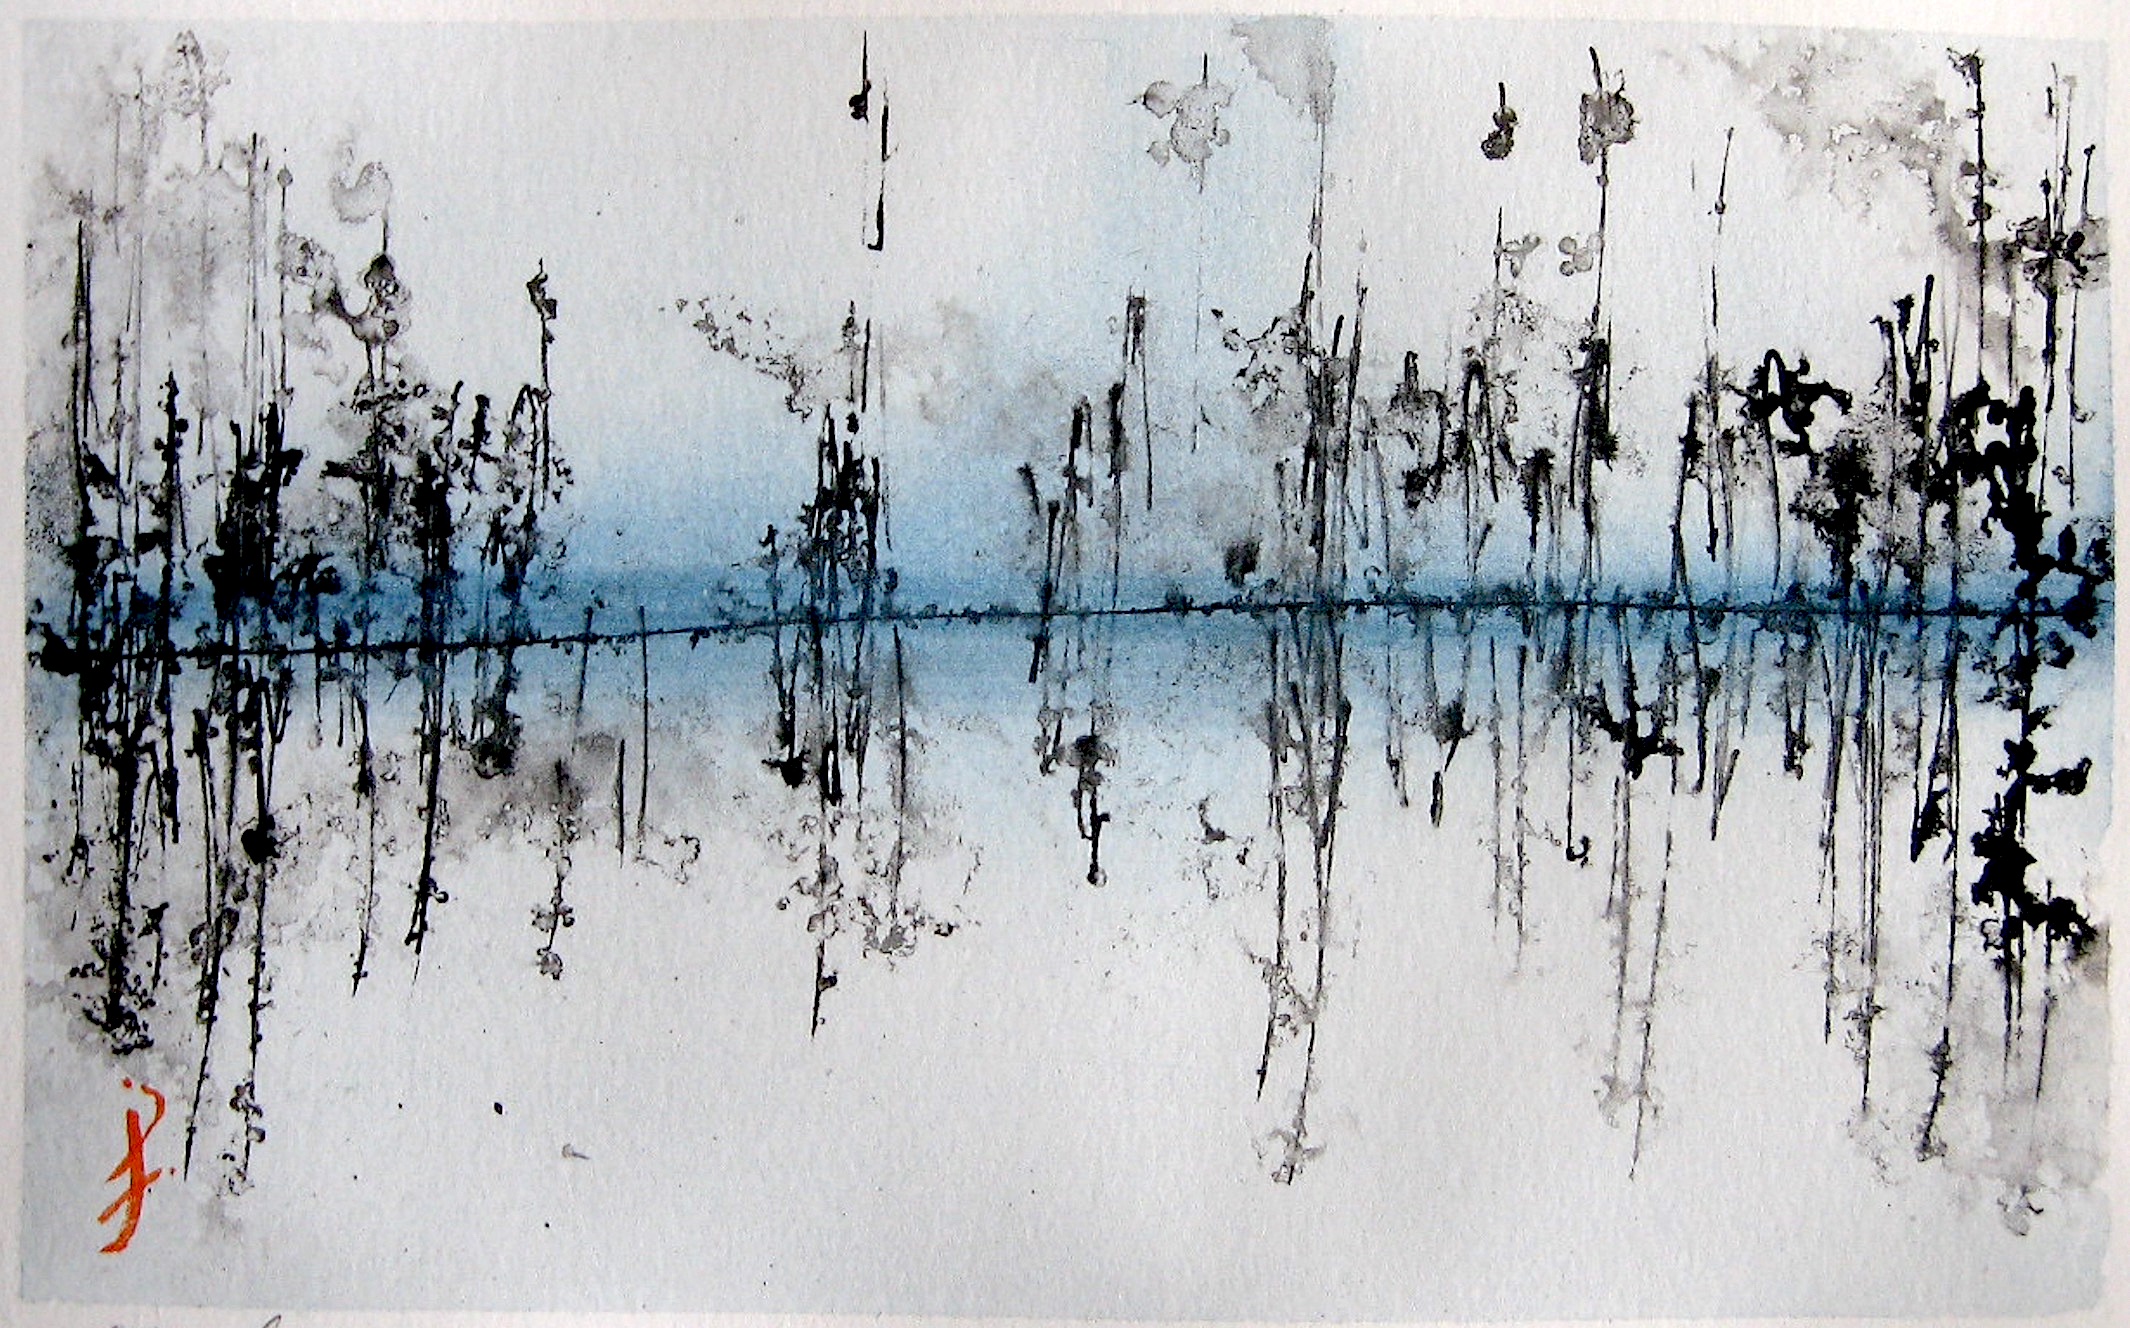
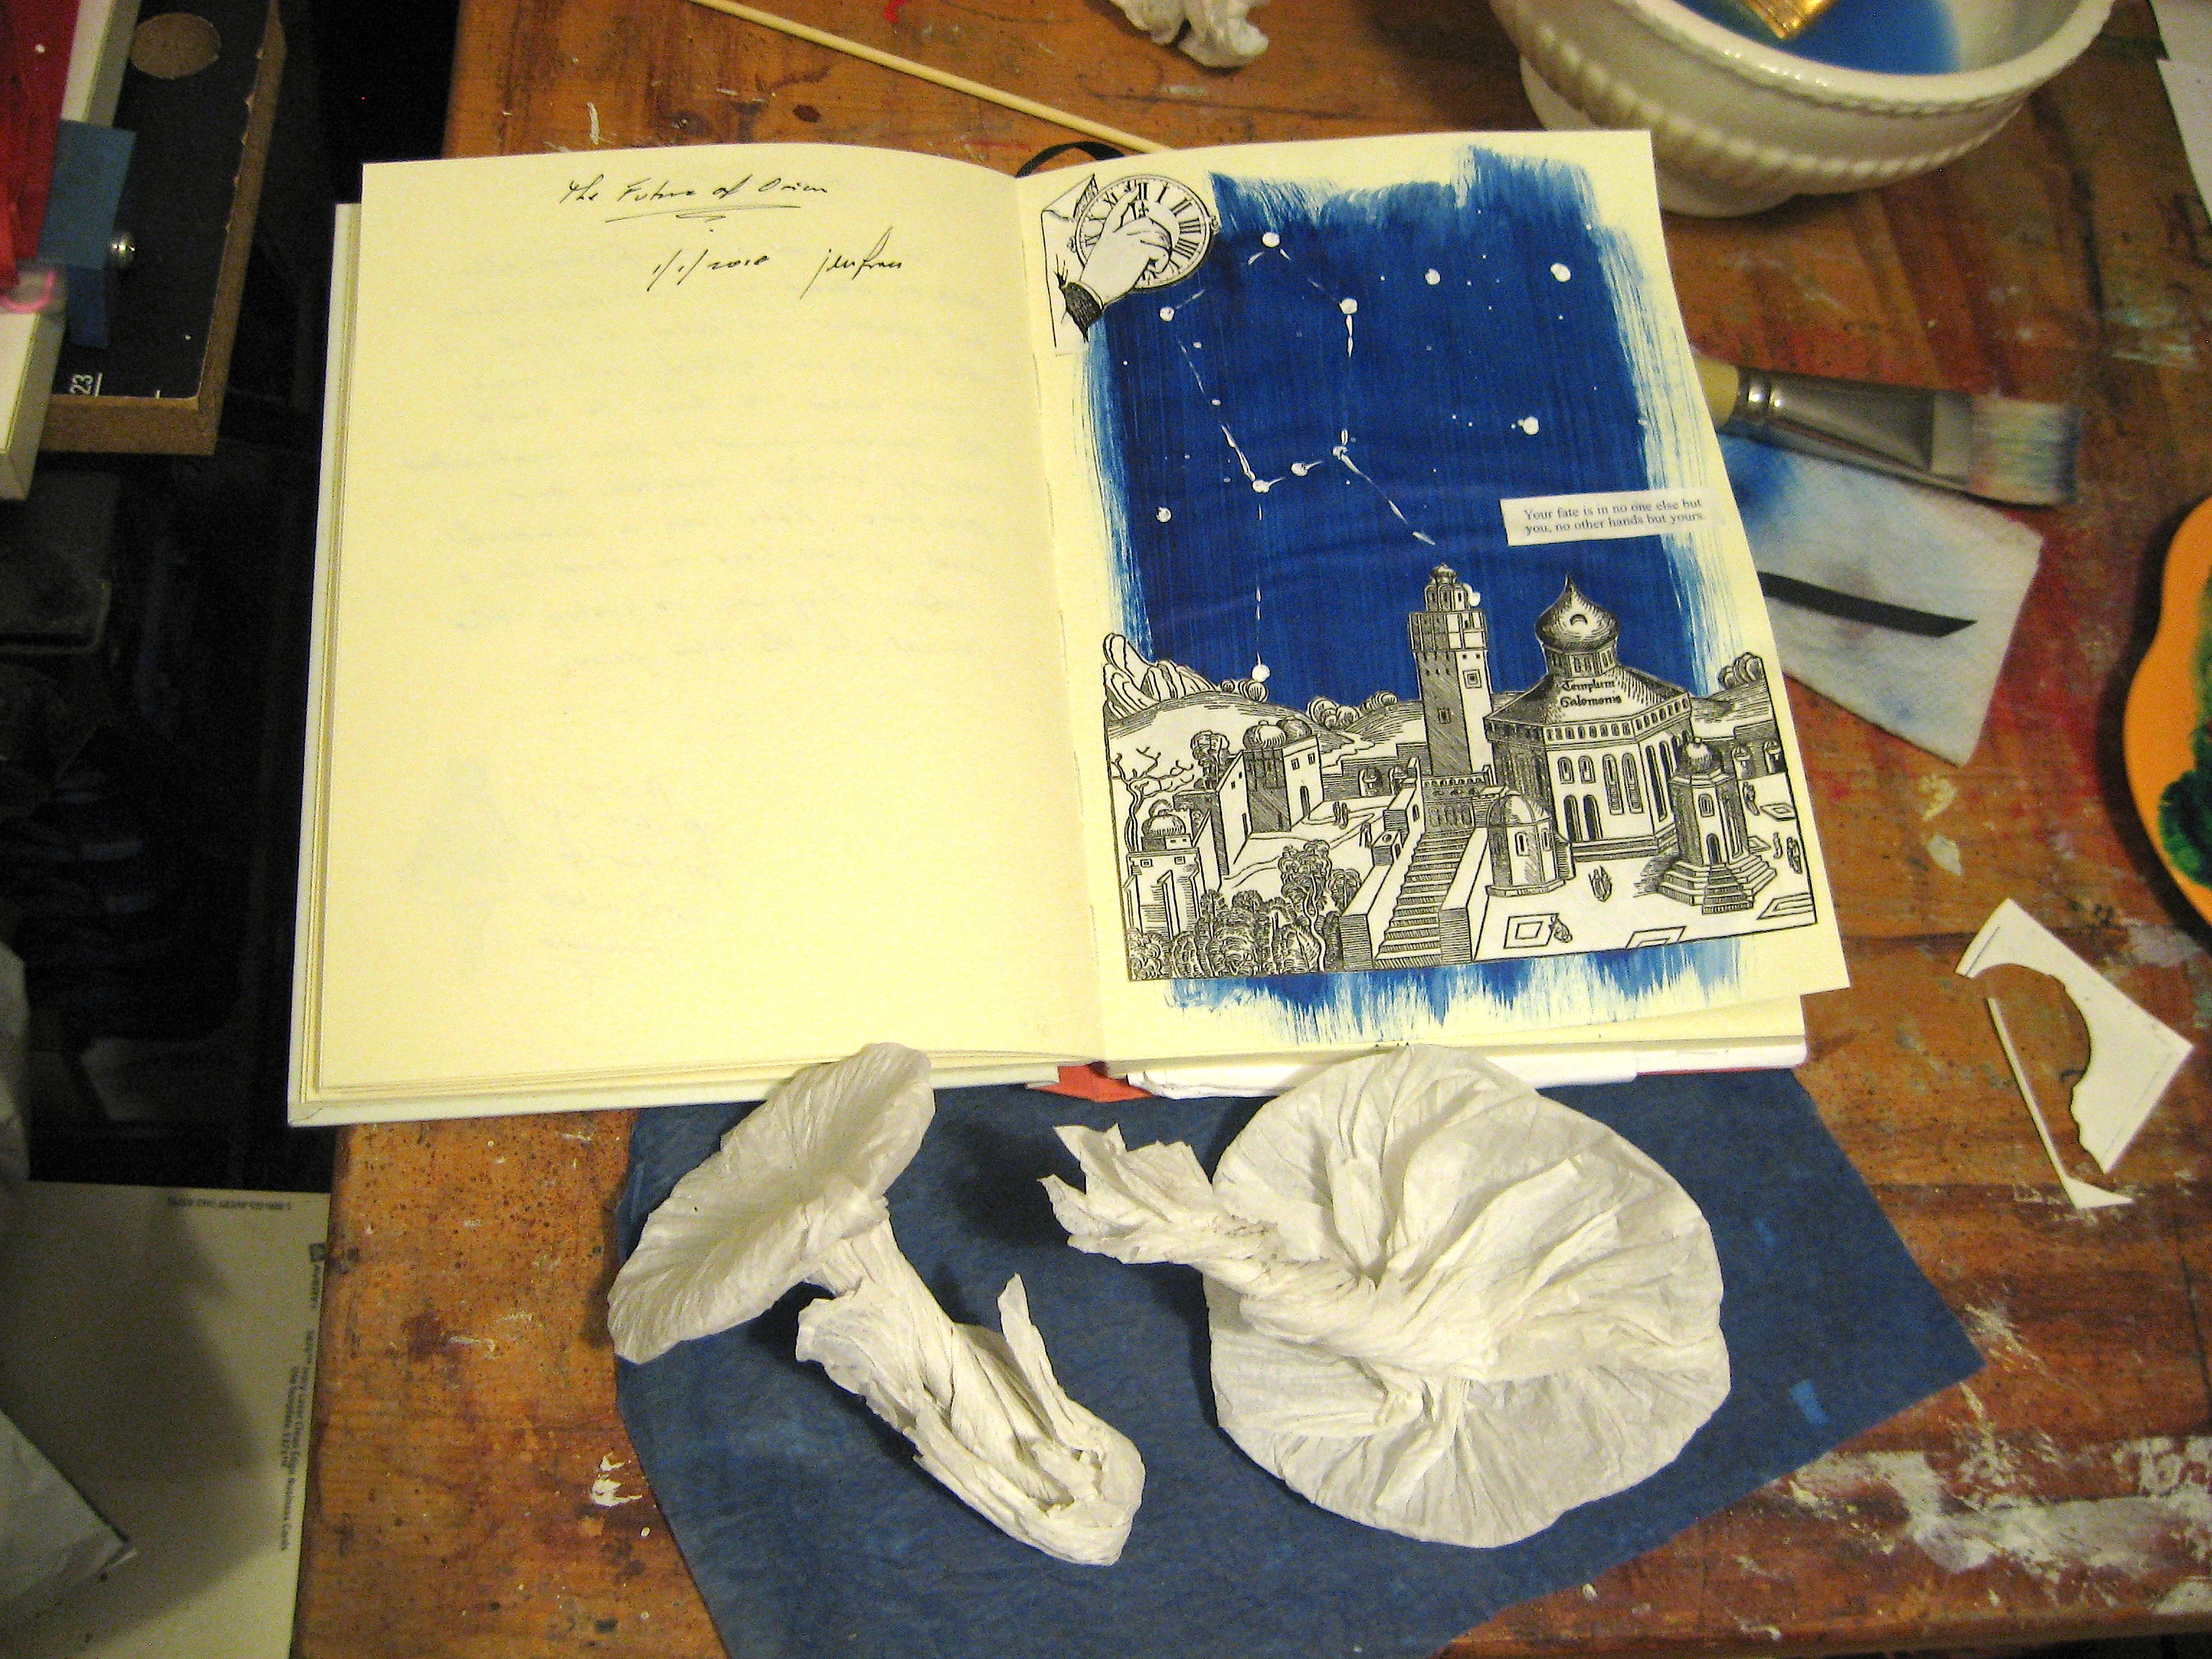
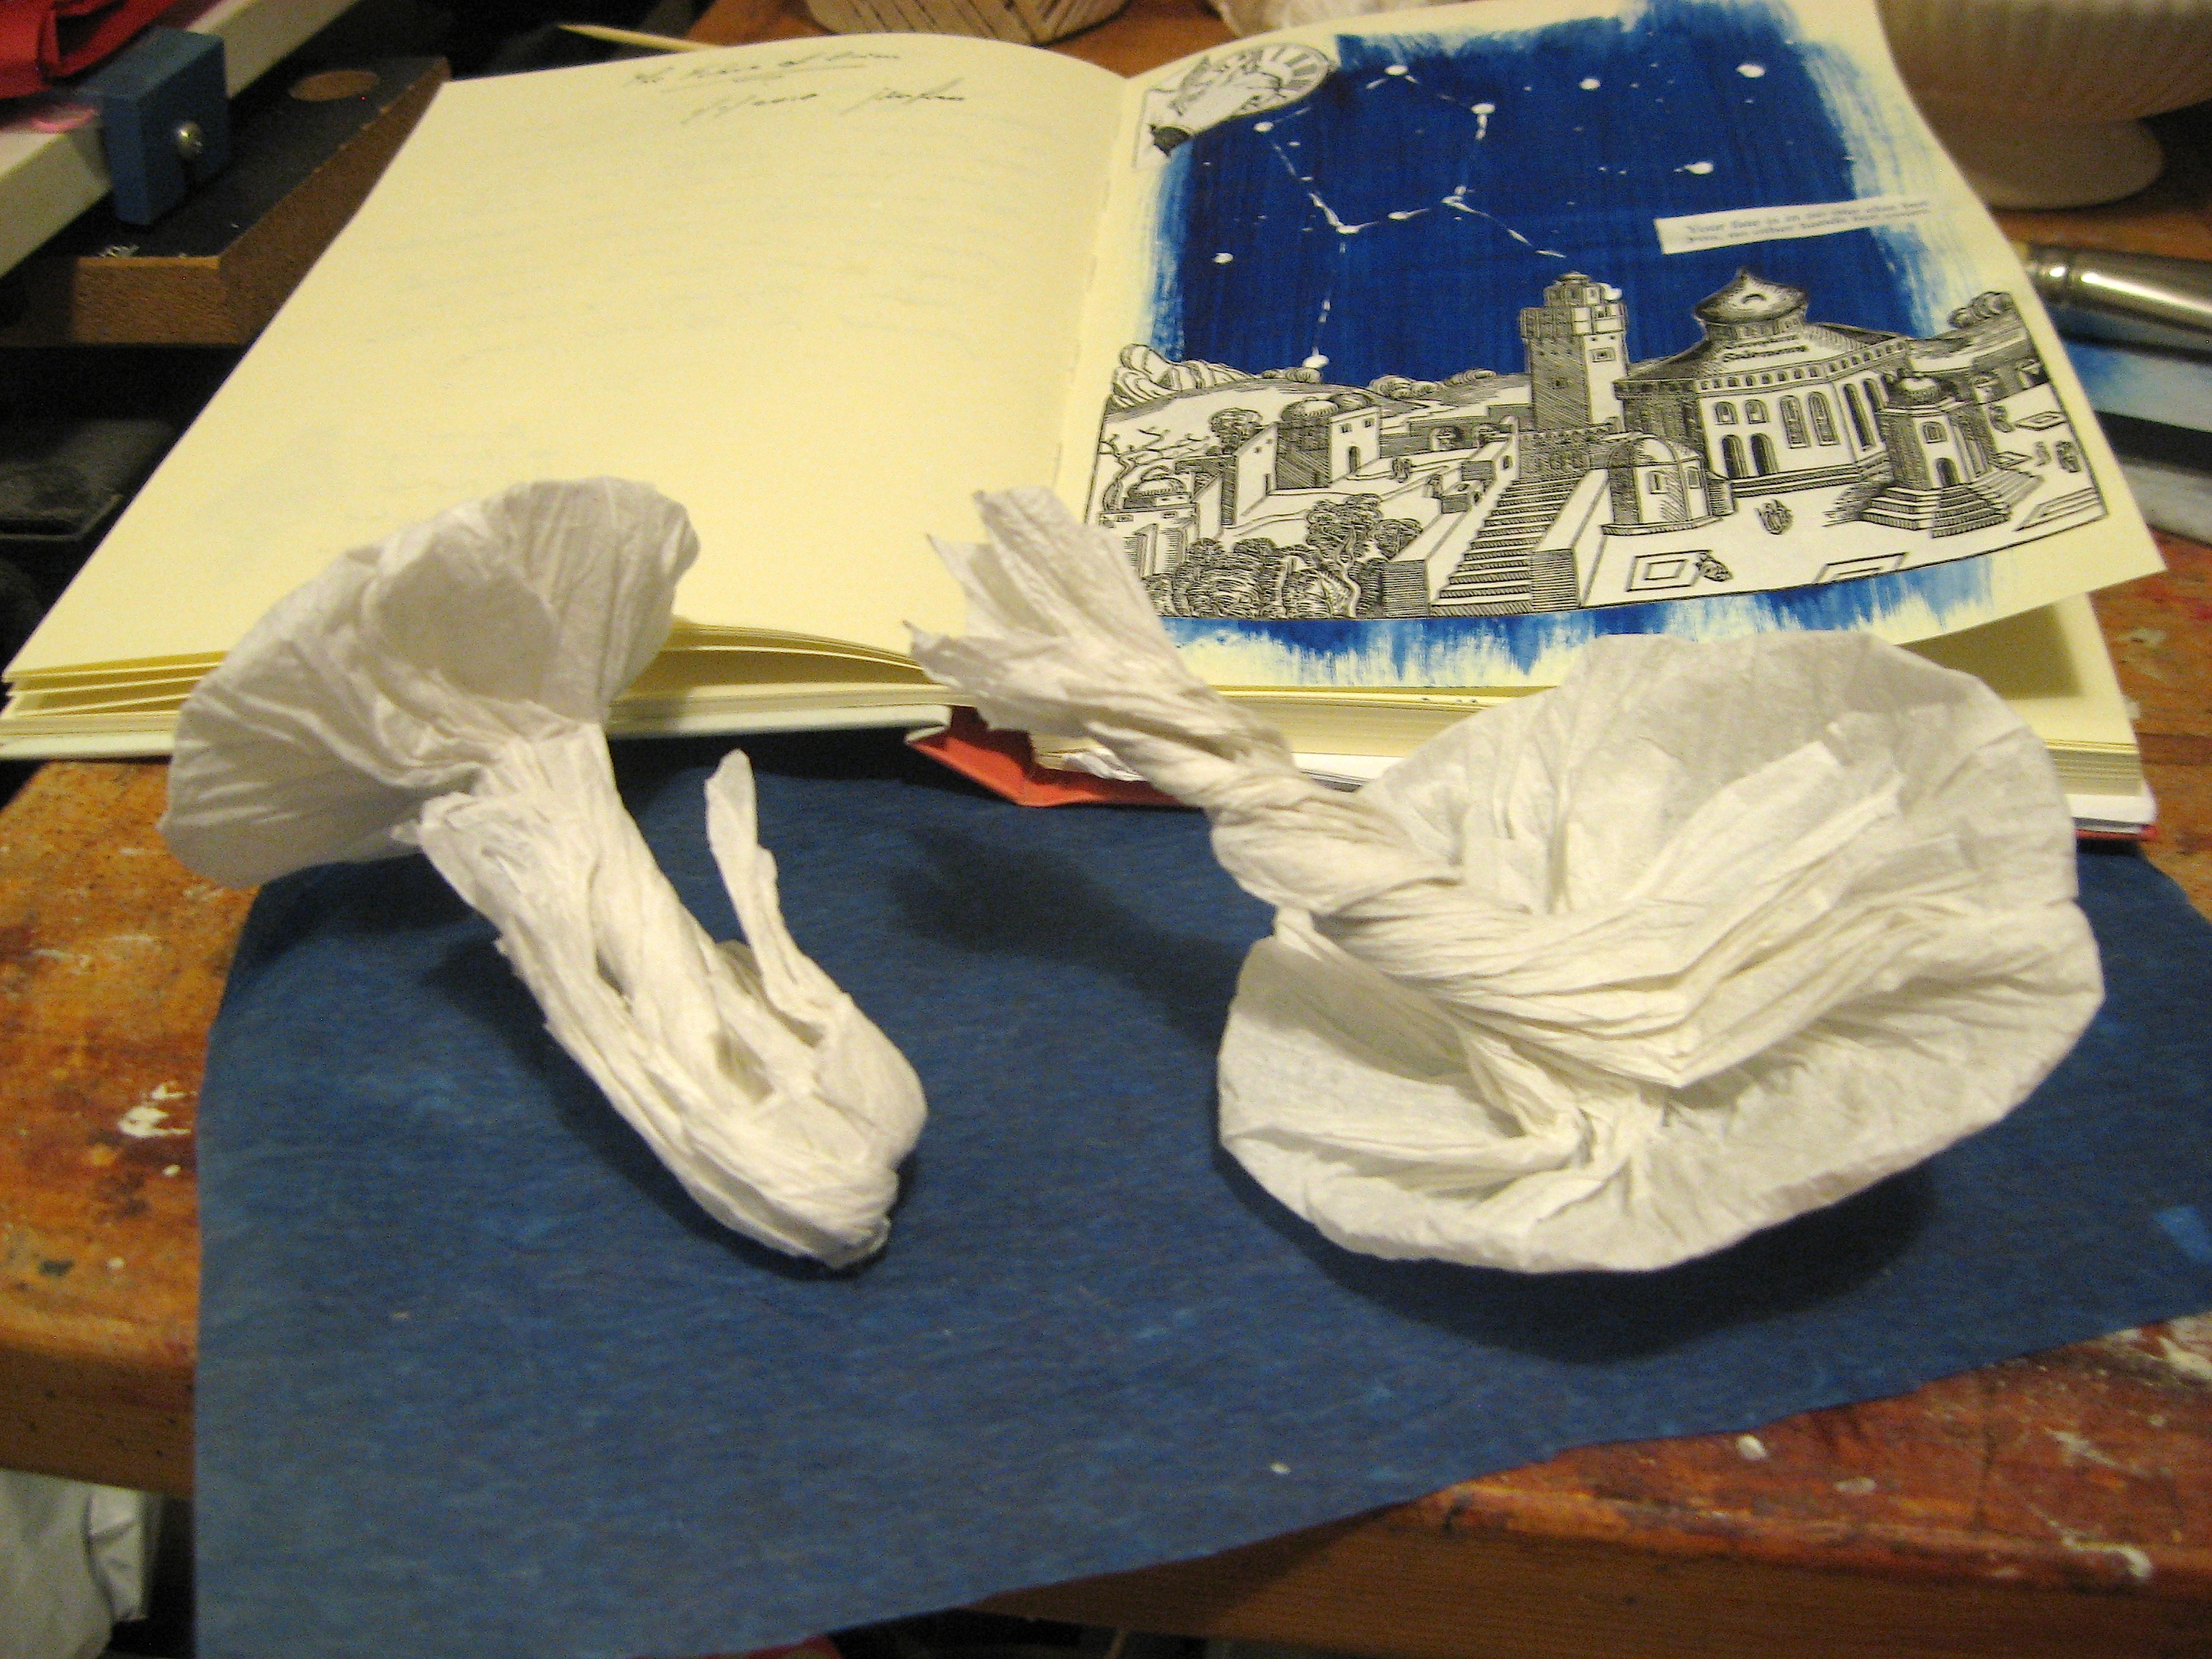
This little journal collage is my first artwork of 2018. I’m calling it The Future of Orion, inspired by this video from the European Space Agency: Youtube Link.
The little snippet of text is my New Year’s dinner fortune cookie message. “Your fate is in no one else but you, in no hands but yours.”
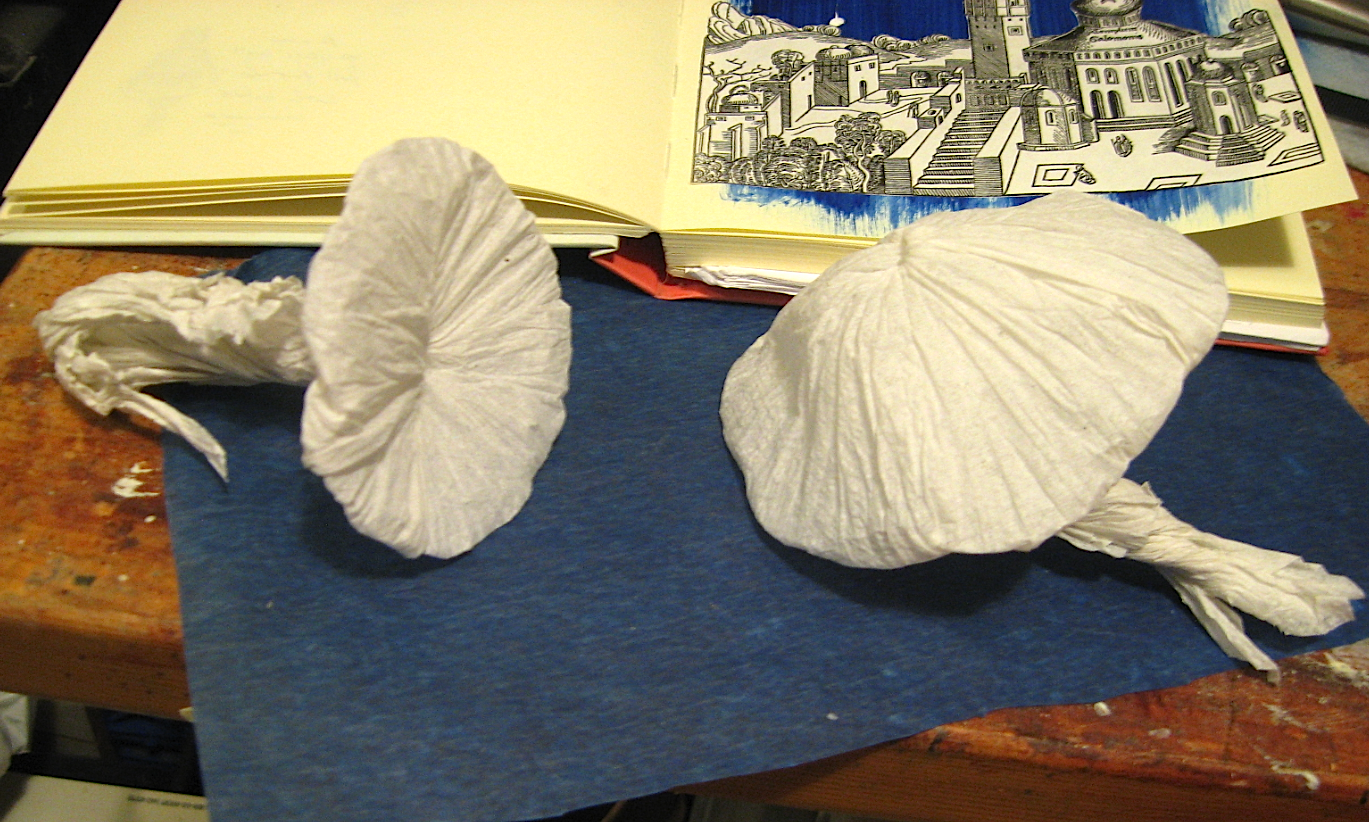
Plus, I made some little crumpled-paper mushrooms – my first attempts – out of napkins. Super ephemeral, but I rather like them. I’ll play with these a bit more.