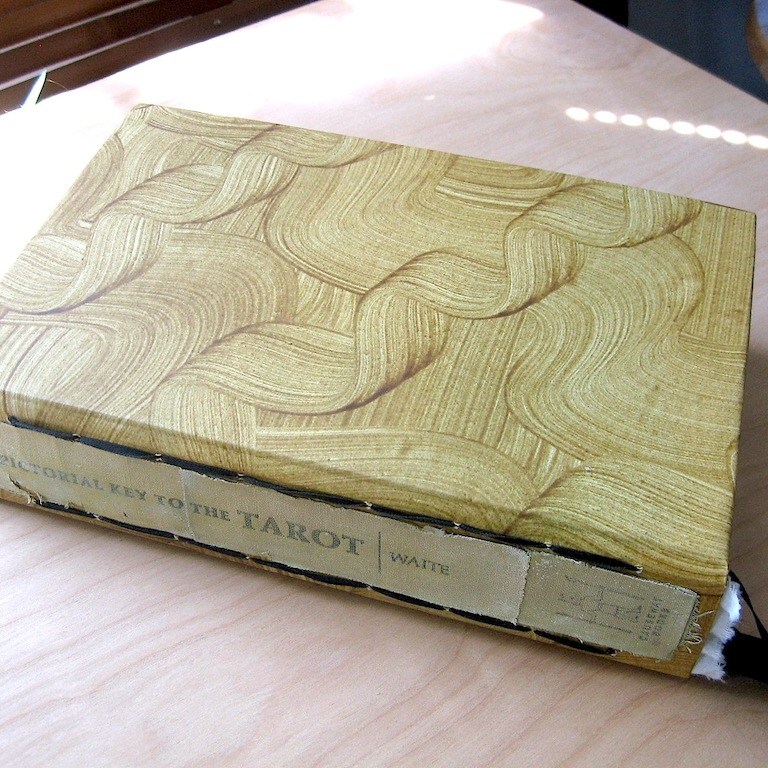
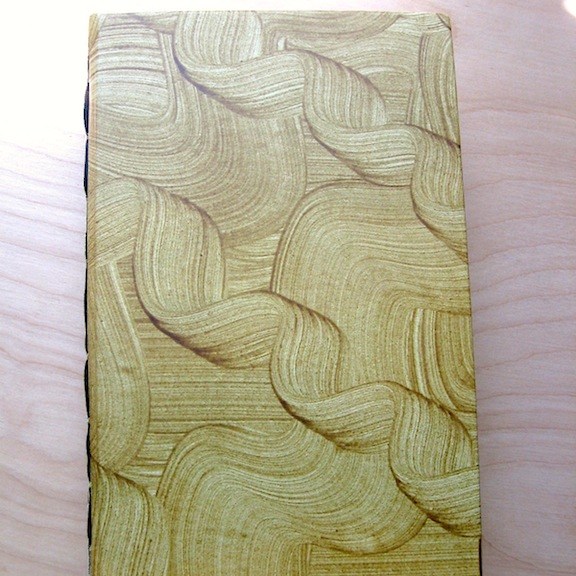
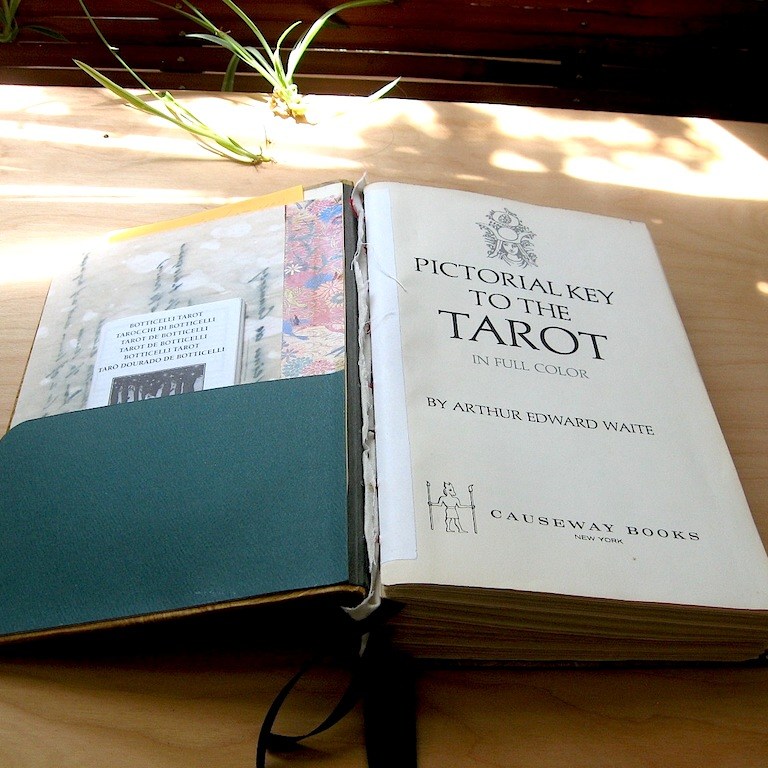
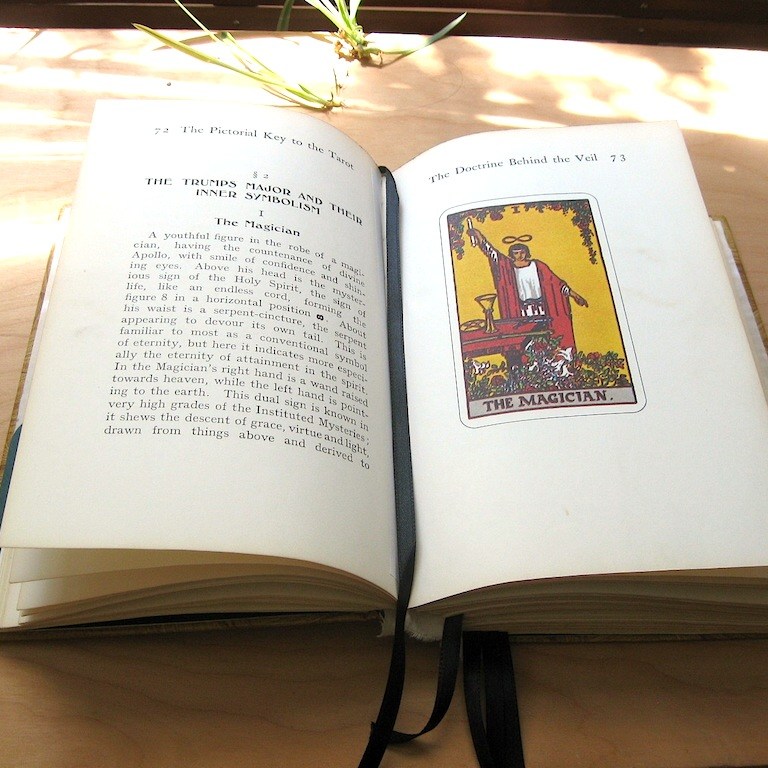
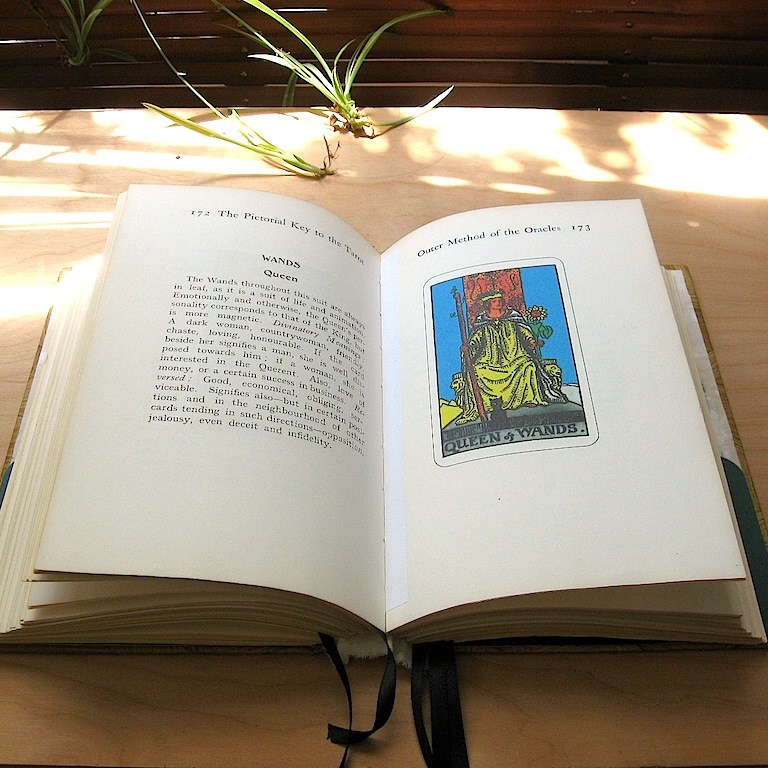
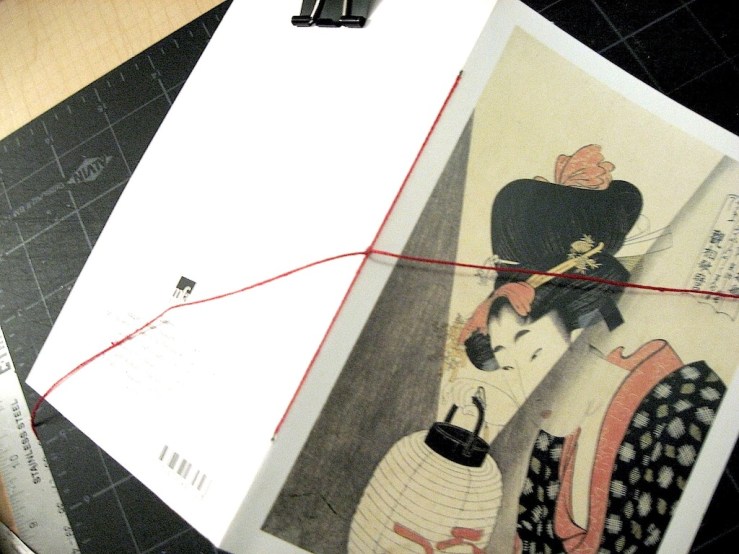
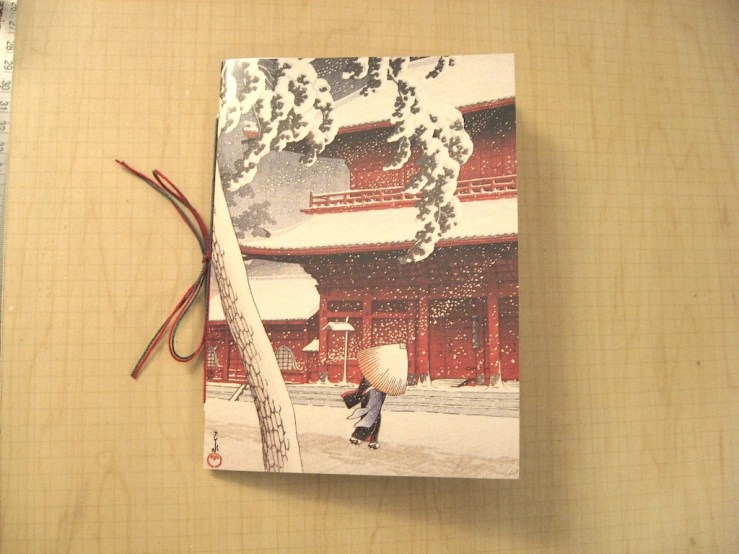
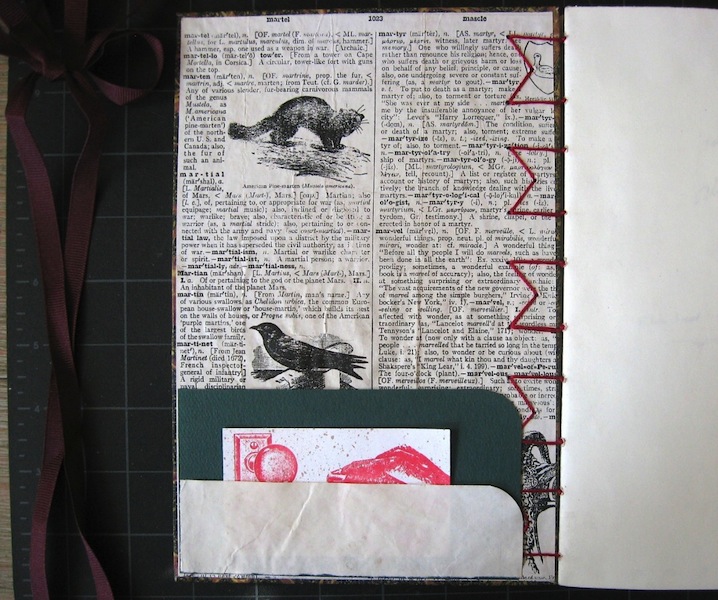
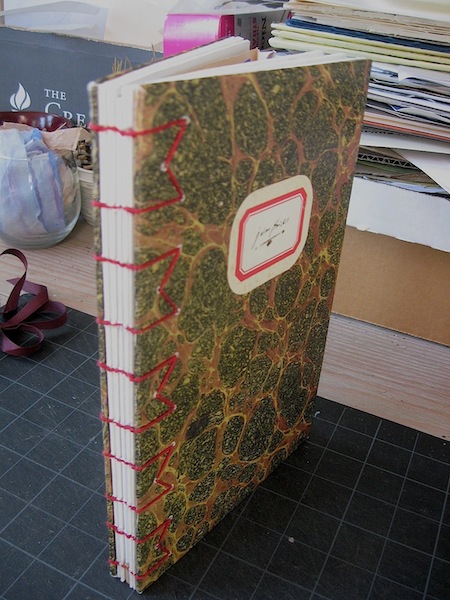
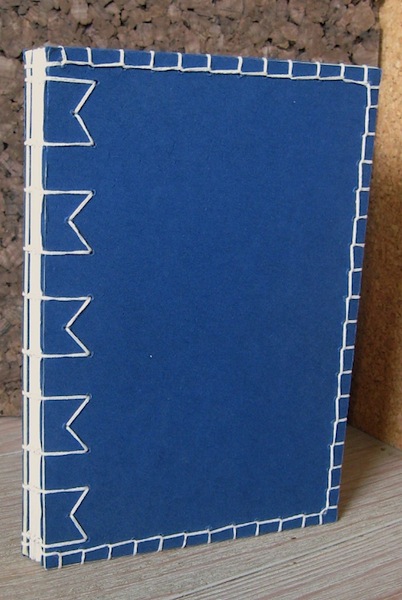
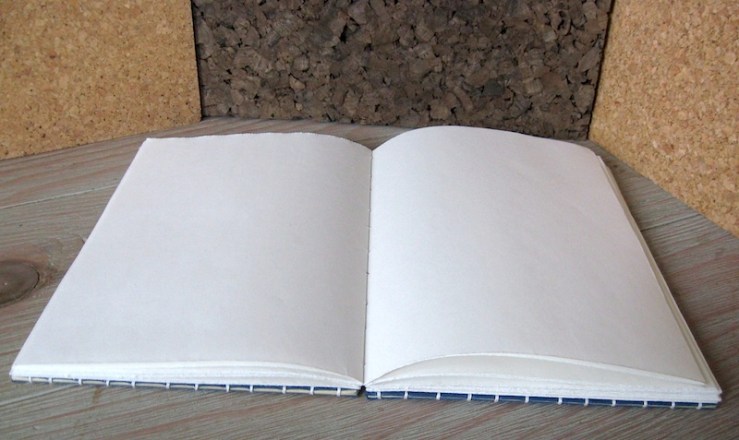
This month, I finally finished one of my projects, the re-binding of my Pictorial Key to the Tarot. You saw it in progress in my last posting. Below are some photos of the finished book.
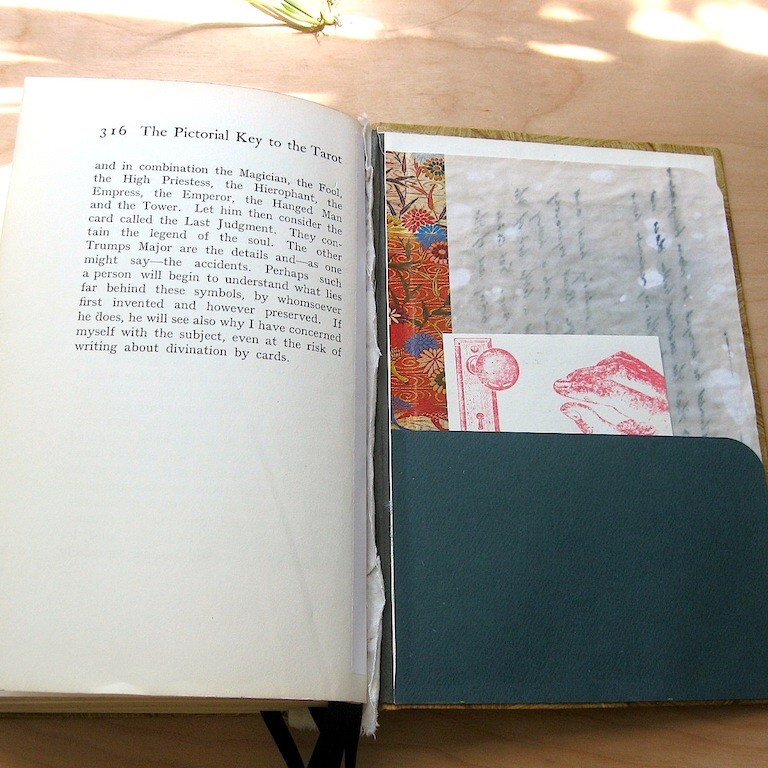
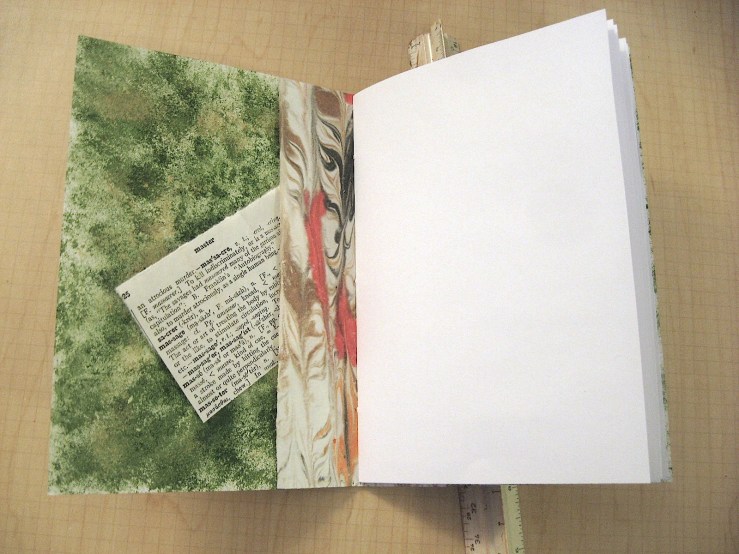
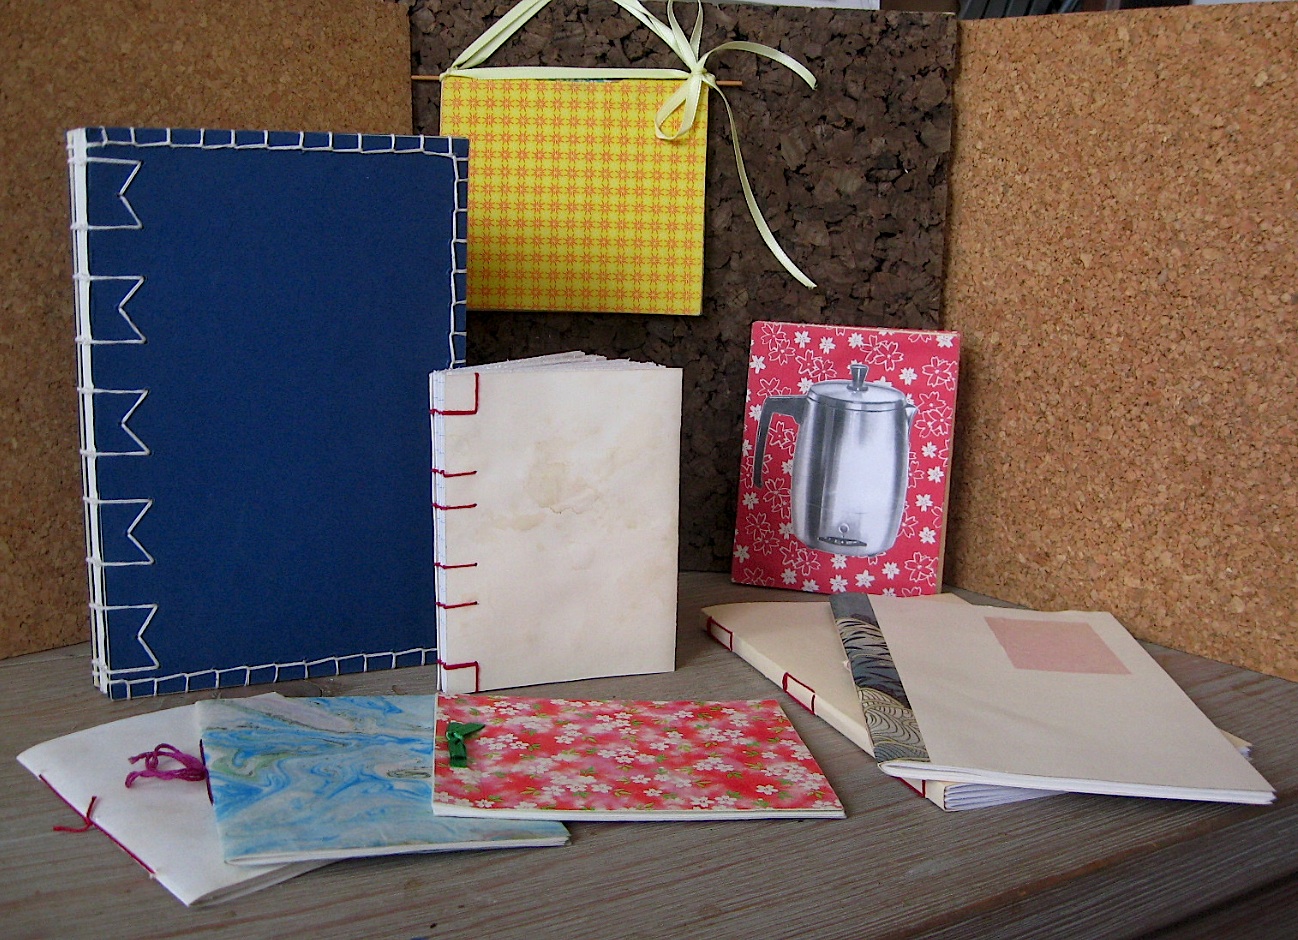
The new cover uses the boards of the original cover wrapped in a one-of-a-kind decorative paste paper I made recently. I salvaged the torn, beat-up, original spine label, fading it a bit more with a lick of paint. The lines of fine black ribbon on either side of the spine are the exposed stitching attaching the cover to the book. I went with my preferred adhesive-free, sewn binding. The inside covers, front and back, have double pockets for notes, and I included five permanent ribbon bookmarks. As you can see, the book lies open very easily. Closed, it looks quite fetching on my bookshelf as well.
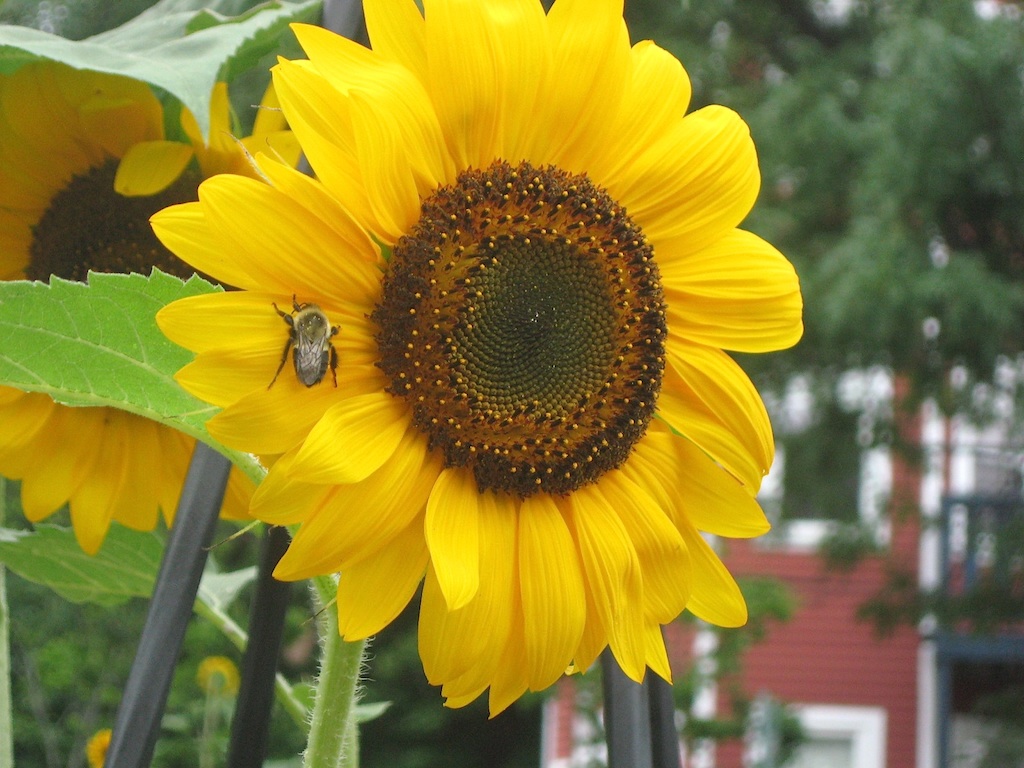
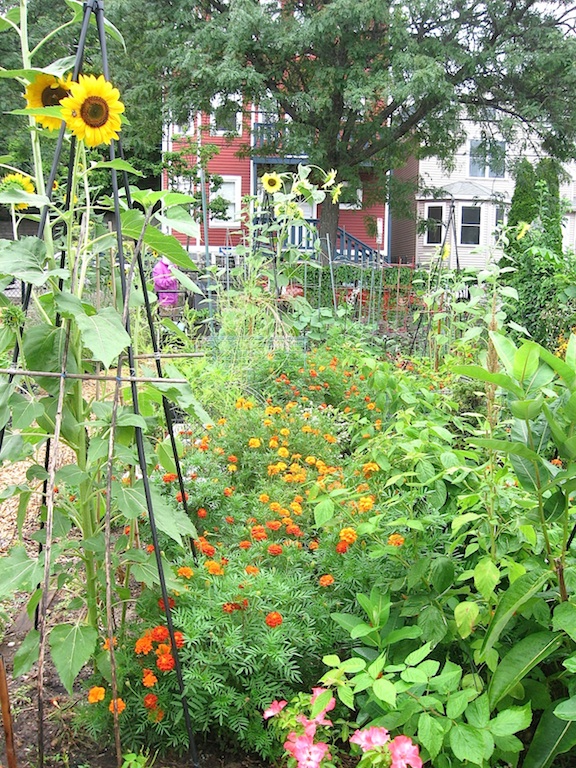
What else is going on? Flowers! Bees! The garden is a satisfying riot of gorgeousness and buzzing. We’ve suffered through some heavy heat and rain, but all is well on the flora and fauna front.
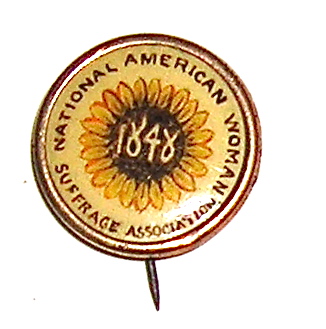
I learned today that the sunflower is associated with the women’s suffrage movement. It was used on a button of the National American Woman Suffrage Association for their 1867 Kansas campaign, and was Elizabeth Cady Stanton’s pen-name in the women’s newspaper, The Lily. (Elizabeth Cady Stanton Hometown Association) As 2020 marks the 100th anniversary of the ratification of the 19th Amendment, guaranteeing women the vote in the US, I’m feeling a little extra pride in my lovely, tall, nodding, giant flowers.
Also, exciting announcement, a shop-like arrangement is in the works. Watch this space for updates on when works will become available to buy. I’m a little terrified by the prospect, but it’s really happening. The paperwork is mostly in hand.
It’s been a season of ups and downs, hasn’t it? These past few weeks have been all business-business-work-work-work, with little time for art, and not much for enjoying the holidays, either. But art and holidays are here nonetheless, and by hook or by crook, I’m going to wrest some festivity out of December.
So, for all you wonderful folks who follow this site (thank you so much!) and for all harried, distracted, stressed-out folks in need of a last-minute gift, I offer an easy, free tutorial for making notebooks from altered greeting cards. A little gift from me to express a lot of appreciation for you.
First some work-work news:
I have posted a new Privacy Policy for Jen Fries Arts. The link is in the footer of each page and under the Home tab. Please take a moment to read it.
I have added the leaf specimens and the autumn zines to the Artworks gallery under Cities, Botanicals, and Zines and Art Books.
I am working on more leaf specimens as we glide into winter proper, so look for those before the new year.
And now, the tutorial.
Altered Greeting Card Notebooks
Do you like greeting cards but wish they were more useful? Do you have treasured cards from friends and family and want to do more than keep them in a box somewhere? Let’s remake them into notebooks!
This project uses sharp tools and is best for teens and adults. Kids may participate with adult supervision.
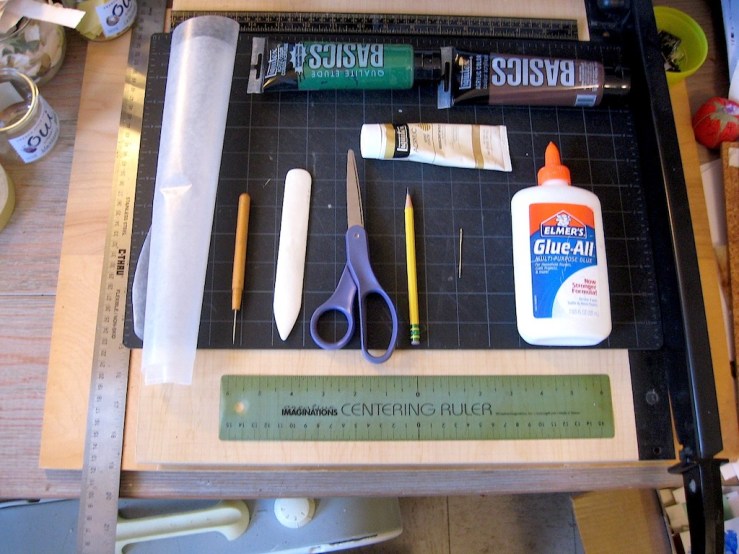
You will need:
Greeting cards, old or new
Paper – writing or printer paper is best
Ephemera, stickers, scrap paper, paint, stamps, ink, etc. (optional)
String or embroidery cotton
Tapestry or embroidery needle – blunt point and big eye
Scissors
Book awl or other fine pokey tool
Ruler
Bone folder (optional)
Pencil and eraser
Paper clips
Cutting blade or paper cutter
Cutting mat or other surface safe for cutting and poking
Paper glue
Wax paper
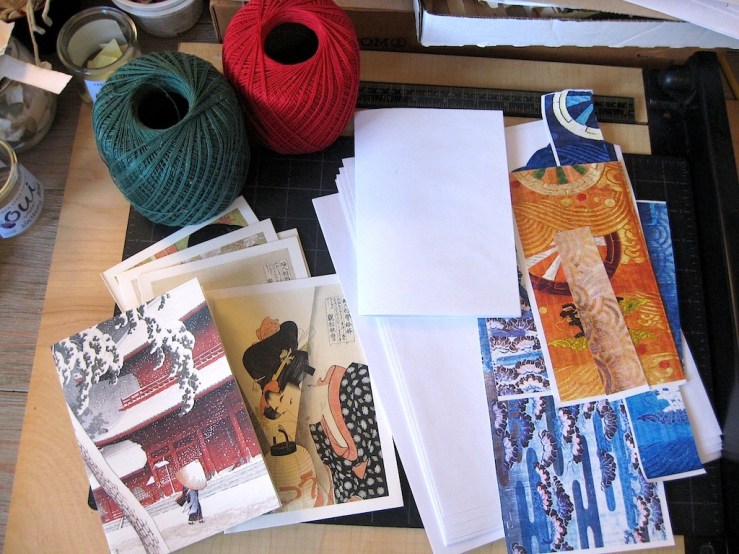
Step 1: Design
A) Take a look at your cards. These will be the covers of your notebooks.
How big are they? If they have a printed message, do you want to keep it? Do you want to change the image, color, or feel of the cards? Do you want to do anything to the back of the cards?
For this project, we’ll keep things simple and just add some color and pockets to the insides of the cards.
B) Experiment to see how many pages your cards can hold and still close comfortably. For this project we will use 5 folded sheets per card.
TIP: The number of pages will depend on how you plan to use your altered card notebook. Five sheets is comfortable for writing and drawing. If you plan to paste in family pictures or memorabilia, those will add thickness, so use fewer sheets.
Add little pockets and tuck spots.
Step 2: Embellish your cover
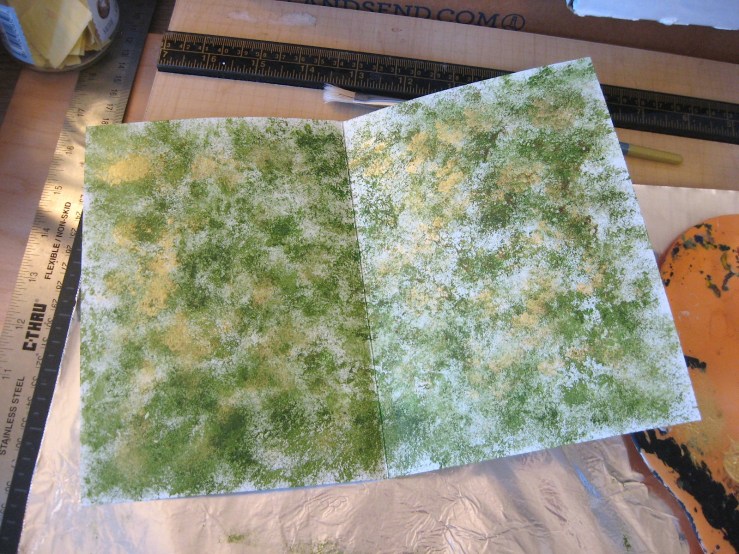
A) Apply your background paper or color. For this project, we are using acrylic paint. If you want to keep the printed message, cover it with a piece of paper to protect it. Lightly sponge or splatter the paint over the inside of the card. Work fast with small amounts of color. Keep your sponge or brush as dry as you can and still get color onto the card. Keep going until you like how it looks. Allow to dry.
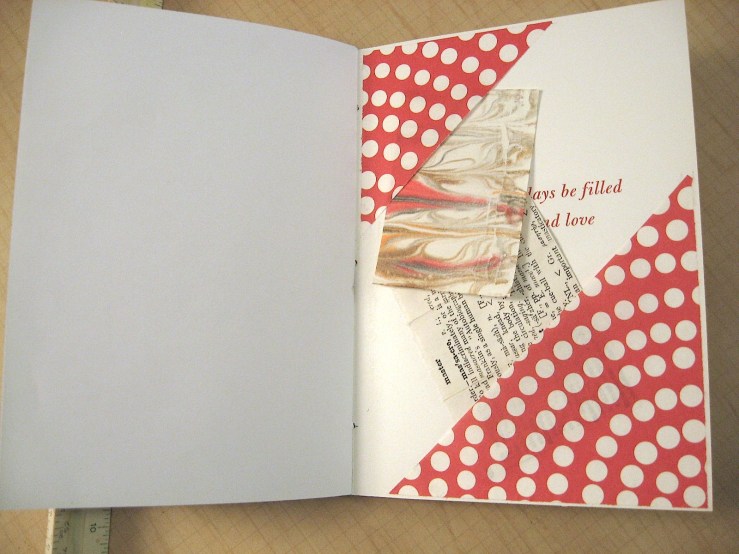
B) Cut paper for the inside pockets and fit them in where you want them to be. Glue in place. Do the same with any other ephemera you wish.
Sponged acrylic paint. Use a light hand with paint and glue.
TIP: Use as little glue and paint as possible to avoid warping the card. They tend to be very warpy. If using paint or ink, it’s better to do several light, dry layers than one heavy, wet one.
C) Lay a sheet of wax paper inside the card, and let it dry closed under weight, such as under a few books. This should not take long. Prep your pages while you wait.
Use care with cutting tools.
Step 3: Cut and fold your pages
A) Measure your card from the top edge to the bottom edge. That is the height of your pages.
B) Measure your card from the center fold to the outer edge of the face of the card. That will be the width of your pages.
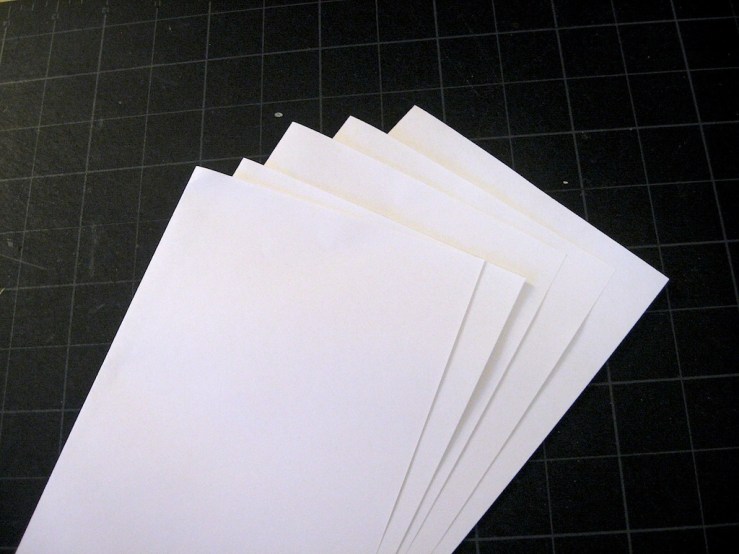
C) Mark the height and width measurements in pencil on one sheet of paper. Stack five sheets, and trim them all together with your blade or paper cutter. Erase any remaining pencil marks
TIP: Greeting cards are often folded a little off center, so no matter how you measure your pages, it won’t be perfect. For now, measure just the front face of your card. Then double that measurement to get the full width of your page sheets. This will make sure the pages match the part that people will look at the most.
Folded sheets nested together.
D) Fold each sheet of paper in half, using the bone folder to sharpen the creases if you like. Then nest the folded sheets together. This is your signature of pages. Snug the signature into the card and see if you want to trim the edges any more. Be careful – the more paper you try to cut through at once, the more likely you’ll get a mis-cut.
Step 4: Sewing your notebook
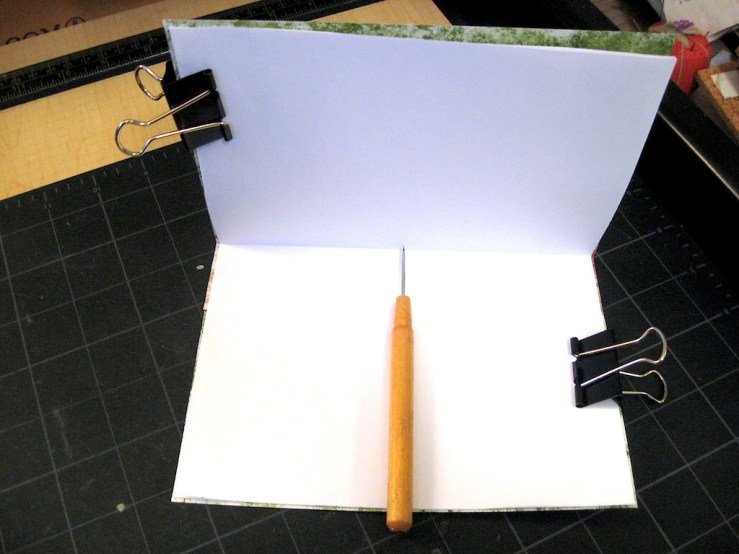
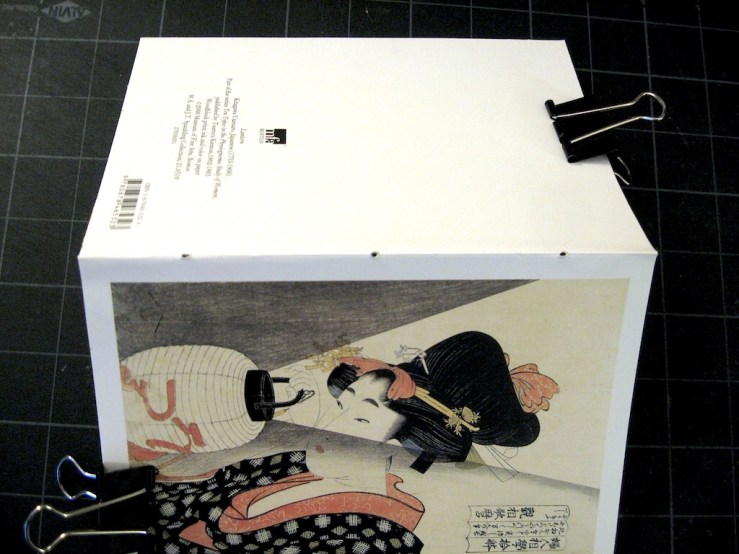
A) Nest the signature into the card as snugly as possible. Use clips to hold the pages and card together, if needed.
Clips hold the pages and cover together while sewing.
B) With your awl or pokey tool, punch three holes into the center fold line, making sure to go through all the layers. Place the holes at the center and a comfortable distance in from the top and bottom edges. You can measure, but it’s okay to eyeball it. Wiggle the awl in the holes to make sure they are all well open for ease of sewing.
It’s easier to pierce from the inside of the book than the outside.
TIP: Don’t flatten the notebook completely to make the sewing holes. Holding it slightly closed so you are piercing into the fold makes it easier to keep the holes right on the spine.
C) Cut about an arm’s length of string or thread to give you enough to work with. Thread your needle.
D) Sew the book as follows:
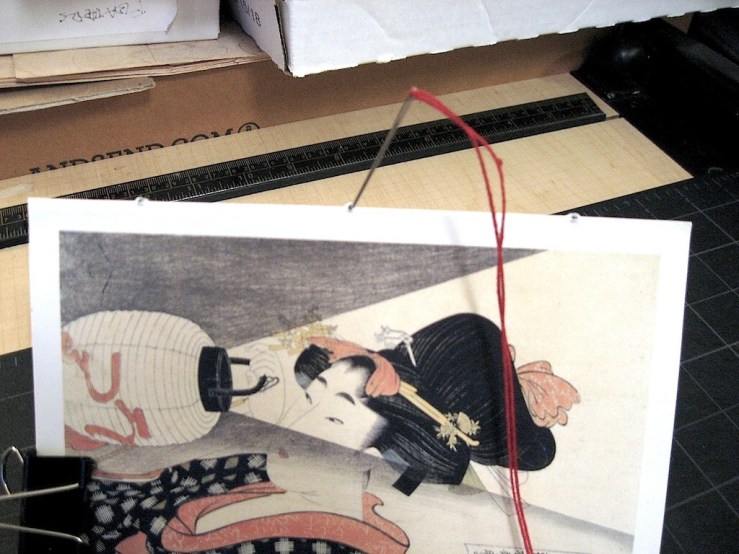
1) From the outside of the book, go in the center hole. Leave a good tail hanging.
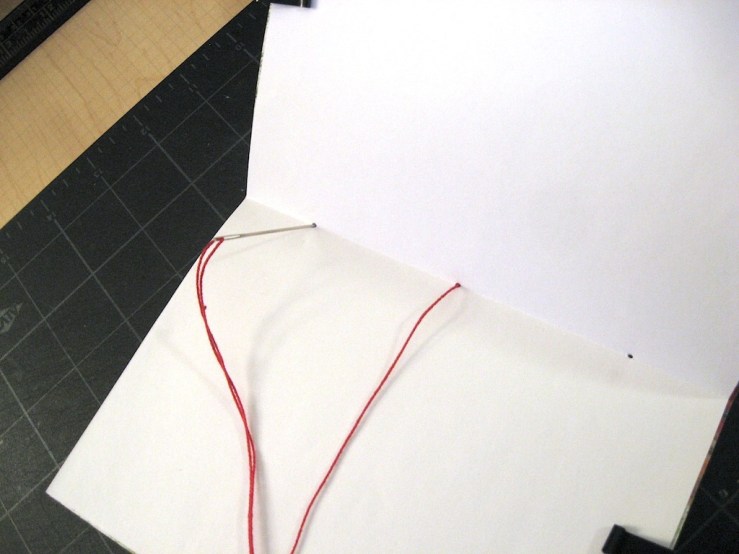
2) From the inside of the book, go out one of the edge holes.
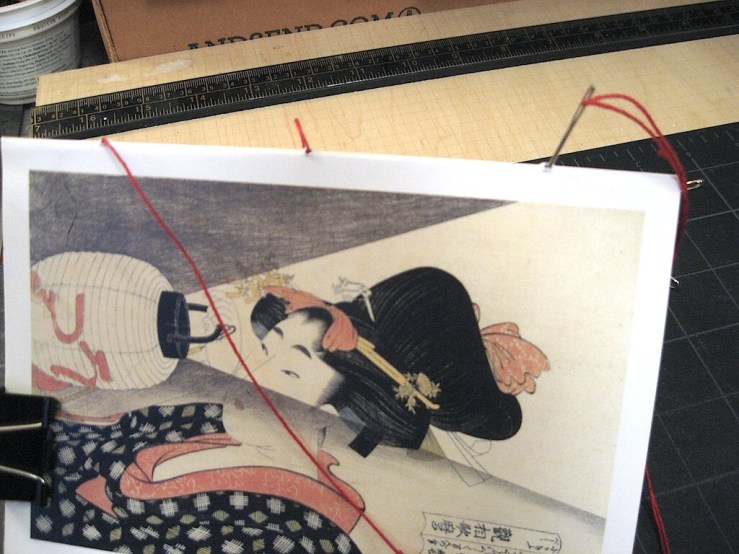
3) From the outside of the book, go in the other edge hole.
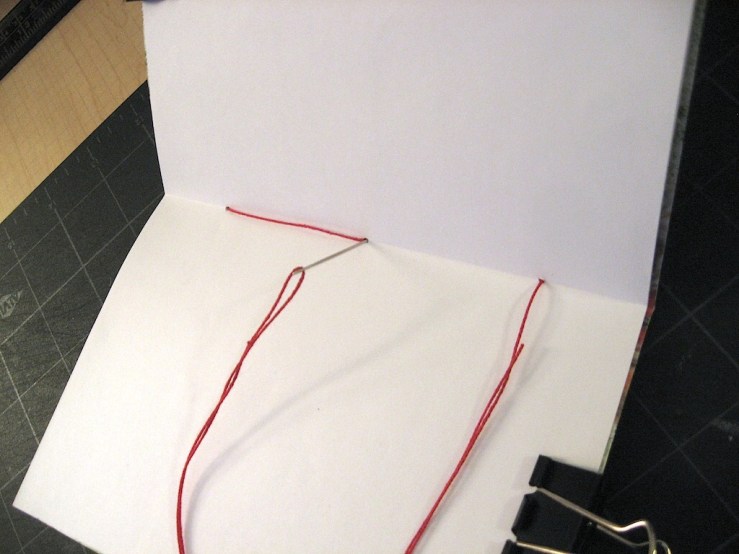
4) From the inside of the book, go out the center hole.
Looking at the outside of the book, you should have a long line of thread along the spine and two tails hanging loose from the center. Make sure the line of thread runs between the two tails.
5) Tie the tails in a knot or bow over the line of thread to anchor everything in place. Pull snugly but not too hard, or you might tear the paper. Trim the thread ends to desired length.
And you are done!
These little altered card notebooks make a wonderful gift for Christmas or any holiday or occasion. Make a little brag book for the grandparents, or a guide to dorm life for a new college student. Going on vacation? Make a travel journal with a card featuring your destination to collect special ephemera on your trip. Or take that special card you received from someone close and make it a journal of what they mean to you.
If you make some of these notebooks, I’d love to hear about it and see some pictures.
Well, the holiday season is officially upon us, and in the midst of life’s battles, I have to admit I have a lot to be thankful for. We have our health at my house (knock wood). I enjoy my work, my town, my friends. There are birds outside my window and cats sleeping on my bed. What more can anyone want?
Later, I’ll rant about all the things that are off the rails, going wrong, just plain nuts, and utterly intolerable, but that’s not what this weekend is for. Today, it’s about feasting and merriment, football, parades, and King Kong. You know, the traditions.
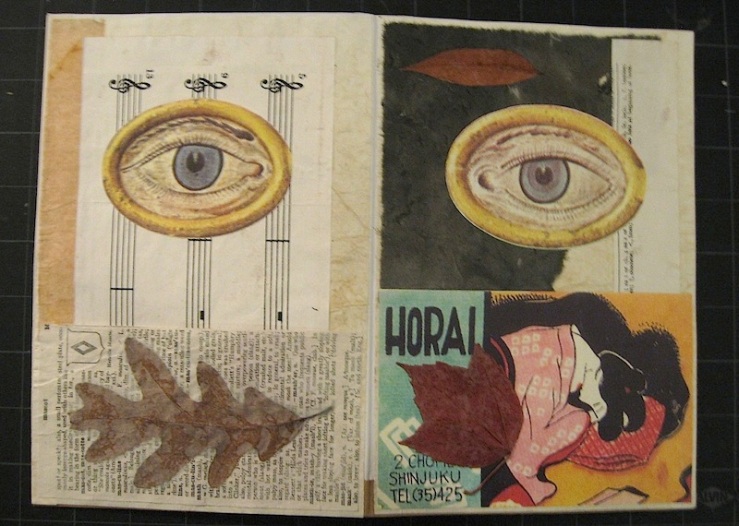
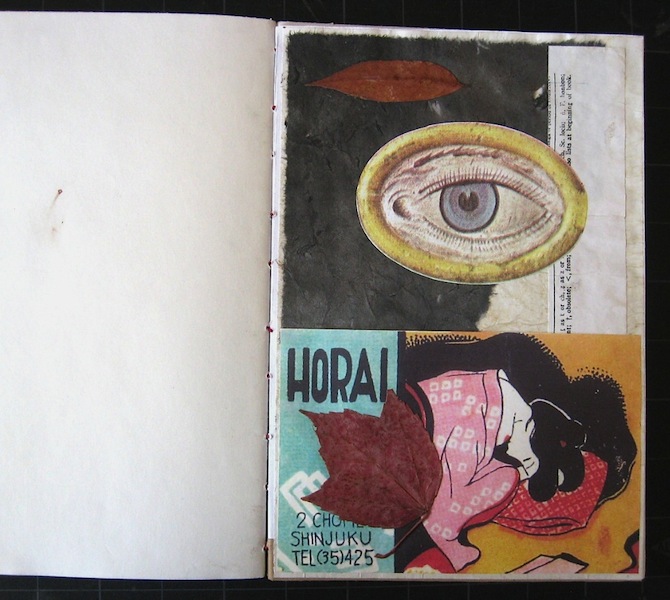
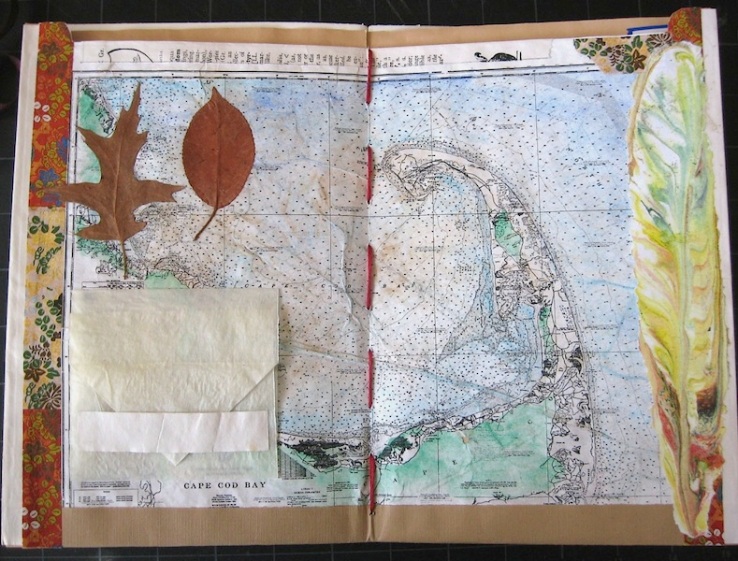
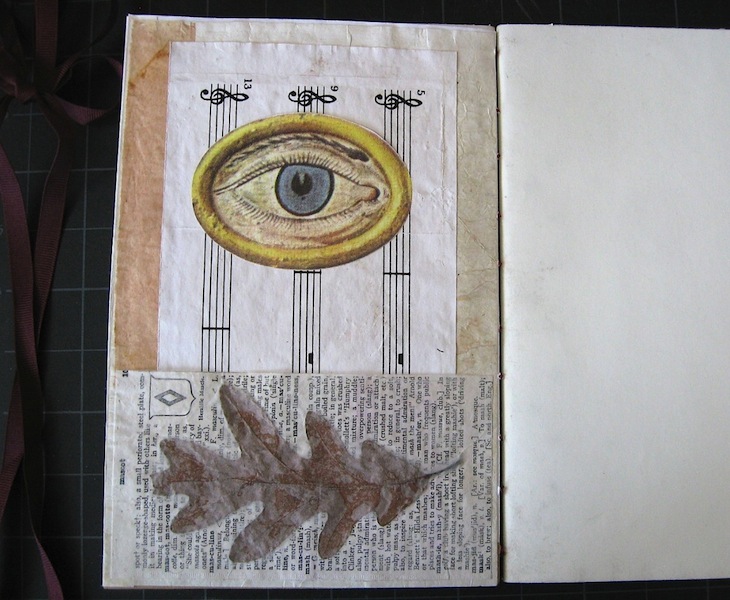
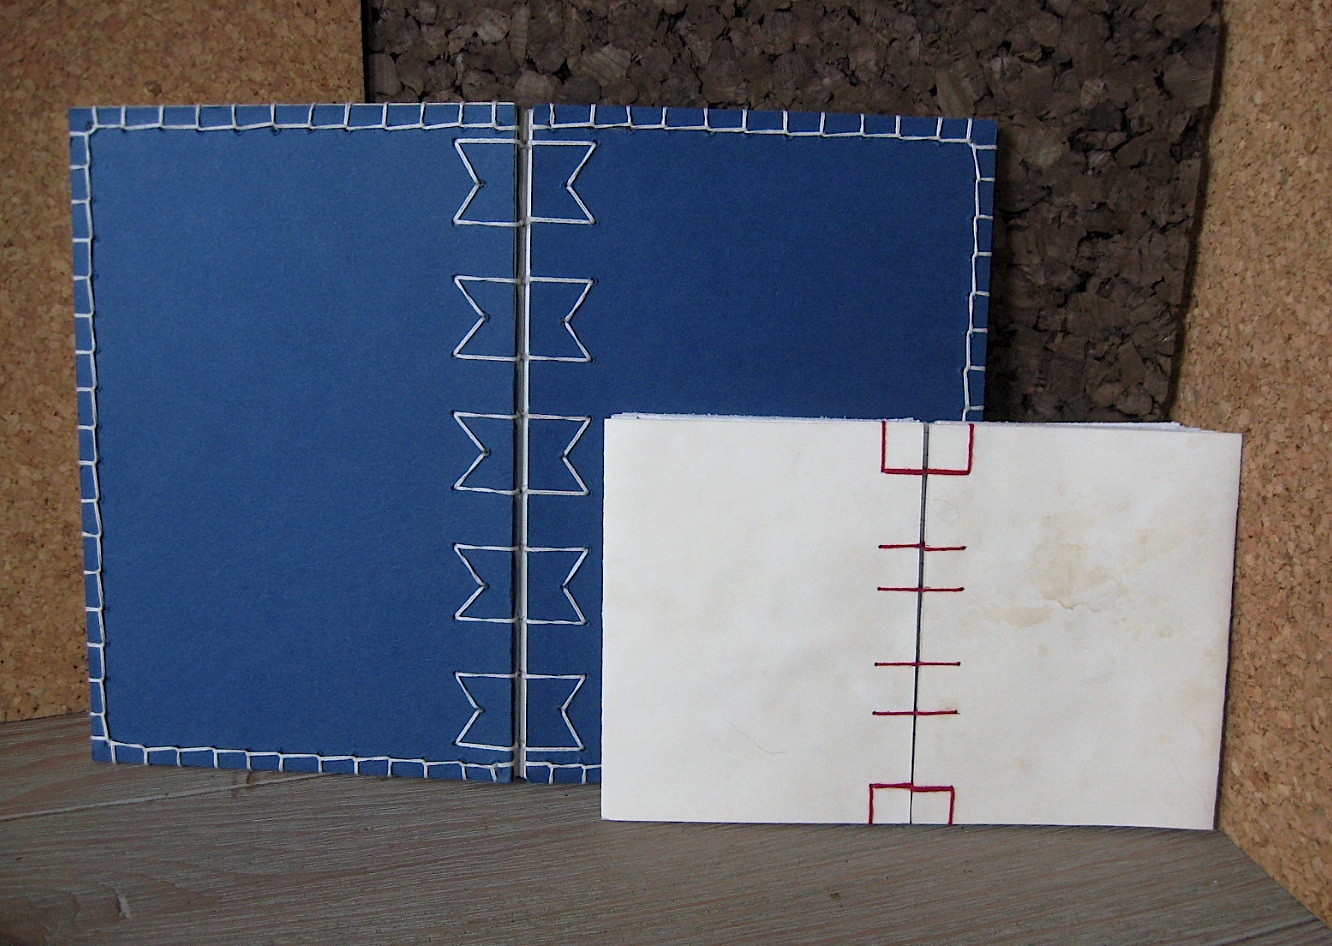
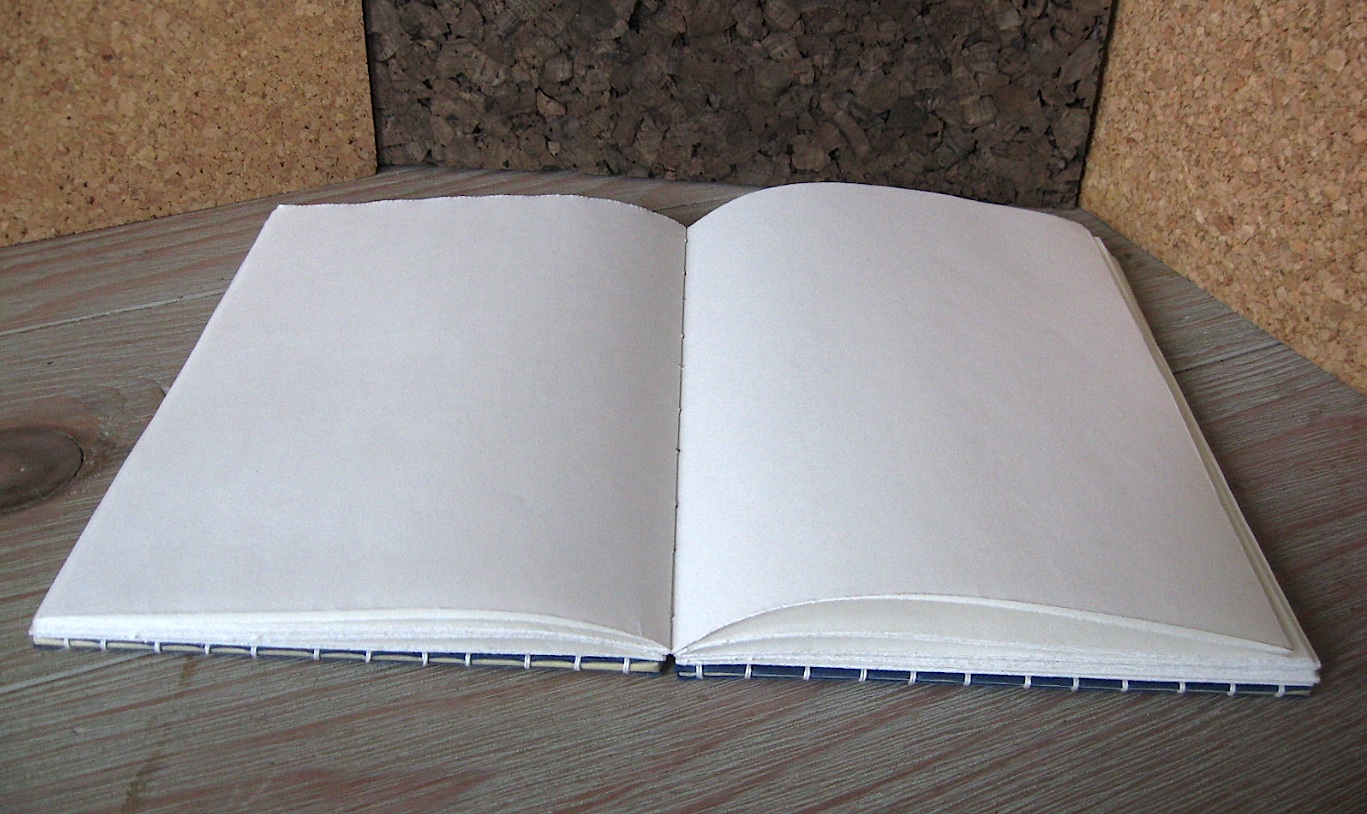
I finished rebuilding my blue sketchbook into an autumn book for sketching, journaling, and collecting field specimens, all the leaves, twigs, feathers, etc., I tend to pick up. I was inspired by the “junk journal” phenomenon, which is a great way to find beauty and function out of detritus. Even these gussied-up pocket inserts are part of my sketchbook practice, as I used them to work out experiments in paper building and collaging with natural botanicals. The binding is my favorite tetsuyoso style. Superficially, it resembles Coptic stitch, but this is in fact a very old binding from Japan. It lacks the external knots of Coptic, maintains neater tension with less fuss, and is flexible and resilient. Traditionally, the covers would be pasted on, but I adapted the Coptic method of sewing the covers on for a totally adhesive-free binding.
It might seem a little odd to make such a fancy thing just to sketch and brainstorm in, but kind of the point of being an artist is to get our thoughts outside of our heads, to make everything be an expression of how we see the world, to unify the inside and outside realities. So I think the book where I work out the kinks in my creativity should be a product of my creativity. This is what I came up with.
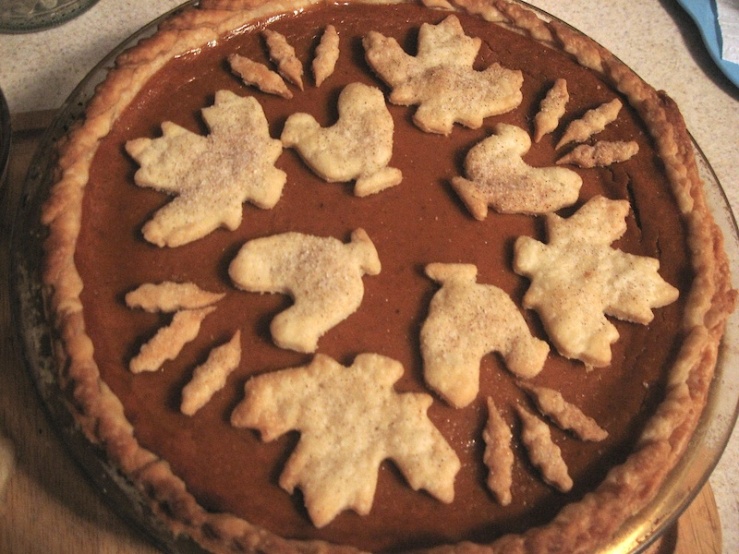
And I made the pie this year. It came out fancy, too. 😉
Happy holiday, all. Enjoy. Relax. Express yourself.
As mentioned in my last entry, I was sick through much of October and had just over one week to try to complete four weeks of projects. I did better than I thought I would, and I’ve decided to cheat slightly by extending the spooky season to the end of this weekend, to finish a few things and tie off those loose ends.
Completed in October proper, two zine-type books:
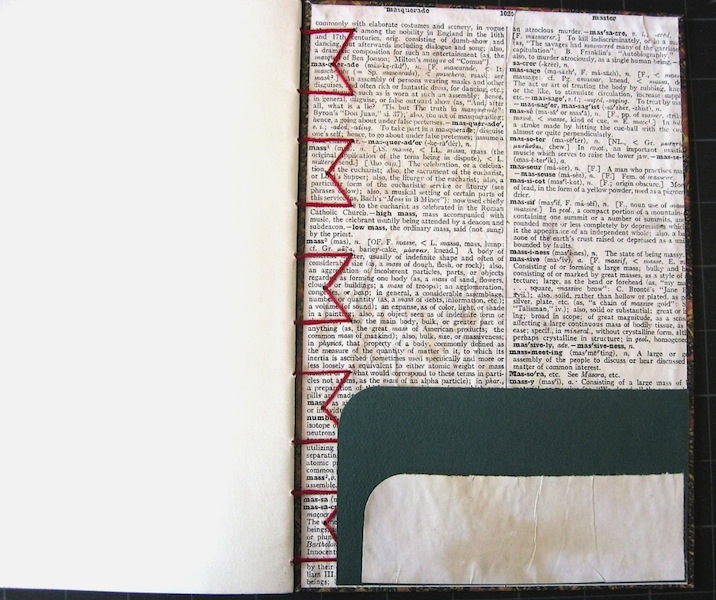
– “Masquerade,” featured last week, a book about masks, disguises, and false fronts. The hand-typed text is taken from dictionary clippings and famous quotes, and the illustrations are paper collage.
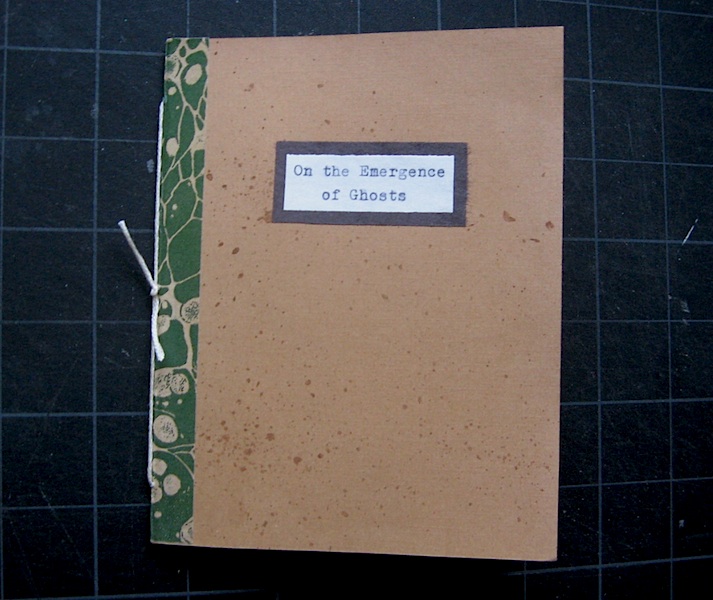
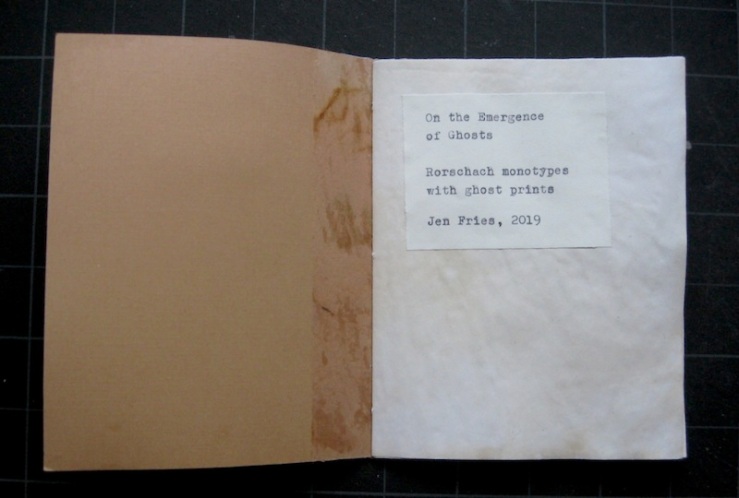
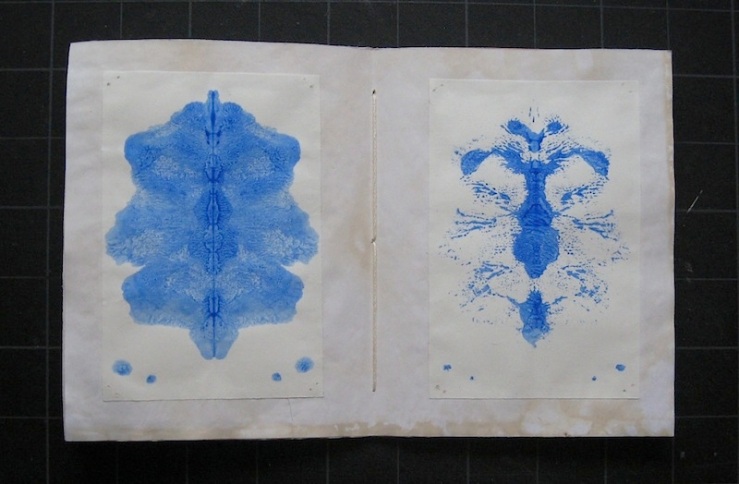
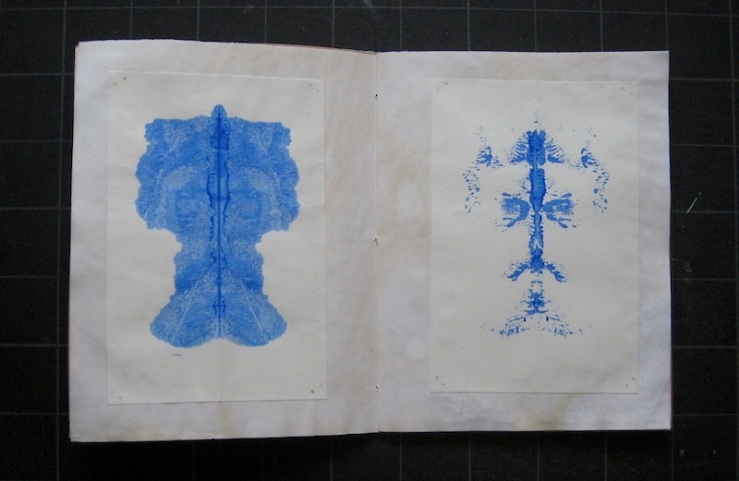
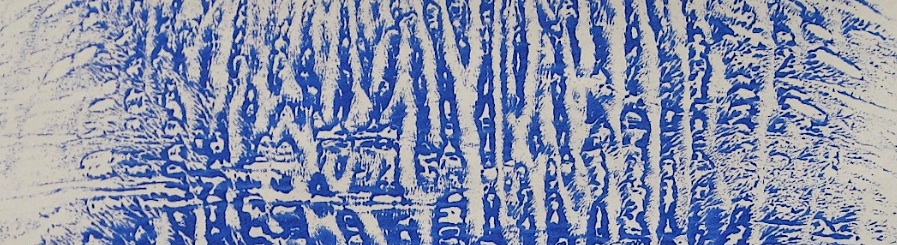
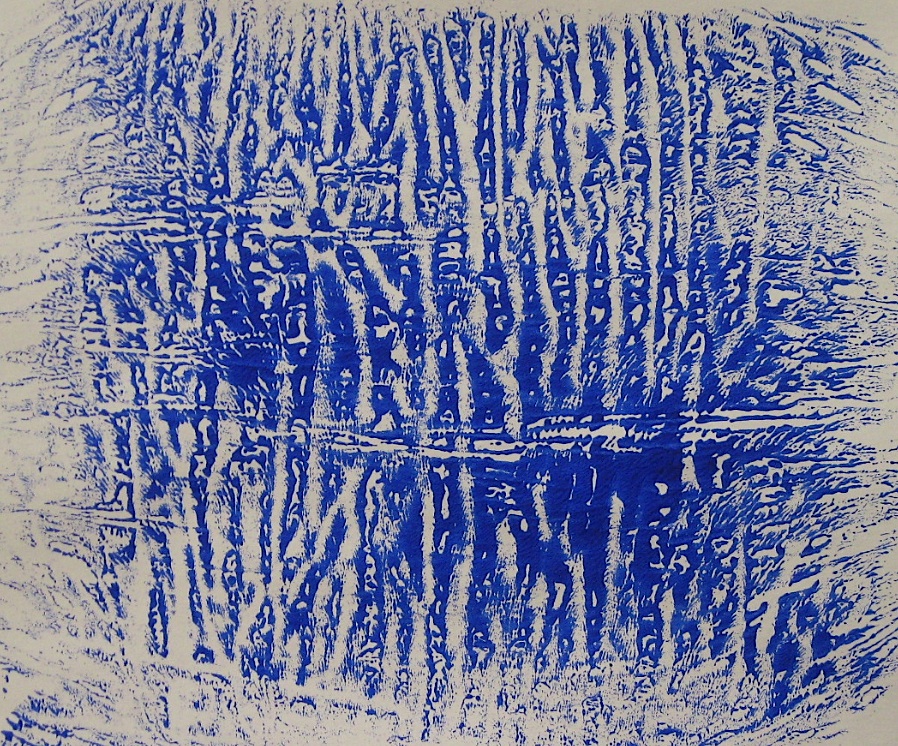
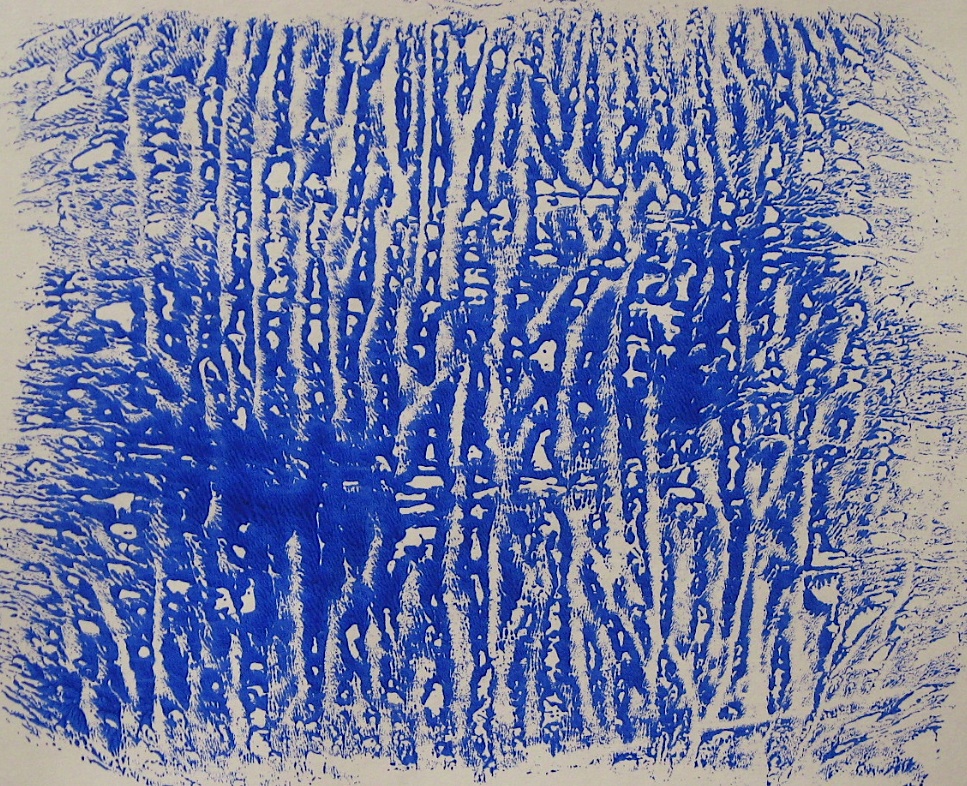
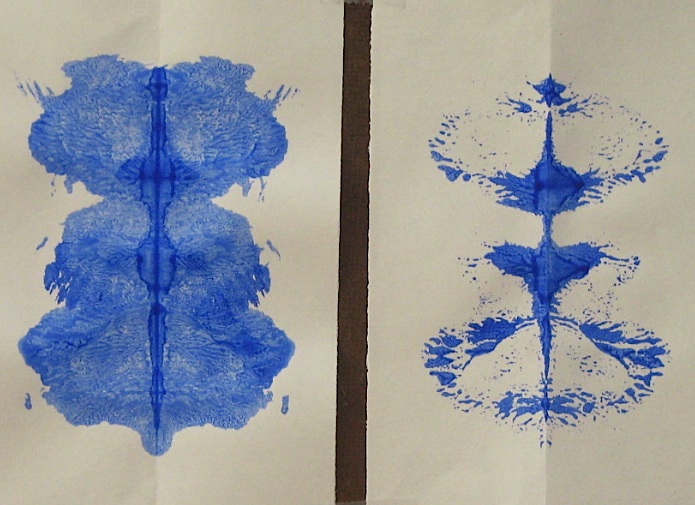
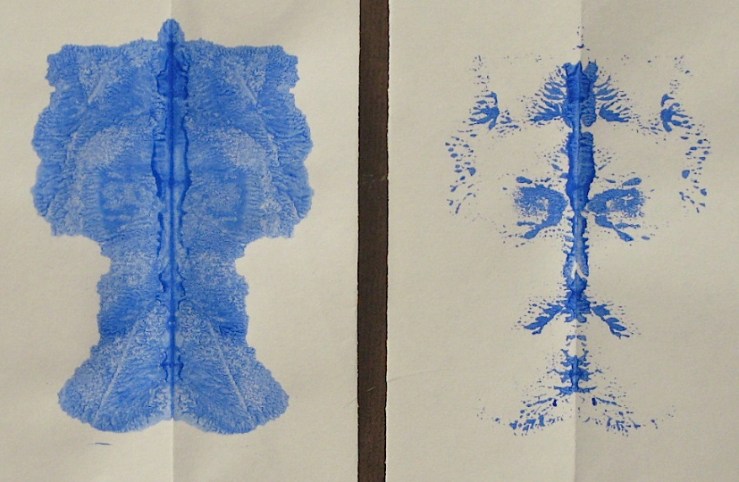
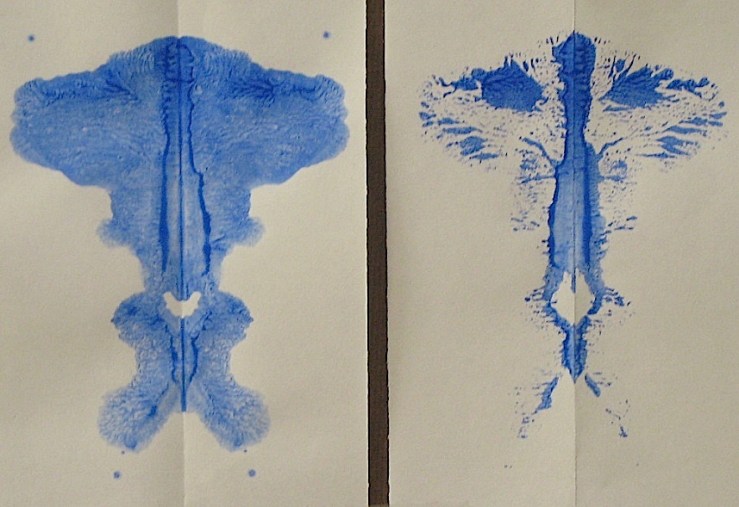
– “On the Emergence of Ghosts,” a mini collection of monotype prints. These are some of my favorites from a recent printmaking session. I first made the Rorschach-like blot prints with ultramarine blue acrylic paint on sketch paper. Then, before the paint was fully dry, I took a ghost print from the blot by laying over another piece of paper and folding and pressing it again.
Still progress from October:
– “Cemetery Dance,” a zine on a memento mori theme with quotes from Shakespeare.
– Mini mask cards, just some small toys.
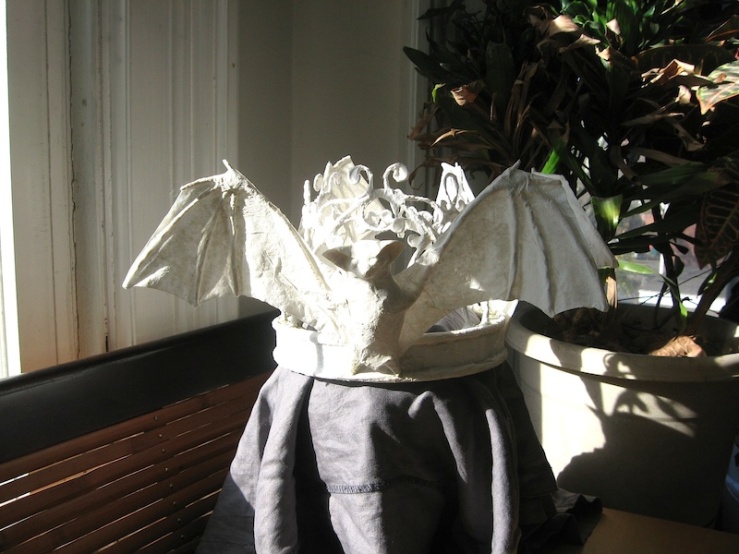
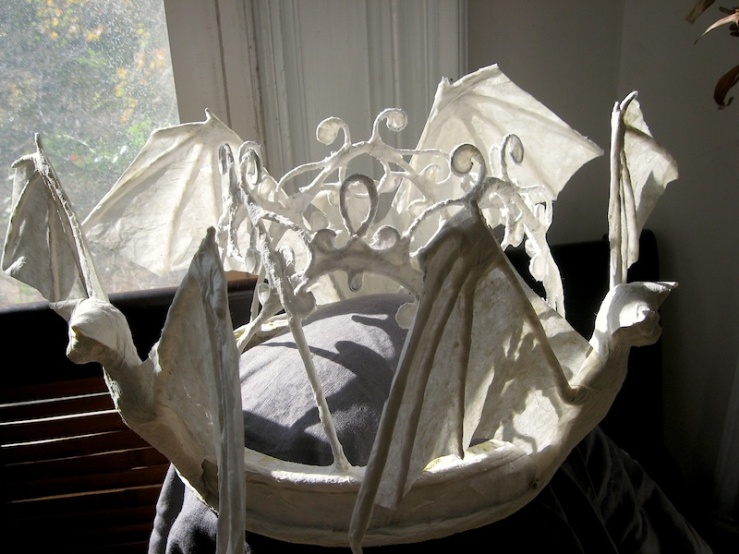
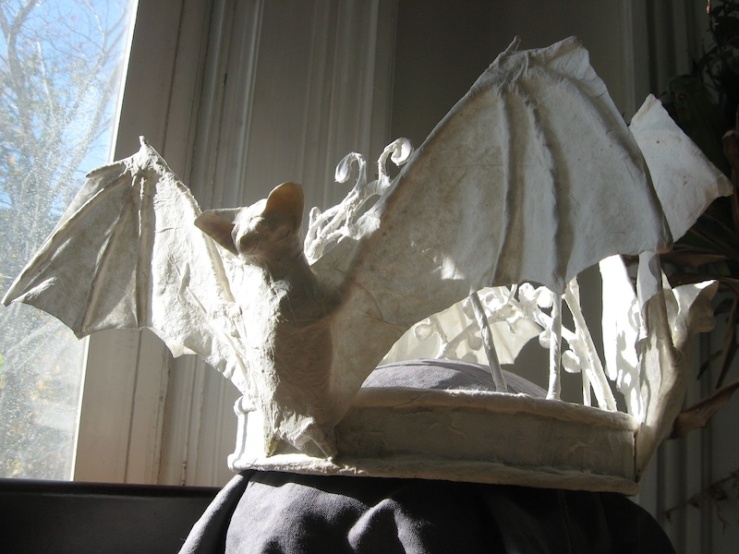
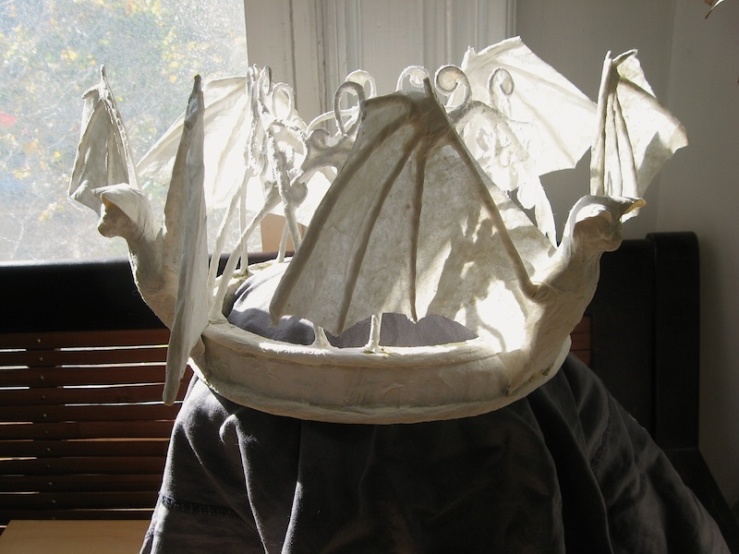
– Die Fledermaus Crown, a piece of wearable art. This was my big project for the month, and I’m amazed I was able to get it about 80% done in a week. I wanted something wearable for Halloween, but I’ve been a little off masks; I need to think about them some more. Then the words “bat” and “crown” popped into my head. The first-draft idea was Dracula-esque, then it evolved into a kind of naturalist ode to bats, but you know what? It’s a bat crown. It’s neither possible nor appropriate for such a thing to be dark or quiet or serious. So it ended up inspired by the frilly, fizzy, champagne-popping operetta Die Fledermaus by Johann Strauss, the Viennese Waltz King. I figure it will be just as appropriate for New Year, which is when most opera companies perform Die Fledermaus. Maybe I’ll do a series of opera crowns. The Magic Flute is starting to suggest itself.
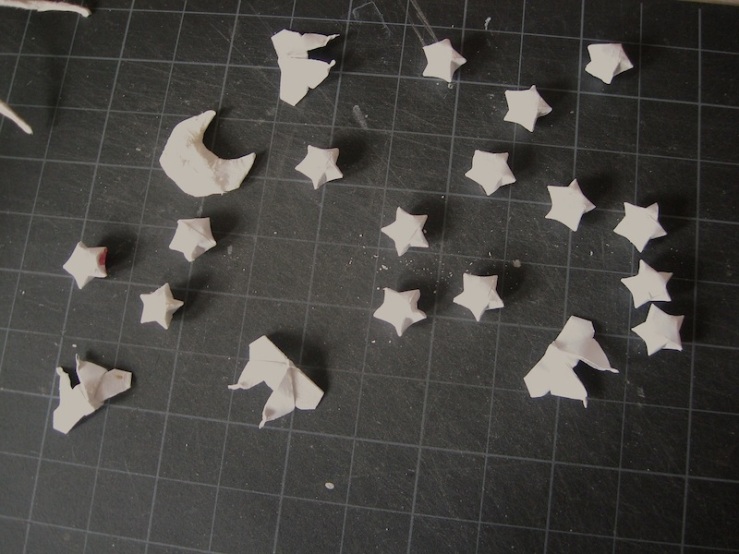
In any event, the crown still needs a little construction. The stars, moon, and moths need to be added. And it needs color because, yes, it’s going to be in color. But I decided it looks mad enough to share.
If I can finish these by end of Sunday, I will call October a technical success and take a few days off.
Die Fledermaus Crown in progress
On the Emergence of Ghosts
And also…
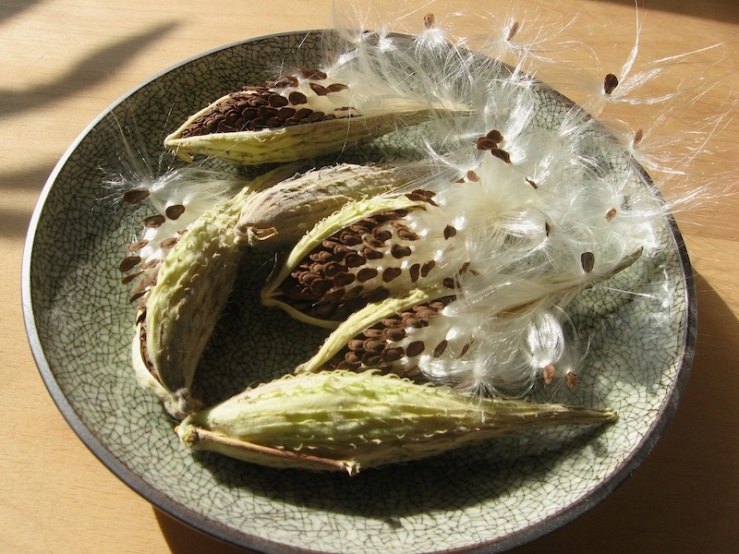
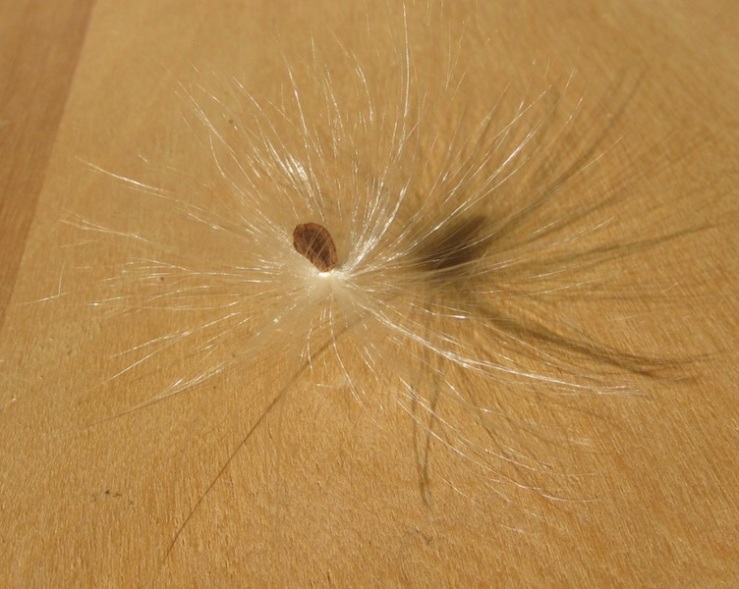
Milkweed pods from the garden
A stormy day over the Tobin Bridge, with cormorant in foreground
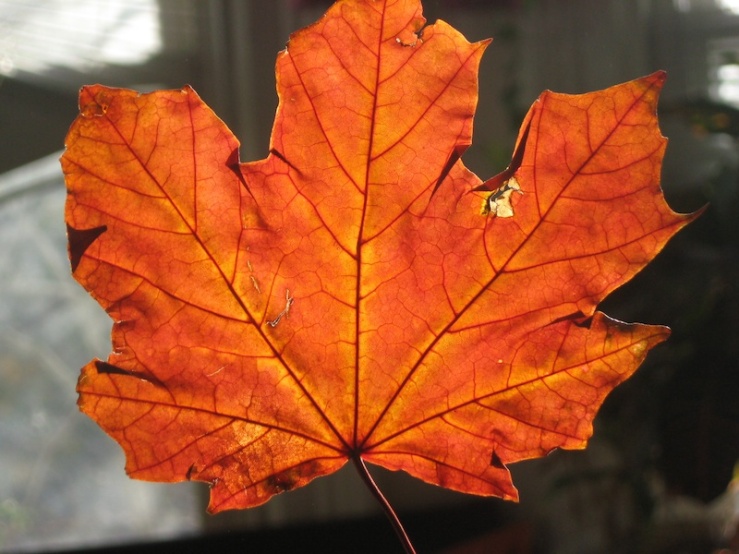
Sunlight through a maple leaf
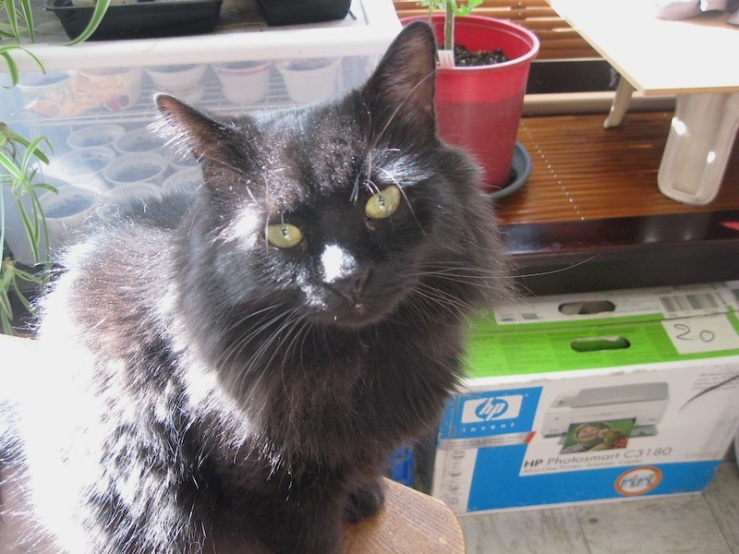
The same sunlight on a little black cat, Junior Studio Assistant, Scipio
Working on the words aspects of a couple of projects, which is not very visual as processes go, so I thought this week I’d share a glimpse into my sketchbook.
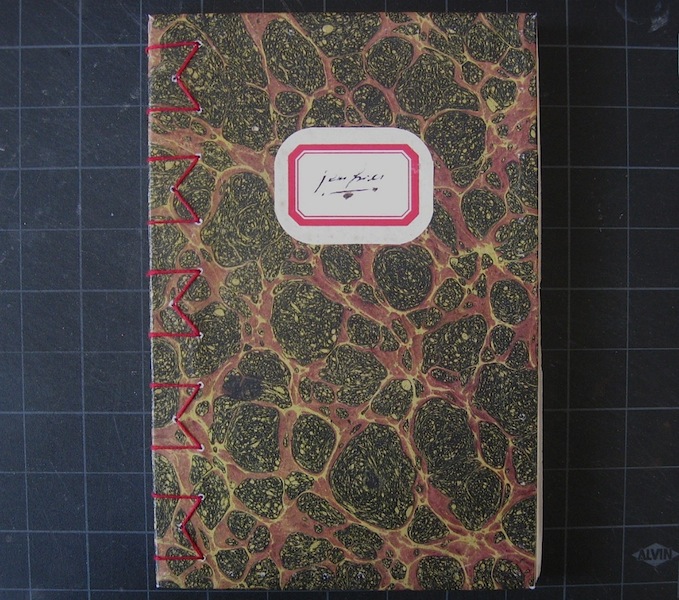
I’m training myself to do more drawing. My poor book – I made it at New Year’s, for encouragement, using a variation on the Japanese tetsuyoso binding – and now it’s being filled with mad randomness. I think I have too much on my mind.
Book Nerdery: This binding was a bit of an experiment, combining coptic and tetsuyoso techniques. With the tetsuyoso binding, covers are usually glued on, but to make the book with no adhesives at all, I adapted the Coptic binding method of attaching covers. I like the way it worked.
The tetsuyoso binding lies flat effortlessly.
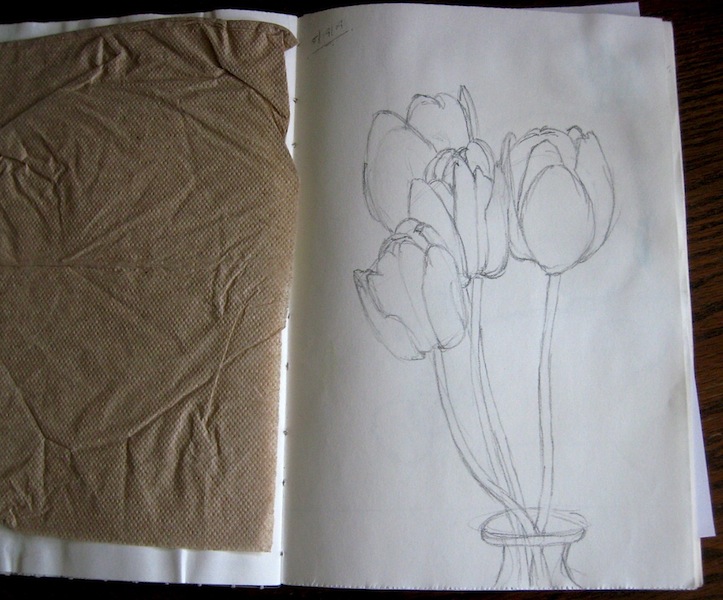
Tulips in a vase. My first attempt in years to render flowers realistically. Pencil.
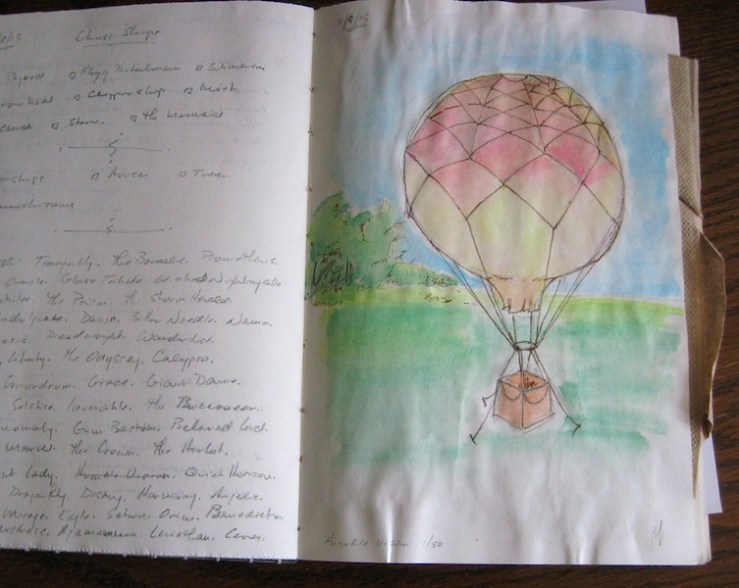
It is Balloon! I have no idea why I decided to draw a hot-air balloon from imagination, but I do rather like the effect of the trees in the background. As you can see, I write in my sketchbook as much as draw. Pencil sketch with watercolor and ink.
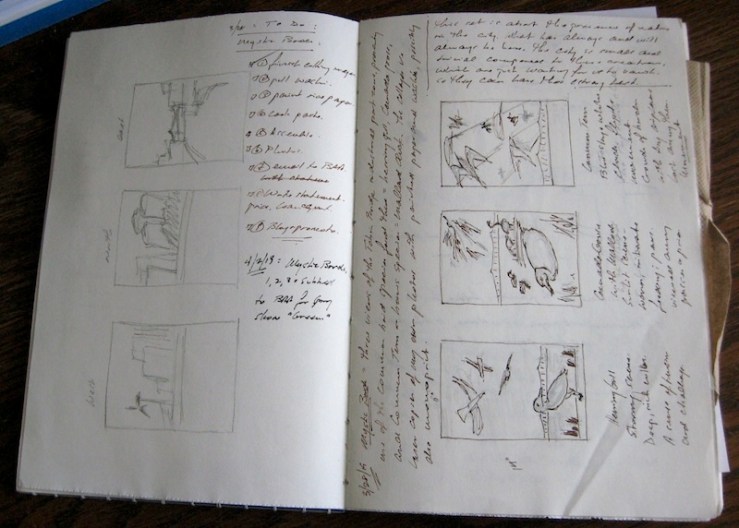
Initial design sketches and notes for the first three Estuary Birds, Mystic River project.
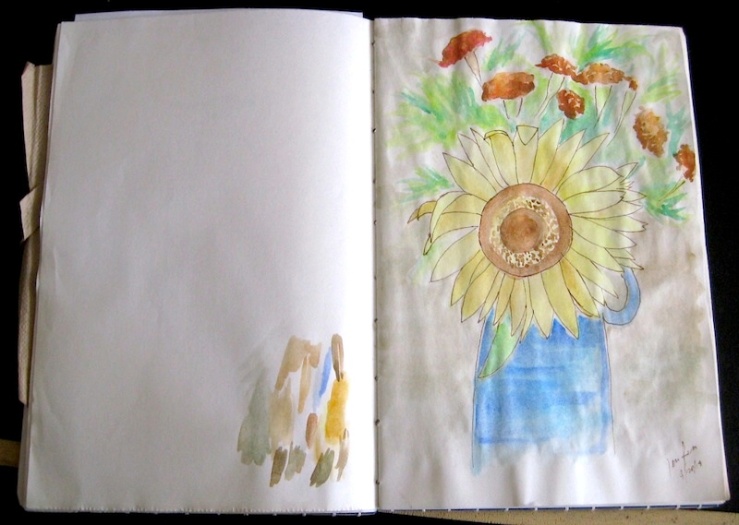
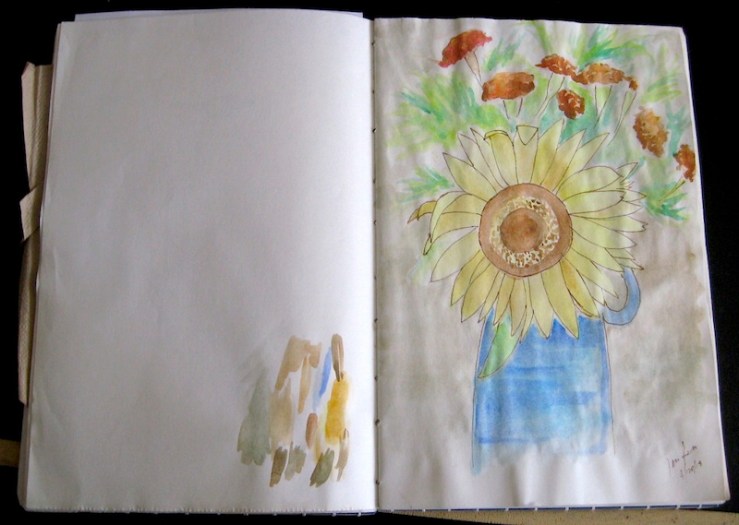
Sunflower and brown marigolds in a blue jug on my desk. The more I look at it, the more I like the marigolds. Watercolor and ink.
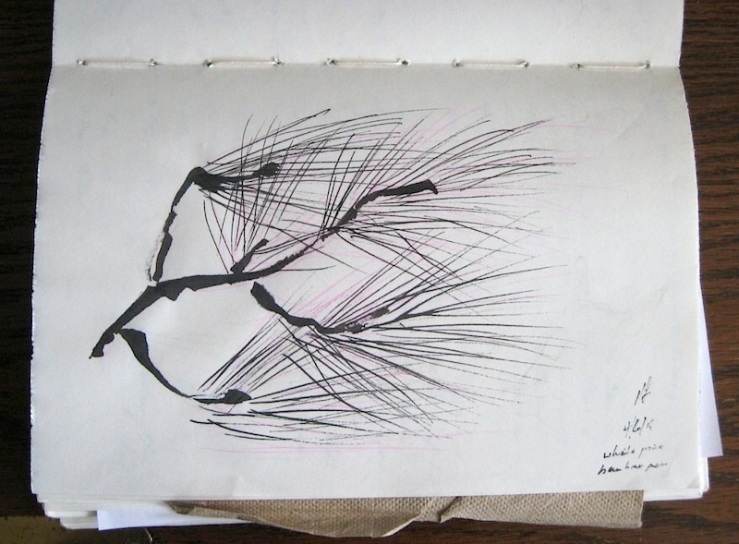
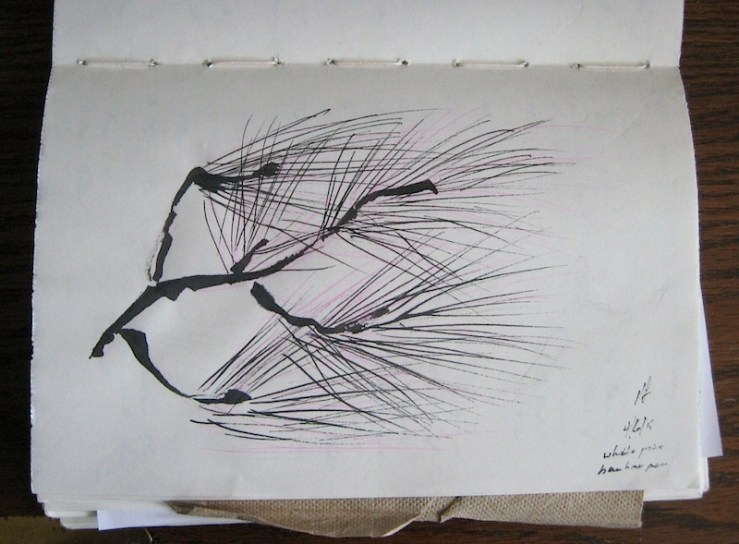
A white pine bough. My first attempt with a bamboo pen, just trying to get the feel of the tool. It might be my favorite sketch of the year. I should do more like this. India ink with bamboo pen.
I have been crazy busy these past two weeks with the dollhouse project, writing, and getting the studio sorted – and a new undertaking. I am developing a future bookbinding workshop for sometime next year, though it’s only in the planning stages now.
I have always loved books both for the amazing worlds they contain and for themselves, as delightful, satisfying objects. Of course, I had to learn to make them as well as read them. I’ve taught bookbinding in years past, and as books become an even greater part of my work, I’ve got the itch again to help other people discover the joys of sewing paper.
My bookbinding tastes are pretty utilitarian. I don’t like elaborate stitch-work, exotic materials, or bulky inclusions. I do like books that work like books, feel like books in the hand, open flat, are resilient, and, preferably, use recycled/repurposed materials. I don’t like glue in books, I do like exposed spines. My favorite style is the ancient Japanese tetsuyoso multi-section binding. It is easy to sew and gives a clean, streamlined structure to the finished book. I’ve developed a hybrid stitch for attaching covers that allows for some decoration. I’m nerdishly pleased with it.
After a week of practicing with needle, thread and papers, looking up lesson plans, etc., I needed a brain reset, so I spent all of today having a fit of surrealist decalcomania, aka inkblot printing. Whee, monotypes! For a good dose of unstructured mark-making, I broke out a tube of ultramarine acrylic paint, modified it with water and wheat flour, and went to town with Rorschach-style blots and dendritic prints, so called for the branching patterns created by squeezing color between two plates, which are then pulled apart.