Dull November Brings the Blast

JFries squirrel border 11.2020

Then the leaves are whirling fast…

Well, darn it. September got ahead of me. October got off the leash entirely. November has been very uncooperative. And now it’s Thanksgiving. Let’s think about what we have to be thankful for.

Fair warning: I’m going to be blunt again because, apparently, that’s my medium. Nothing herein should come as a surprise. 😉

I am deeply grateful that both my sainted mother and myself are healthy, as are my friends and family as of last report. I don’t know how the friends and family have managed it, but Mom and I have done it by draconian measures, which are not being lifted any time soon – home, distance, sanitation, masking, no exceptions ever. Life has been completely insane in the US this year, and the madness continues, I’m sorry to say. But, so far, so good at our house.

I am grateful to almost 80 million of my fellow Americans for making Joe Biden our next President – and equally to the point, Donald Trump NOT our next President – and if anyone out there wants to start muttering about recounts and lawsuits, stow it because I’m not interested. We still have to get that person physically out of the White House, of course, but we did unseat him, so we can check that off our list of things to do, at long last.

And I am grateful for the roof over our heads and the dinner that will be on our table this holiday. Food, shelter, health, and a light at the end of the Trump tunnel – I think those are blessings enough for this hellish year.

Now we are less than two months away from 2021, and I feel a combination of relief and anxiety. The results of the election were like having a crushing weight lifted off my chest. I can breathe, but four years of that tension have left me like a plate of jelly, unable to pull myself together.

I am working on some things, though. First, I’m doing NaNoWriMo (National Novel Writing Month), because when you’re exhausted and brain-fried, the best tonic is trying to crank out 50,000 words in a month. I’m not doing too well, but the month isn’t over so…fingers crossed? I’ll tell you all about it when it’s over. (Spoiler: It’s not going to happen, and I’m okay with that.)

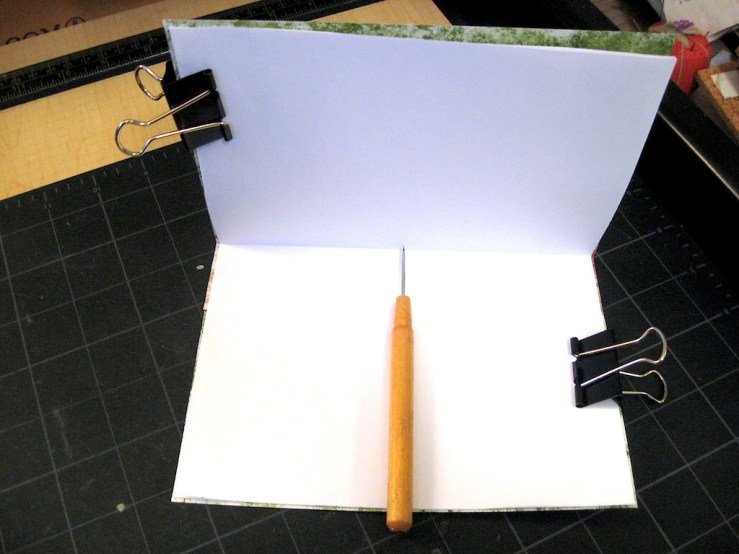
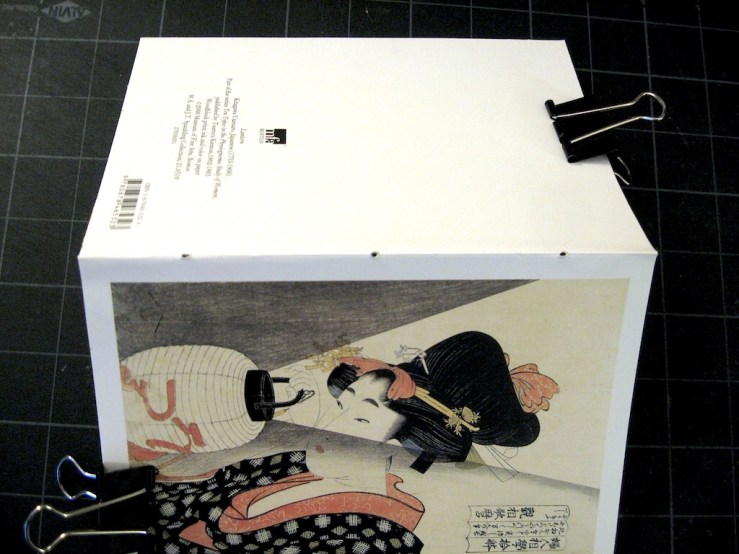
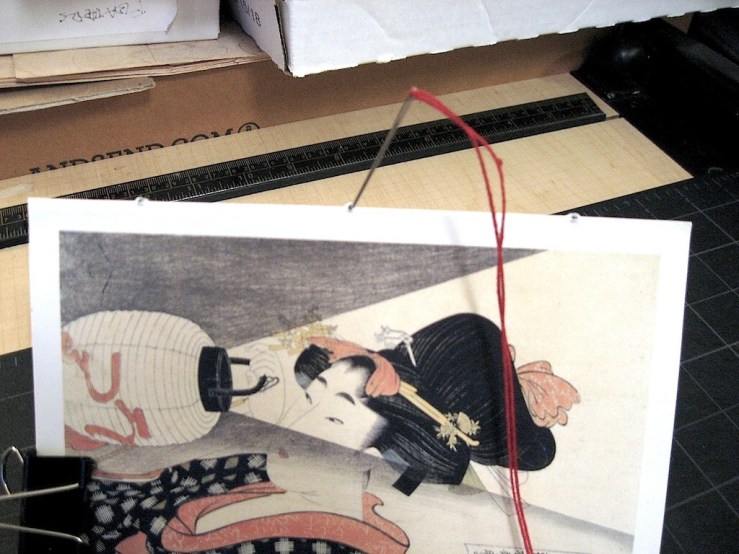
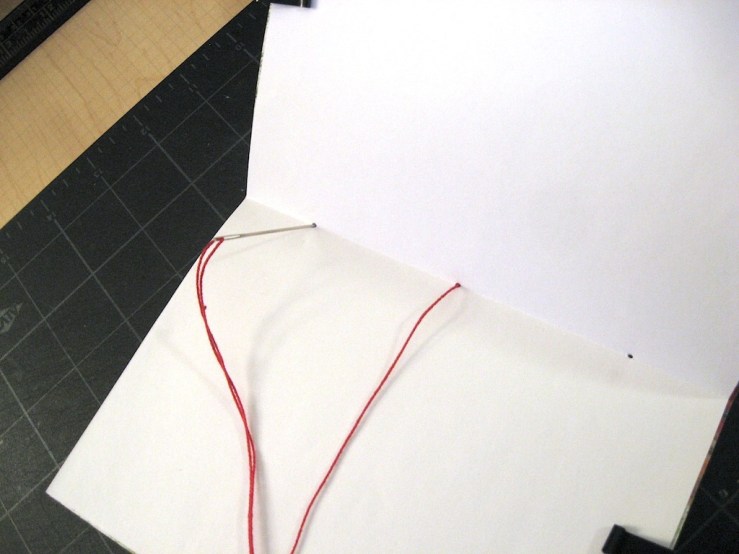
Also, bats and moths are in progress because why not? I like bats and moths. This is an experiment I’ve been mulling a long time, making hard sculptures out of traditional origami. Expect to see more.

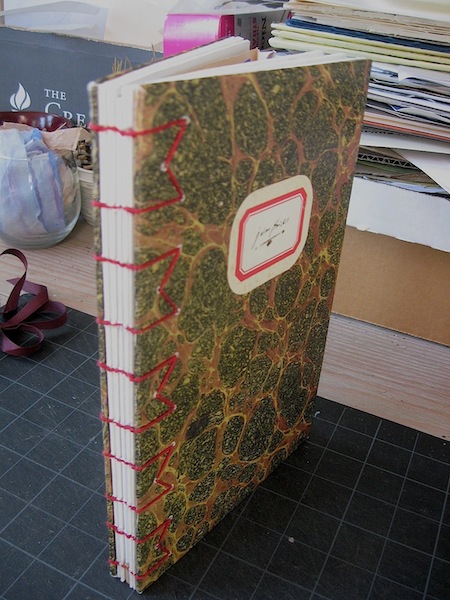
I’ve been designing dollhouses and books, putting my garden to bed between rainstorms, rethinking my approaches to social media and time management, and wandering off on artistically esoteric (or esoterically artsy) mind trips which take me far from the madding crowd and which I hope will produce work in the coming year.

But I haven’t really been, you know … productive.

Screw it. We all deserve to give ourselves a break. If 2020 isn’t an excuse for falling short of last New Year’s expectations, then I don’t know what is. I’m thankful just to have made it this far, in a depressingly literal sense. I’m taking the rest of the year off. And I’m giving you all the month of December off, too. There. That’s my gift to you. Just be alive, at home, healthy and safe, and we’ll deal with the rest in January.

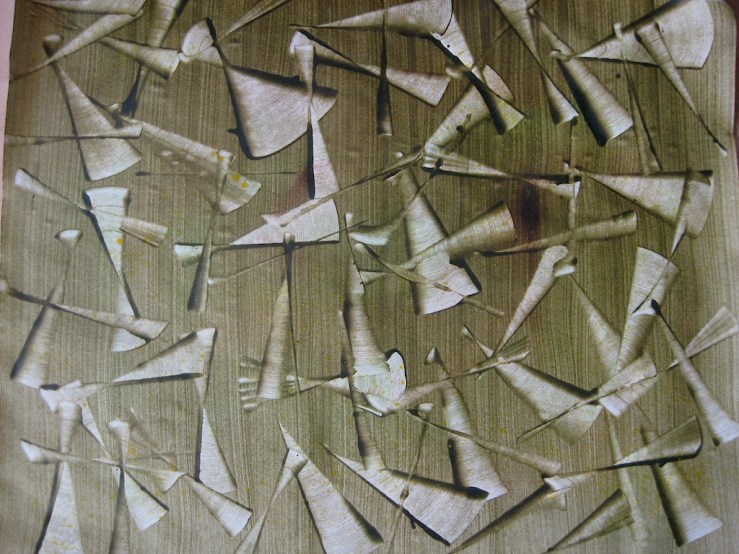
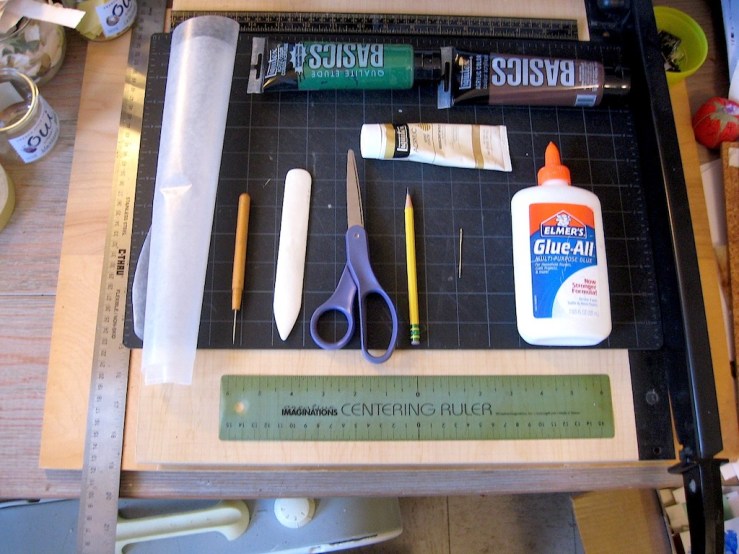
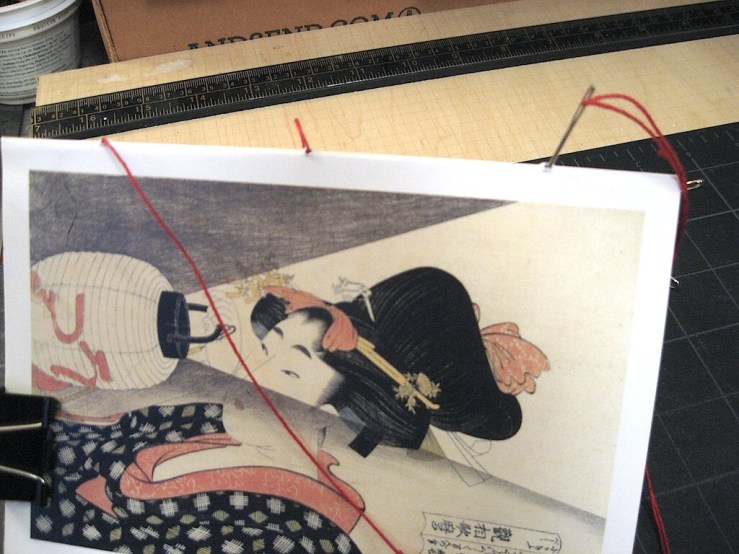
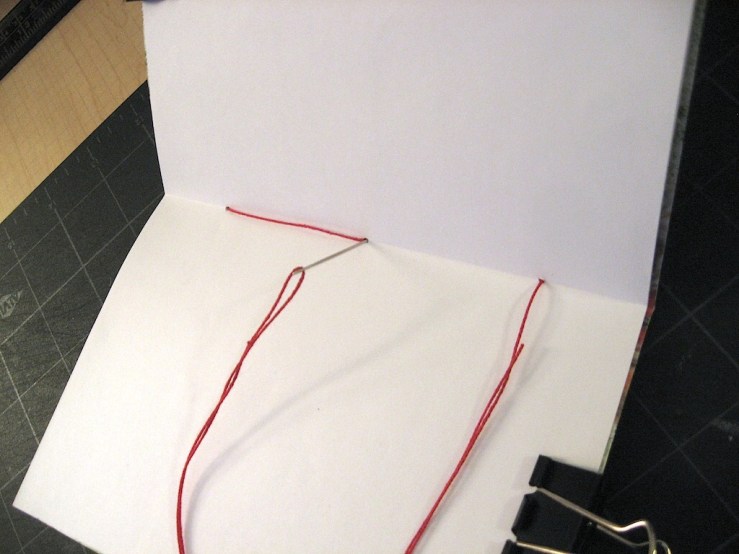
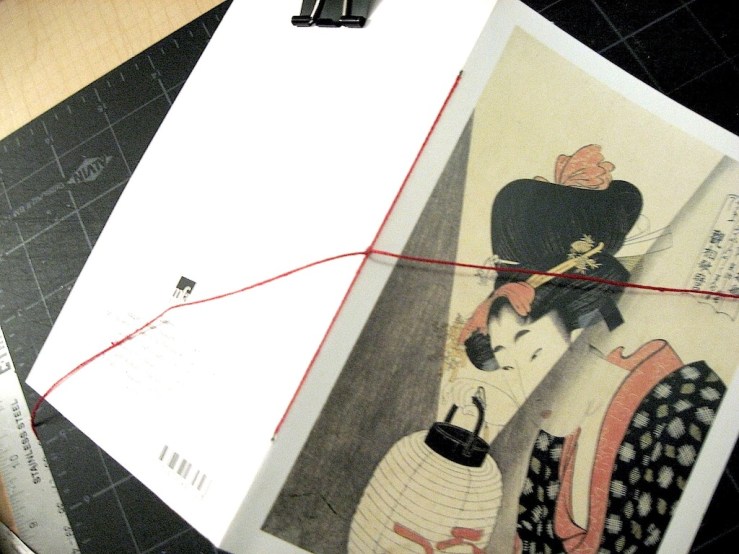
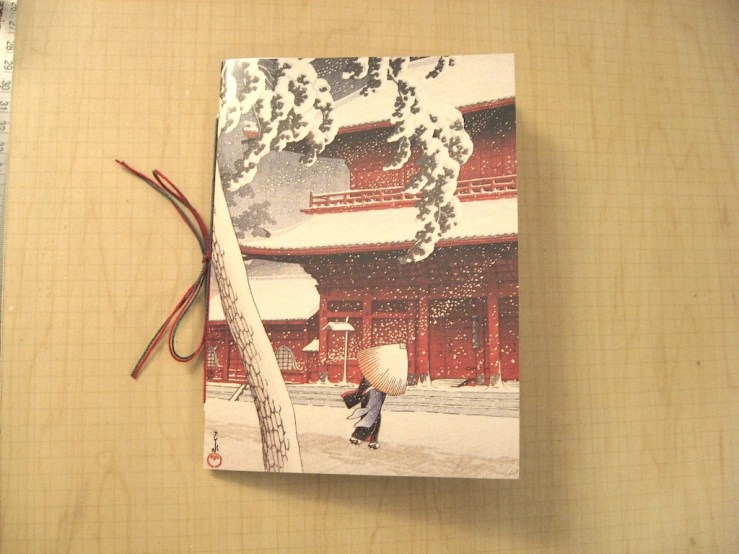
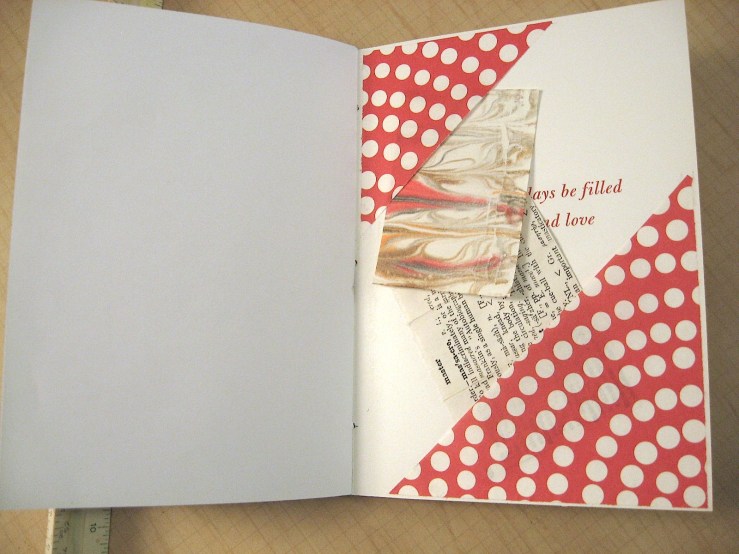
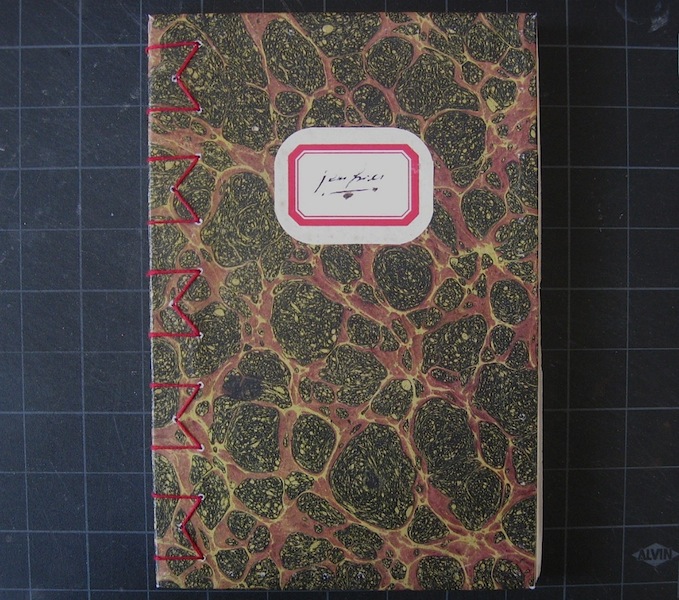
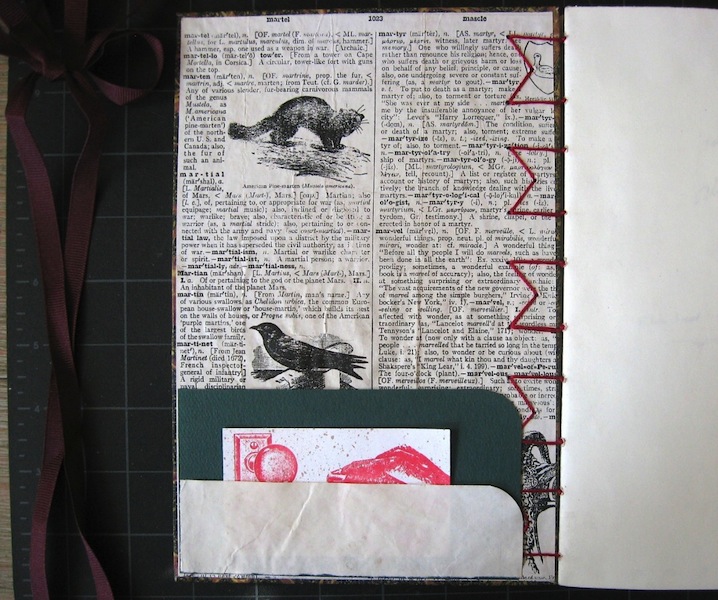
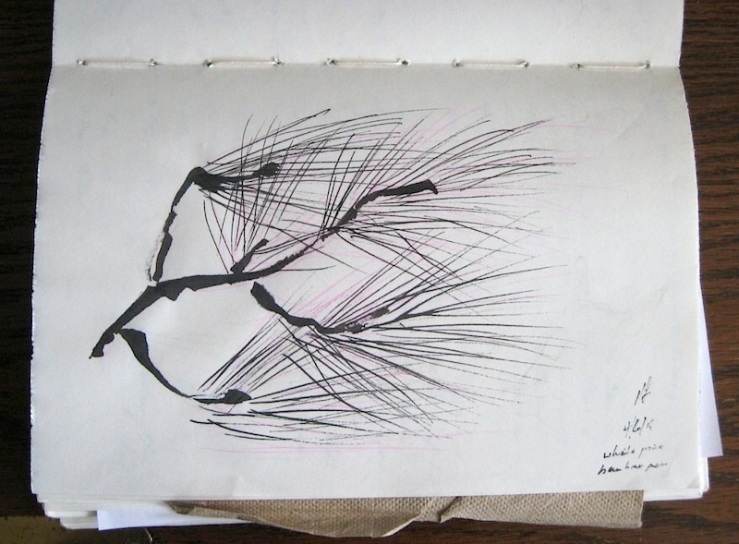
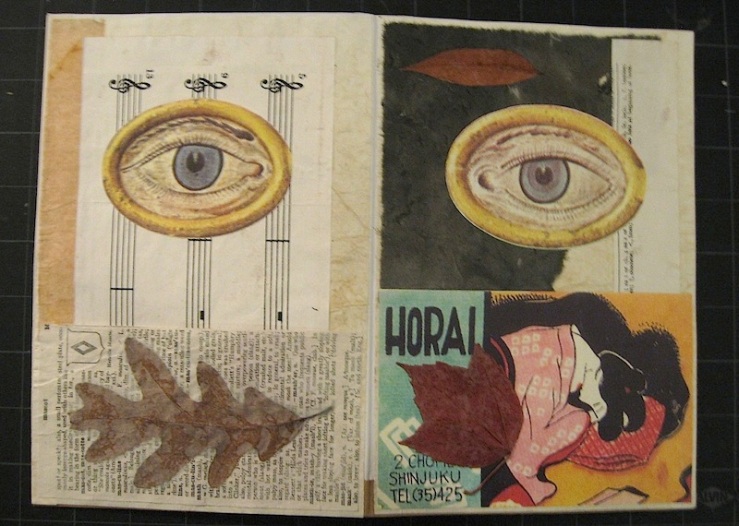
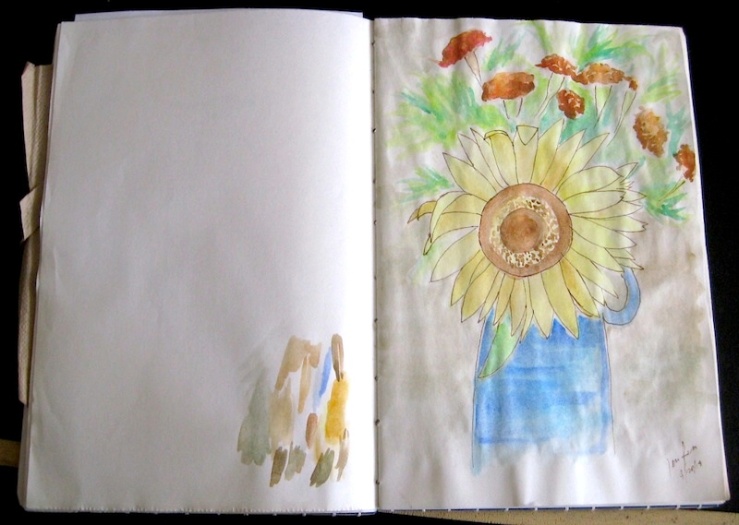
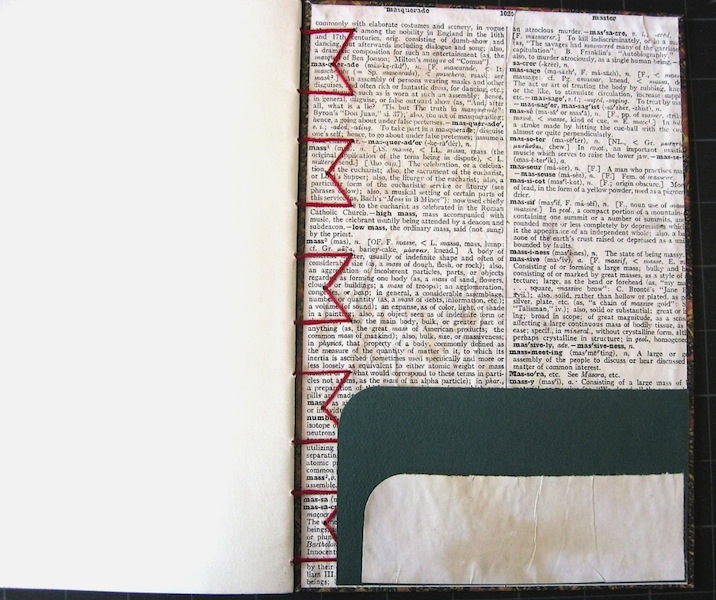
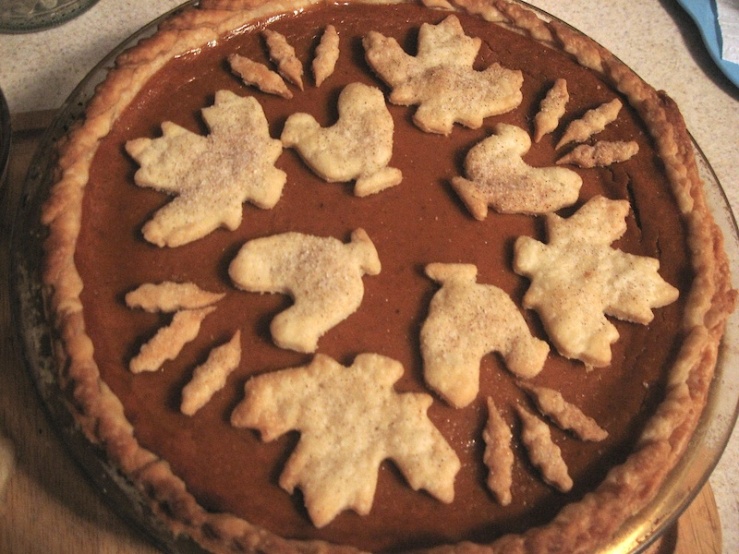
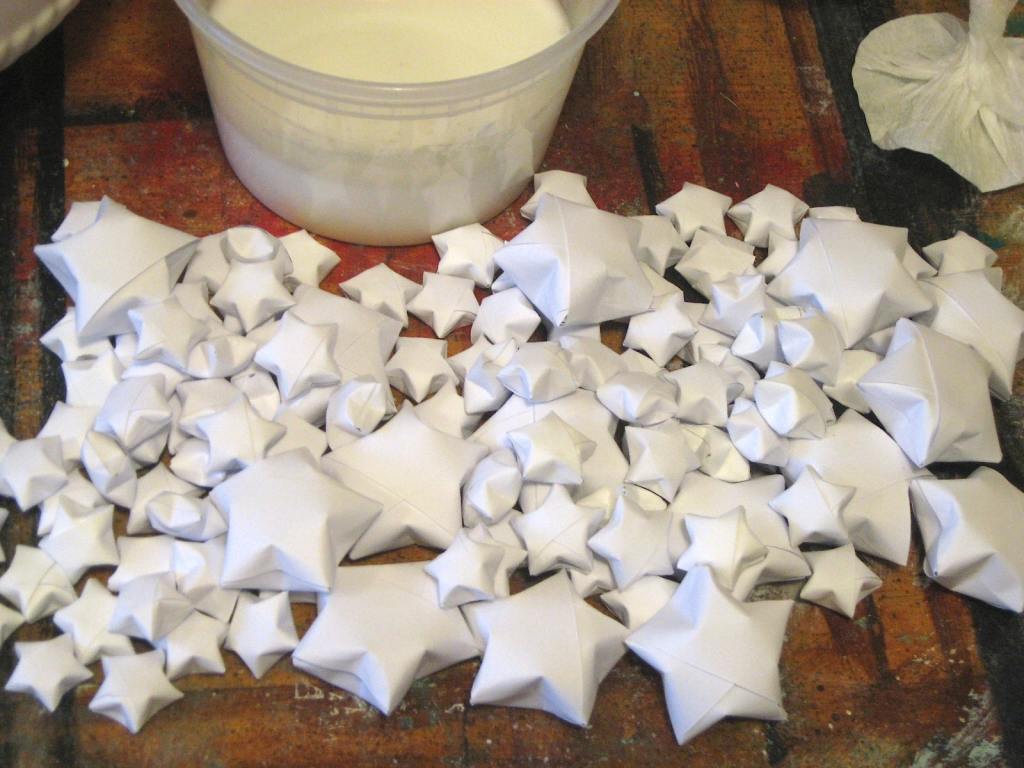
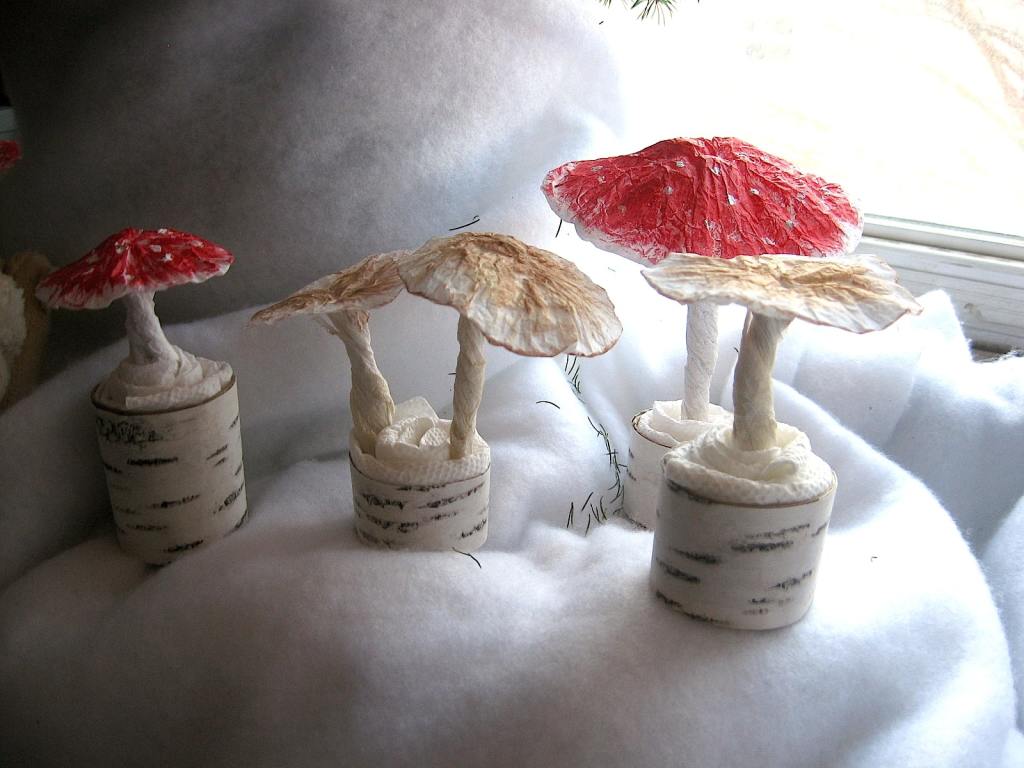
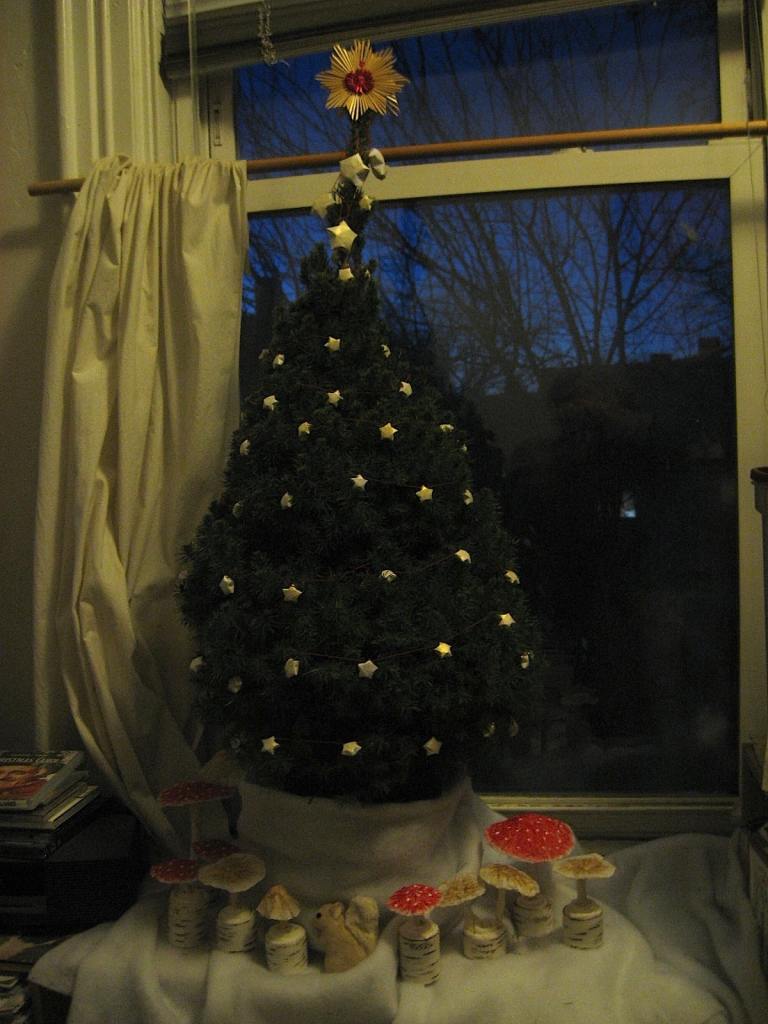
In the meantime, you might see some odd posts here as I play around with styles and topics over December. Feedback is always welcome. And below, please enjoy some photos of things I’ve been doing while being unproductive.

That’s it for now. Take care, my friends. Keep well, hang on, and have a small, intimate, safe, and happy holiday with the ones closest to you.
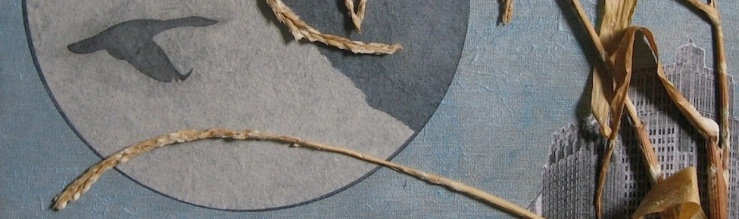

Luna Moth

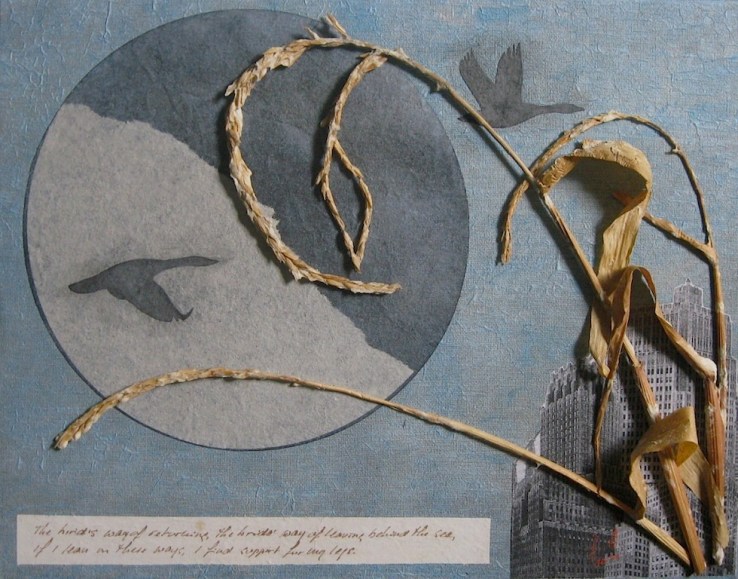
Not entirely unproductive. This new work returned from exhibition this week and will be available in the shop soon. The moth is an origami-based paper sculpture colored with acrylic paint and mounted on a collage of hand-tinted vintage images.


When not in the gallery… Luna Moth atop my desk with Call Me Ishmael, Woman Found and Studied, and random inspirational bits.
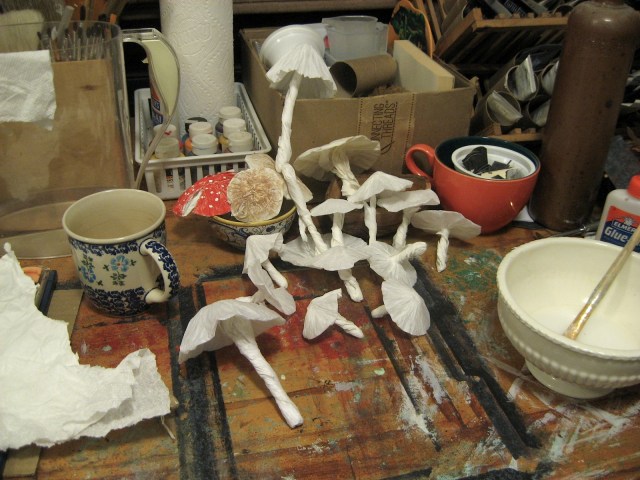

Bats and Moths!


Did I mention…

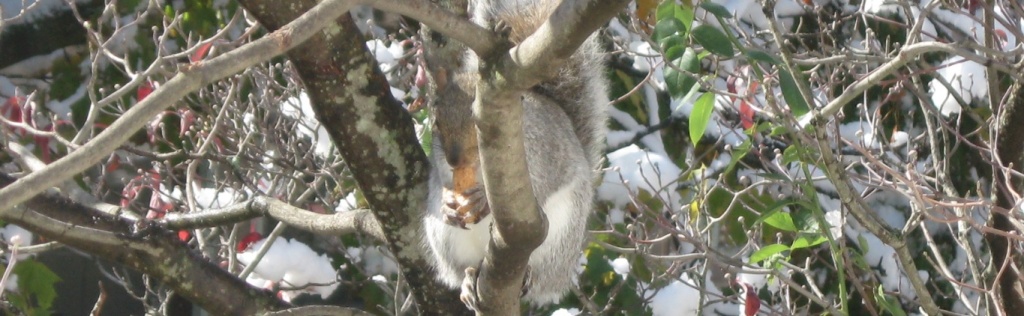
We had a snow storm in October. It didn’t last long, though.


24 hours later…

Sparkly.

Storms, Color, Summer

JFries geese border

I’ve had an unusually productive two weeks since launching my newsletter. The thing must be magic! Here are some of the highlights, including a new work for another upcoming exhibition.

I’m going to be binding some new journals and re-binding some older books, so I made a selection of paste papers for them, which led to me playing around with the paste paint. That resulted in some not too bad monochromatic landscapes, which then led to shades of the color blue scrolling through my mind. A certain dusky shade of blue-gray struck me as perfect for a collage that had been simmering in my mind for some time, so I set about inventing the color with layers of paint and dyed tissue paper. The resulting collage of geese flying across the moon will be shown with the Brickbottom Artists Association summer exhibition, which just happens to be on the theme of “BLUE.” That will be shown online from mid-July. See the Home page for details.

I finished an additional collage today – The Death of Orpheus – but I did it on paper so I could experiment with a new pasting technique to prevent warping. Fingers crossed on that one. Two more collages on canvas are in the works, inspired by views from my studio window – one a particularly spectacular spring morning, the other a rather spectacular super moon.

Nature has been pushing me along. These past weeks have been full of moon views and thunder storms. The garden is filling up with flowers, bees, butterflies, and rabbits. My landlords’ mulberry tree, outside our kitchen window, is bent under the weight of fruit and crowded with birds and animals. And all day today, my landlords’ dogwood, outside my studio window, hosted two fledgling mockingbirds fresh out of the nest, crying for food as their parents came and went, stuffing them with mulberries.

I can’t help feeling a little allegorical. I took the lesson of these weeks from the text on the collage of the geese, adapted from a Siberian shaman’s song:

“The birds’ way of returning,
The birds’ way of leaving behind the sea,
If I lean on these ways,
I find support for my legs.”

Where are you finding support in these difficult times? Drop a comment and let me know what flashes or colors or things outside your window keep you going. If you have any questions about the works below, I’ll be happy to answer.

Also, issue #2 of the newsletter is scheduled for around July 16th. Sign up now for more updates and exclusive content.


Paste Papers


Estuary Moon, part of the Mystic River Project and Cities

JFries Estuary Moon 6.30.2020


Experimental landscape

JFries indigo landscape 7.1.2020


Death of Orpheus, part of Literary Works, another experiment

JFries Orpheus 1 7.2.2020

Free Tutorial: Quick Altered Greeting Card Notebooks

A Gift From Me to You

It’s been a season of ups and downs, hasn’t it? These past few weeks have been all business-business-work-work-work, with little time for art, and not much for enjoying the holidays, either. But art and holidays are here nonetheless, and by hook or by crook, I’m going to wrest some festivity out of December. 

So, for all you wonderful folks who follow this site (thank you so much!) and for all harried, distracted, stressed-out folks in need of a last-minute gift, I offer an easy, free tutorial for making notebooks from altered greeting cards. A little gift from me to express a lot of appreciation for you.

First some work-work news:

  • I have posted a new Privacy Policy for Jen Fries Arts. The link is in the footer of each page and under the Home tab. Please take a moment to read it.
  • I have added the leaf specimens and the autumn zines to the Artworks gallery under Cities, Botanicals, and Zines and Art Books.
  • I am working on more leaf specimens as we glide into winter proper, so look for those before the new year.

And now, the tutorial.

Altered Greeting Card Notebooks

Do you like greeting cards but wish they were more useful? Do you have treasured cards from friends and family and want to do more than keep them in a box somewhere? Let’s remake them into notebooks!

This project uses sharp tools and is best for teens and adults. Kids may participate with adult supervision.


You will need:

  • Greeting cards, old or new
  • Paper – writing or printer paper is best
  • Ephemera, stickers, scrap paper, paint, stamps, ink, etc. (optional)
  • String or embroidery cotton
  • Tapestry or embroidery needle – blunt point and big eye
  • Scissors
  • Book awl or other fine pokey tool
  • Ruler
  • Bone folder (optional)
  • Pencil and eraser
  • Paper clips
  • Cutting blade or paper cutter
  • Cutting mat or other surface safe for cutting and poking
  • Paper glue
  • Wax paper

Step 1: Design

A) Take a look at your cards. These will be the covers of your notebooks. 

How big are they? If they have a printed message, do you want to keep it? Do you want to change the image, color, or feel of the cards? Do you want to do anything to the back of the cards?

For this project, we’ll keep things simple and just add some color and pockets to the insides of the cards.

B) Experiment to see how many pages your cards can hold and still close comfortably. For this project we will use 5 folded sheets per card.

TIP: The number of pages will depend on how you plan to use your altered card notebook. Five sheets is comfortable for writing and drawing. If you plan to paste in family pictures or memorabilia, those will add thickness, so use fewer sheets.


Add little pockets and tuck spots.

Step 2: Embellish your cover

A) Apply your background paper or color. For this project, we are using acrylic paint. If you want to keep the printed message, cover it with a piece of paper to protect it. Lightly sponge or splatter the paint over the inside of the card. Work fast with small amounts of color. Keep your sponge or brush as dry as you can and still get color onto the card. Keep going until you like how it looks. Allow to dry. 

B) Cut paper for the inside pockets and fit them in where you want them to be. Glue in place. Do the same with any other ephemera you wish.

Sponged acrylic paint. Use a light hand with paint and glue.

TIP: Use as little glue and paint as possible to avoid warping the card. They tend to be very warpy. If using paint or ink, it’s better to do several light, dry layers than one heavy, wet one.

C) Lay a sheet of wax paper inside the card, and let it dry closed under weight, such as under a few books. This should not take long. Prep your pages while you wait.


Use care with cutting tools.

Step 3: Cut and fold your pages

A) Measure your card from the top edge to the bottom edge. That is the height of your pages.

B) Measure your card from the center fold to the outer edge of the face of the card. That will be the width of your pages.

C) Mark the height and width measurements in pencil on one sheet of paper. Stack five sheets, and trim them all together with your blade or paper cutter. Erase any remaining pencil marks

TIP: Greeting cards are often folded a little off center, so no matter how you measure your pages, it won’t be perfect. For now, measure just the front face of your card. Then double that measurement to get the full width of your page sheets. This will make sure the pages match the part that people will look at the most.

Folded sheets nested together.

D) Fold each sheet of paper in half, using the bone folder to sharpen the creases if you like. Then nest the folded sheets together. This is your signature of pages. Snug the signature into the card and see if you want to trim the edges any more. Be careful – the more paper you try to cut through at once, the more likely you’ll get a mis-cut.


Step 4: Sewing your notebook

A) Nest the signature into the card as snugly as possible. Use clips to hold the pages and card together, if needed.

Clips hold the pages and cover together while sewing.

B) With your awl or pokey tool, punch three holes into the center fold line, making sure to go through all the layers. Place the holes at the center and a comfortable distance in from the top and bottom edges. You can measure, but it’s okay to eyeball it. Wiggle the awl in the holes to make sure they are all well open for ease of sewing.

It’s easier to pierce from the inside of the book than the outside.

TIP: Don’t flatten the notebook completely to make the sewing holes. Holding it slightly closed so you are piercing into the fold makes it easier to keep the holes right on the spine.

C) Cut about an arm’s length of string or thread to give you enough to work with. Thread your needle.

D) Sew the book as follows:

1) From the outside of the book, go in the center hole. Leave a good tail hanging.


2) From the inside of the book, go out one of the edge holes.


3) From the outside of the book, go in the other edge hole.


4) From the inside of the book, go out the center hole. 


Looking at the outside of the book, you should have a long line of thread along the spine and two tails hanging loose from the center. Make sure the line of thread runs between the two tails.

5) Tie the tails in a knot or bow over the line of thread to anchor everything in place. Pull snugly but not too hard, or you might tear the paper. Trim the thread ends to desired length.

And you are done!

These little altered card notebooks make a wonderful gift for Christmas or any holiday or occasion. Make a little brag book for the grandparents, or a guide to dorm life for a new college student. Going on vacation? Make a travel journal with a card featuring your destination to collect special ephemera on your trip. Or take that special card you received from someone close and make it a journal of what they mean to you.

If you make some of these notebooks, I’d love to hear about it and see some pictures.

Happy Holidays!

Happy Thanksgiving: Autumn Book and Pumpkin Pie

Well, the holiday season is officially upon us, and in the midst of life’s battles, I have to admit I have a lot to be thankful for. We have our health at my house (knock wood). I enjoy my work, my town, my friends. There are birds outside my window and cats sleeping on my bed. What more can anyone want?

Later, I’ll rant about all the things that are off the rails, going wrong, just plain nuts, and utterly intolerable, but that’s not what this weekend is for. Today, it’s about feasting and merriment, football, parades, and King Kong. You know, the traditions.

I finished rebuilding my blue sketchbook into an autumn book for sketching, journaling, and collecting field specimens, all the leaves, twigs, feathers, etc., I tend to pick up. I was inspired by the “junk journal” phenomenon, which is a great way to find beauty and function out of detritus. Even these gussied-up pocket inserts are part of my sketchbook practice, as I used them to work out experiments in paper building and collaging with natural botanicals. The binding is my favorite tetsuyoso style. Superficially, it resembles Coptic stitch, but this is in fact a very old binding from Japan. It lacks the external knots of Coptic, maintains neater tension with less fuss, and is flexible and resilient. Traditionally, the covers would be pasted on, but I adapted the Coptic method of sewing the covers on for a totally adhesive-free binding.

It might seem a little odd to make such a fancy thing just to sketch and brainstorm in, but kind of the point of being an artist is to get our thoughts outside of our heads, to make everything be an expression of how we see the world, to unify the inside and outside realities. So I think the book where I work out the kinks in my creativity should be a product of my creativity. This is what I came up with.


And I made the pie this year. It came out fancy, too. 😉

JFries pumpkin pie 2019


Happy holiday, all. Enjoy. Relax.
Express yourself.

October is masks, bats, and butterflies

We at the home attached to the studio have been sick as dogs since the middle of September, which is why I fell off the planet for a few weeks. But we are on the mend at last, and I’m racing to complete as many of my October projects as I can in these last few days of the month while still having fun.

First thing done: A zine titled “Masquerade.” It’s a little book of collages on the theme of disguise and falseness, social status and self-deception. It was inspired by Halloween, but of course, I took it in a weird, cynical, critical direction because that’s what I do. 😉 Soon, I’ll post information about hand-bound facsimile prints of this book, so please keep an eye out for that. Send a message via the Contact form or this site’s new Facebook page if you’d like to be notified when it is available.

I also attempted my first-ever video of a flip-through of the zine. Yes, it’s true, I have never tried to video anything before. I don’t know why. The video came out well, but the audio has an annoying buzz. Quick research suggests it’s probably something called a “ground loop,” having to do with the power adapter. I’ll have to solve that somehow without buying new equipment, such as a microphone like everyone else in the world uses.

Next, I’m cranking through to try to finish a wearable art object. It has bats on it! I don’t usually do wearable stuff, but sometimes you just have put on a bat. We love bats. This is Bat Week, though my wearable thing will be finished late because I didn’t know until this morning that this is Bat Week, and it’s already Friday.

I might not have time to finish the magic and reality essay book, but I’ll give it the old college try. Same with a zine about ghosts and an October-themed journal I’d very much like to make just for love. And I’ve been marbling and aging paper like a mad thing. All of this was supposed to be done over four weeks, but due to the aforementioned sick-as-a-dog-ness, I’ve had about one week of actual work so far.

In other areas of life, I have resurrected my vintage Olympia manual typewriter. Poor old girl needs a spa day, but I am so happy to be able to clack away noisily with her again. Most of the text in the “Masquerade” zine was made with her, and I can now print my fifty-word stories the way I want them to look.

The gardening season is winding down, but the raspberries aren’t quite done, and the sunflowers, zinnias and marigolds are nowhere near done. Bees and butterflies are still visiting so I won’t be clearing out anything for a bit yet.

Oh, and as mentioned above, I created a Facebook page for this site. Yes, it is the Evil Empire, and I have a dysfunctional relationship with social media, ranging from none to hostile. But needs must, and this is the 21st century, and if you can’t beat them, join them, and you can’t sabotage – um, I mean win – the game if you don’t play, so I have a page. If you Facebook, please join, follow, like, whatever it is people do, and drop me a message or a comment, ask a question, whatever you wish. I check the page just about every day, and will gladly respond in a reasonable time frame – health, work, and fate permitting. Click the button below to visit.


A sneak peak at Masquerade


Marbled papers and collected leaves


Bats have little hands with long fingers.


Monarch on marigold


Painted Lady on dandelion


Olympia!

Experiments and holiday cheer – Stars and Mushrooms galore

Hi, all. I hope all my friends and readers enjoyed the holiday. We were cozy and small at home, and I had great fun making the decorations for our little live tree this year.

The paper stars were made using a delightful little origami model. Click this link for a tutorial from Jo Nakashima on Youtube. I dusted them with a hint of metallic gold acrylic paint – which doesn’t show in the photos but gives the stars a bright glow in the light, in person . I then strung them on simple red cord to make a garland. They are so much fun to make, I will definitely see what more I can do with them.

The paper mushrooms, though, are my success story for the season. I managed to make papier mache with thin, translucent layers of crumpled tissue paper. In the past, I’ve gotten good results with other types of paper, but this month, nothing wanted to work but the plain white tissue paper. It gave the best shapes, but of course was way to flimsy. So I spent a total of about three days lightly and carefully brushing the shaped mushrooms with a very dilute paste of water, PVA glue and wheat flour to stiffen them without tearing or dissolving the tissue. I then painted them, mixing the paint with more of the paste for added stiffness. I am very pleased with the results.

The bases are a last-minute improvisation. The mushrooms themselves were made without bases, but I wanted them standing. Can you guess what I have holding them up?

The display in front of our kitchen window brings a hint of a winter forest into our home. Soon, the decorations will be put away, the cats will get their toy squirrel back, and our little dwarf Alberta Spruce will go back outdoors in the cold where it likes to be. And then a new year will begin, with a new look for this site, new projects from my studio, and lots of plans.

I wish you and yours great happiness and growth in 2019!

Paper Decorations, Website Changes, and Feeling Eager for a New Year

I am spending this week making holiday decorations. There will be more paper bows like the first ones I made last year, plus paper mushrooms to make a “forest floor” around our tree and paper stars to twinkle above it and amongst its boughs. I’m having lots of fun playing with paper forms and surface treatments.

Also this week, I am working behind the scenes on an overhaul of this website. The new look will be brighter and livelier, with better organization. It will go well with some big projects coming up in 2019, including new books, dollhouses, toys, more of my Cities series of collages, and lots of art and writing experiments.

It’s been a crazy and distracted year, but I feel excited about the holidays and the new year. I’m ready to buckle down and get to work.

By the way, the new background image for winter is my own photo of white pines in Charlestown, at the Lower Mystic estuary.

mushrooms in progress
Paper mushrooms in progress on my work table